If you haven't had a chance to tie or even fish tube flies I would strongly recommend it. Tube flies have many advantages over standard flies, too many to cover and explain here, but let's have some fun and tie a beautiful Scandi style steelhead fly that works year around.
Materials
Thread: 6/0 Euro - color of choice
Tubing: I will not list the tubing as there are numerous personal choices as to diameters and styles.
Butt: Ball of dubbing in material and color of choice. Pictured is purple SLF.
Rear Collar: Angel Hair spun in a dubbing loop. Pictured is Electric Purple Angel Hair
Body: Purple holographic tinsel.
Shoulder: Ball of dubbing in material and color of choice. Pictured is purple SLF.
Collar: Angel Hair spun in a dubbing loop. Pictured is Electric Purple Angel Hair
Hackle: Purple schlappen
Underwing: Purple arctic fox over which is Electric Purple Angel Hair
Overwing: Black Cashmere goat.
Cheek: Jungle Cock (optional)
Bead/Cone: Color/Style of choice (optional)
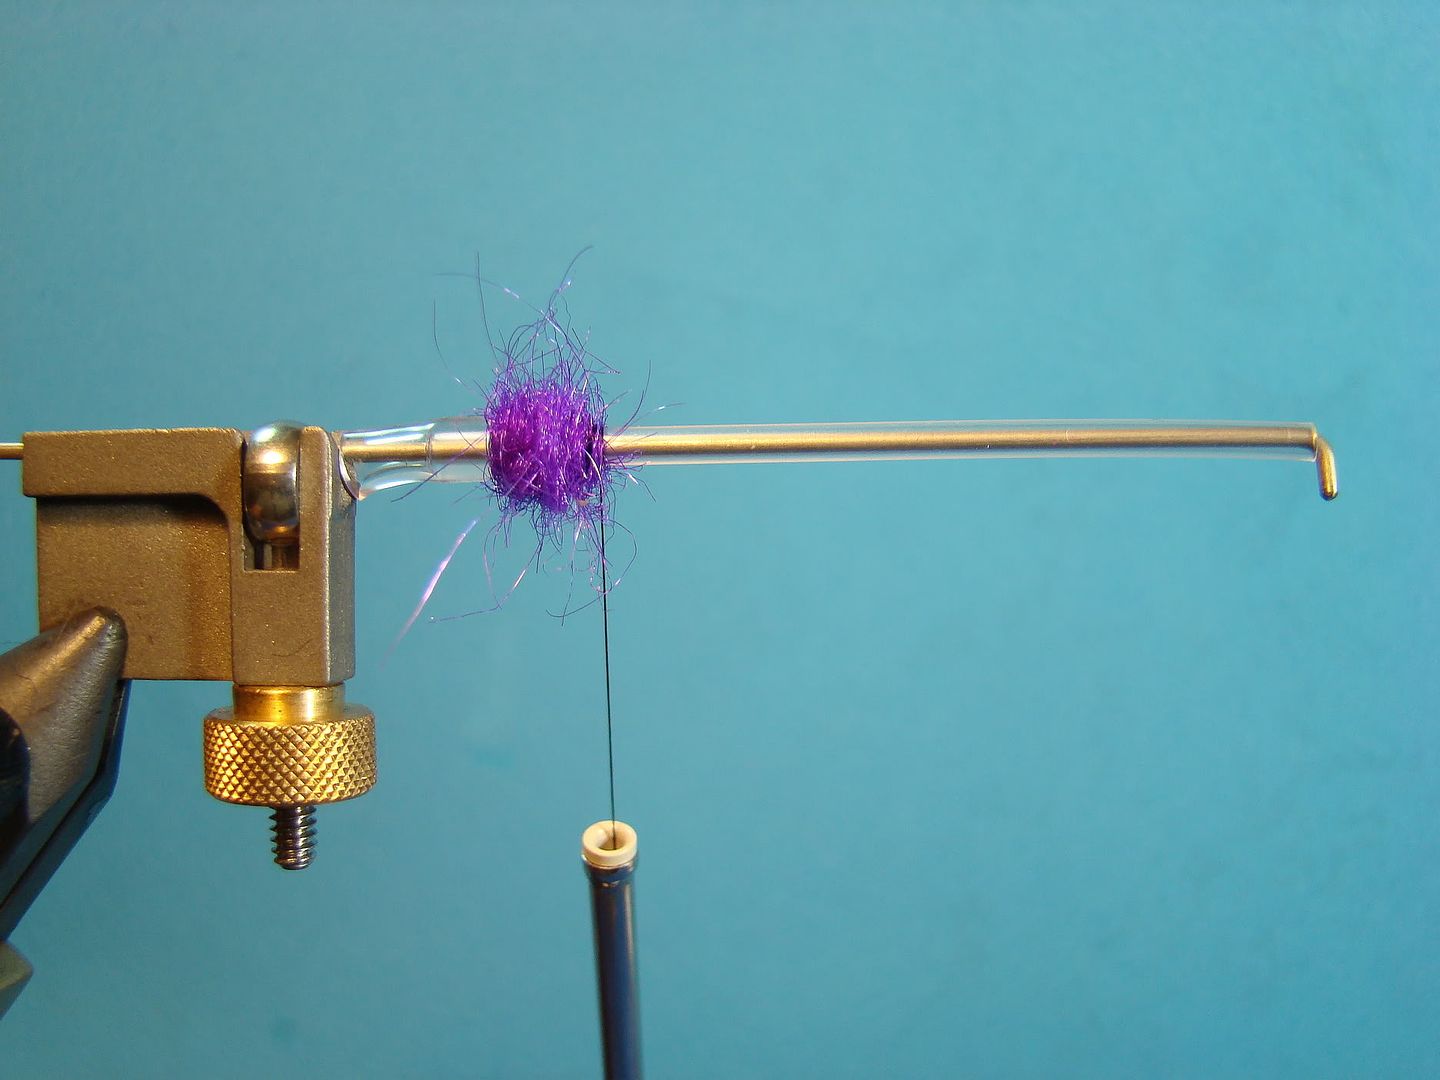
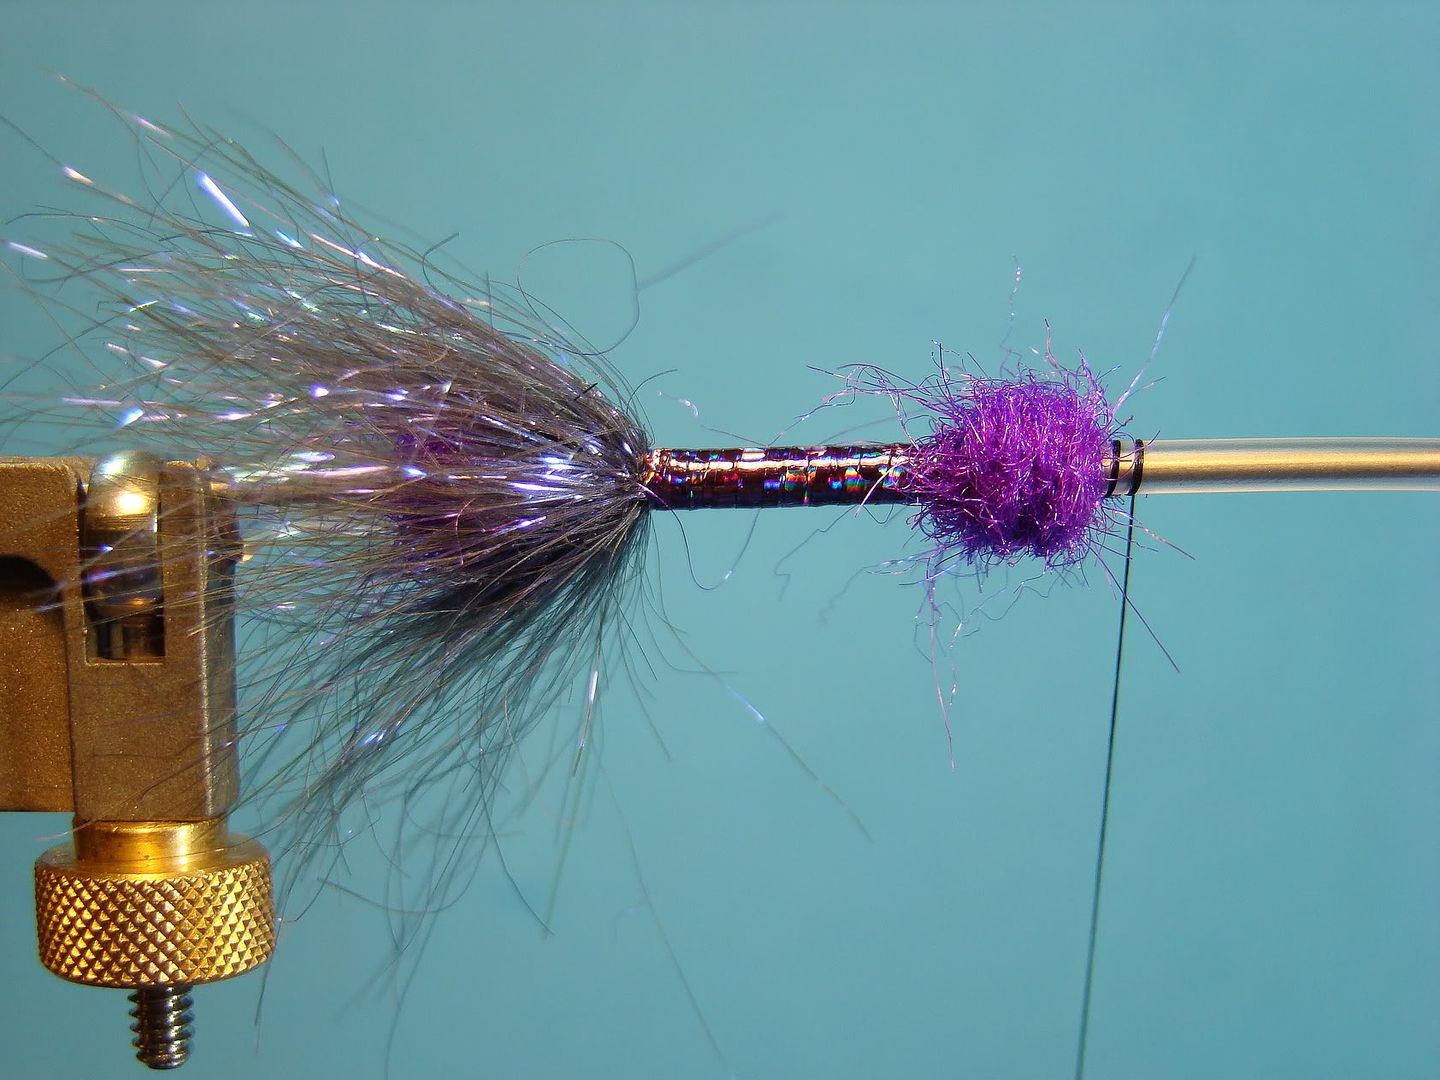
Step 1:
Dub a ball of dubbing at the rear of tube. Do not cover junction tubing.
Step 2:
Make a dubbing loop. Cut Angel Hair in approximately 2-inch lengths and place inside the dubbing loop.
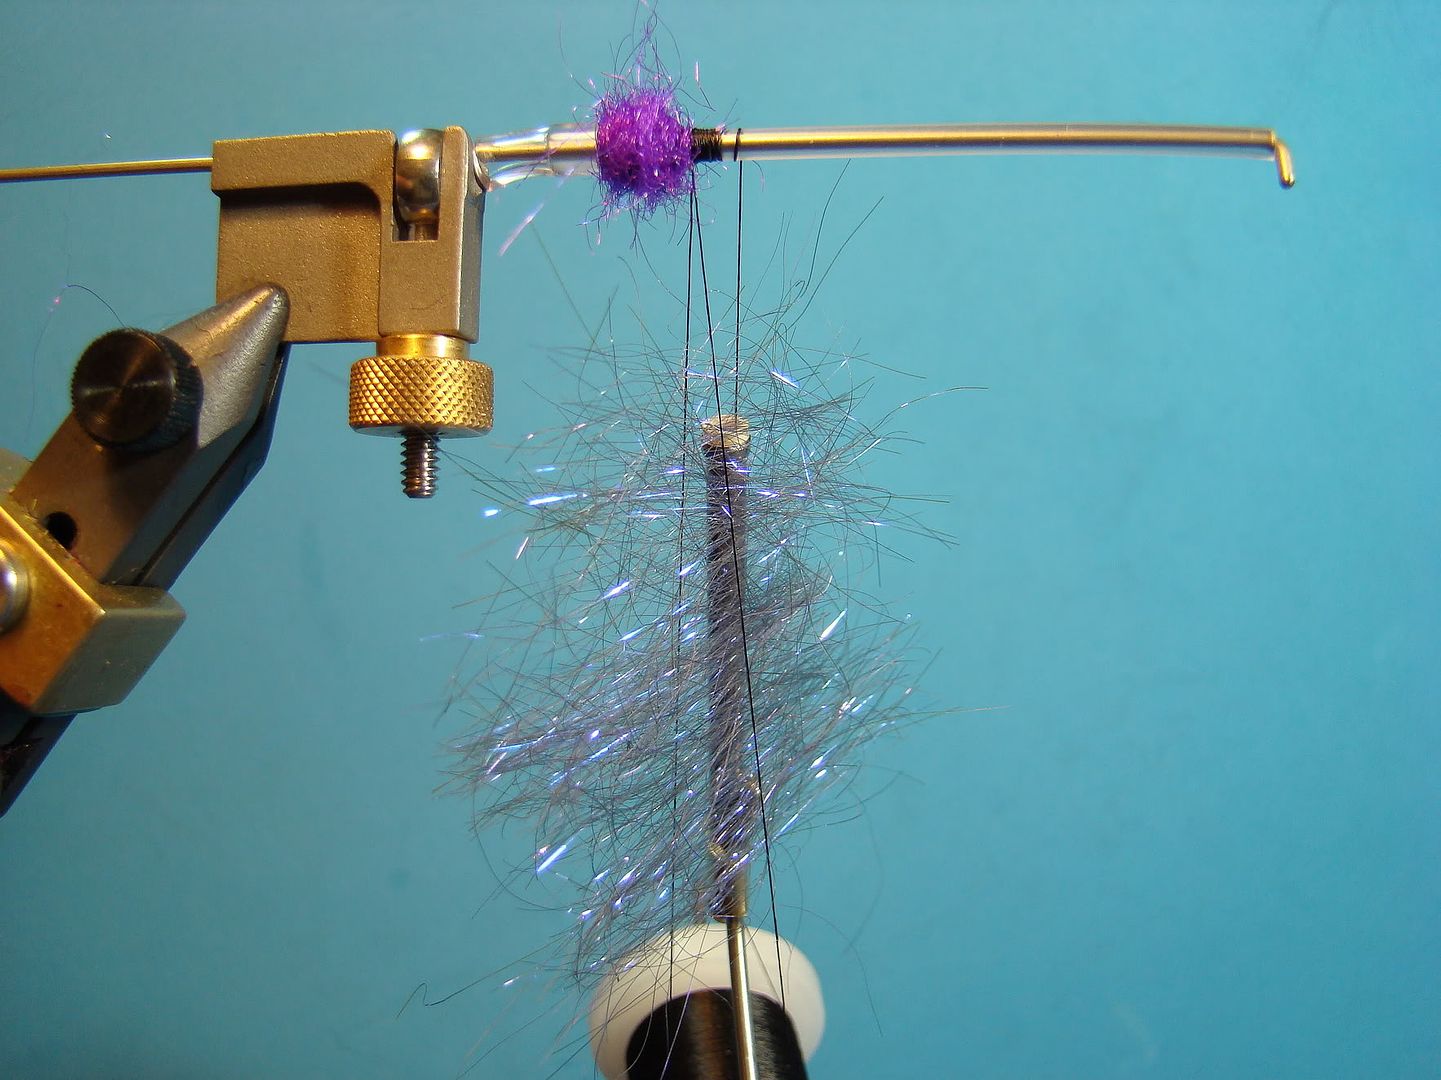
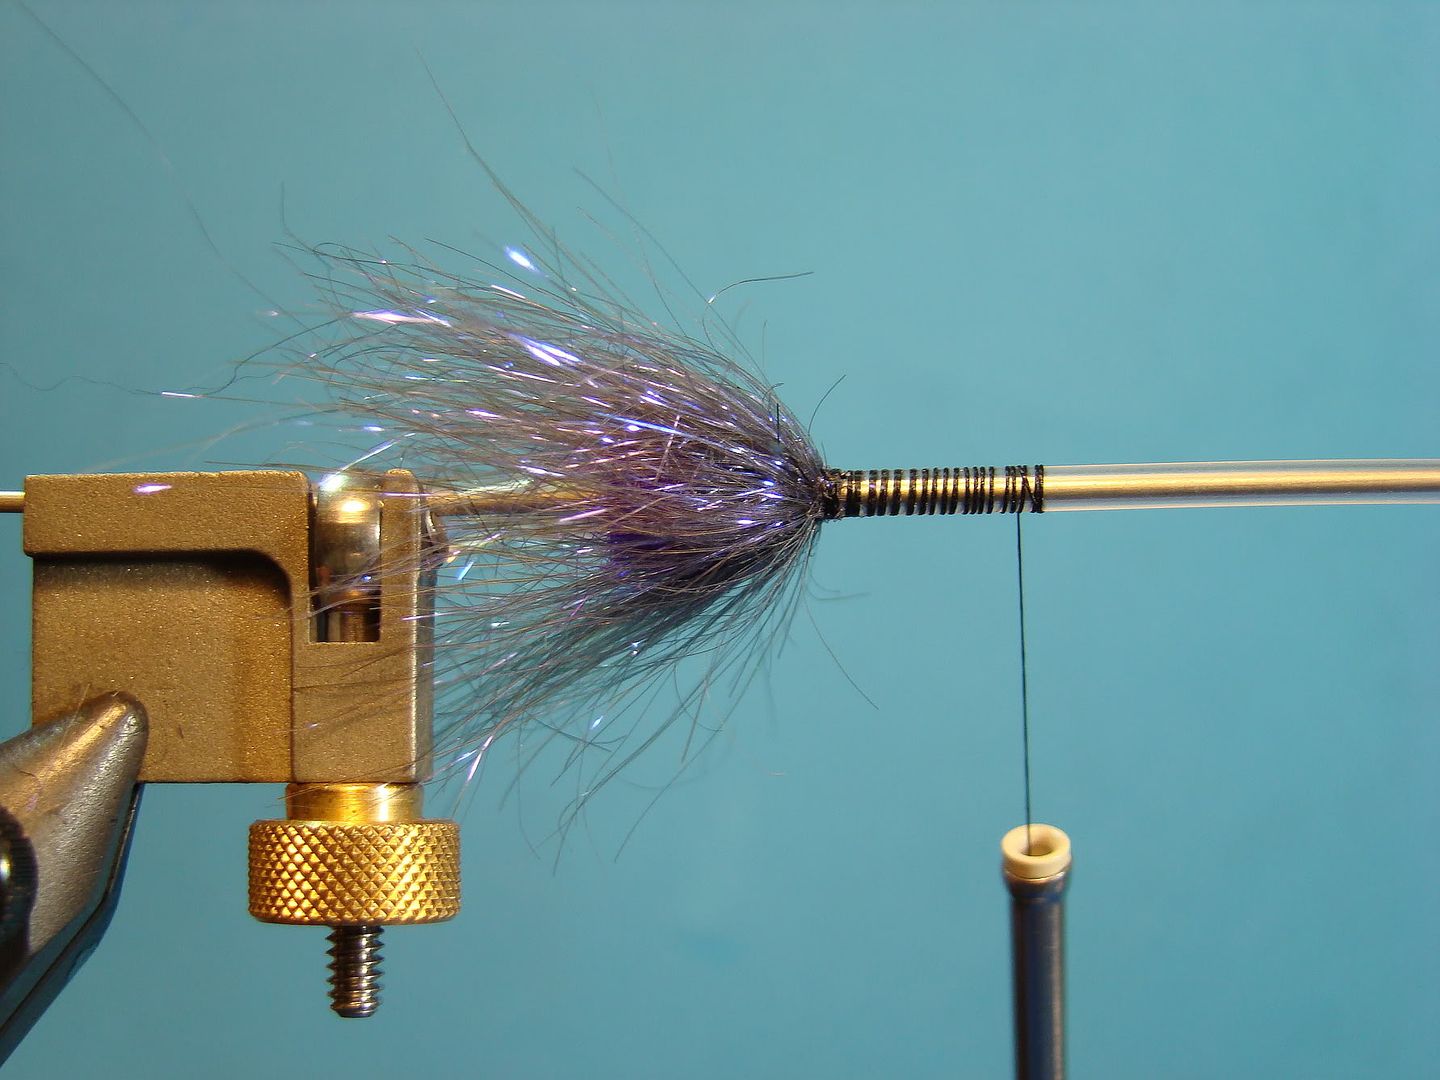
Step 3:
Spin Angel Hair until fibers stand out at a 90-degree angle. Fold fibers towards the rear and wrap three turns around tube and secure. Wind thread forward about an inch.
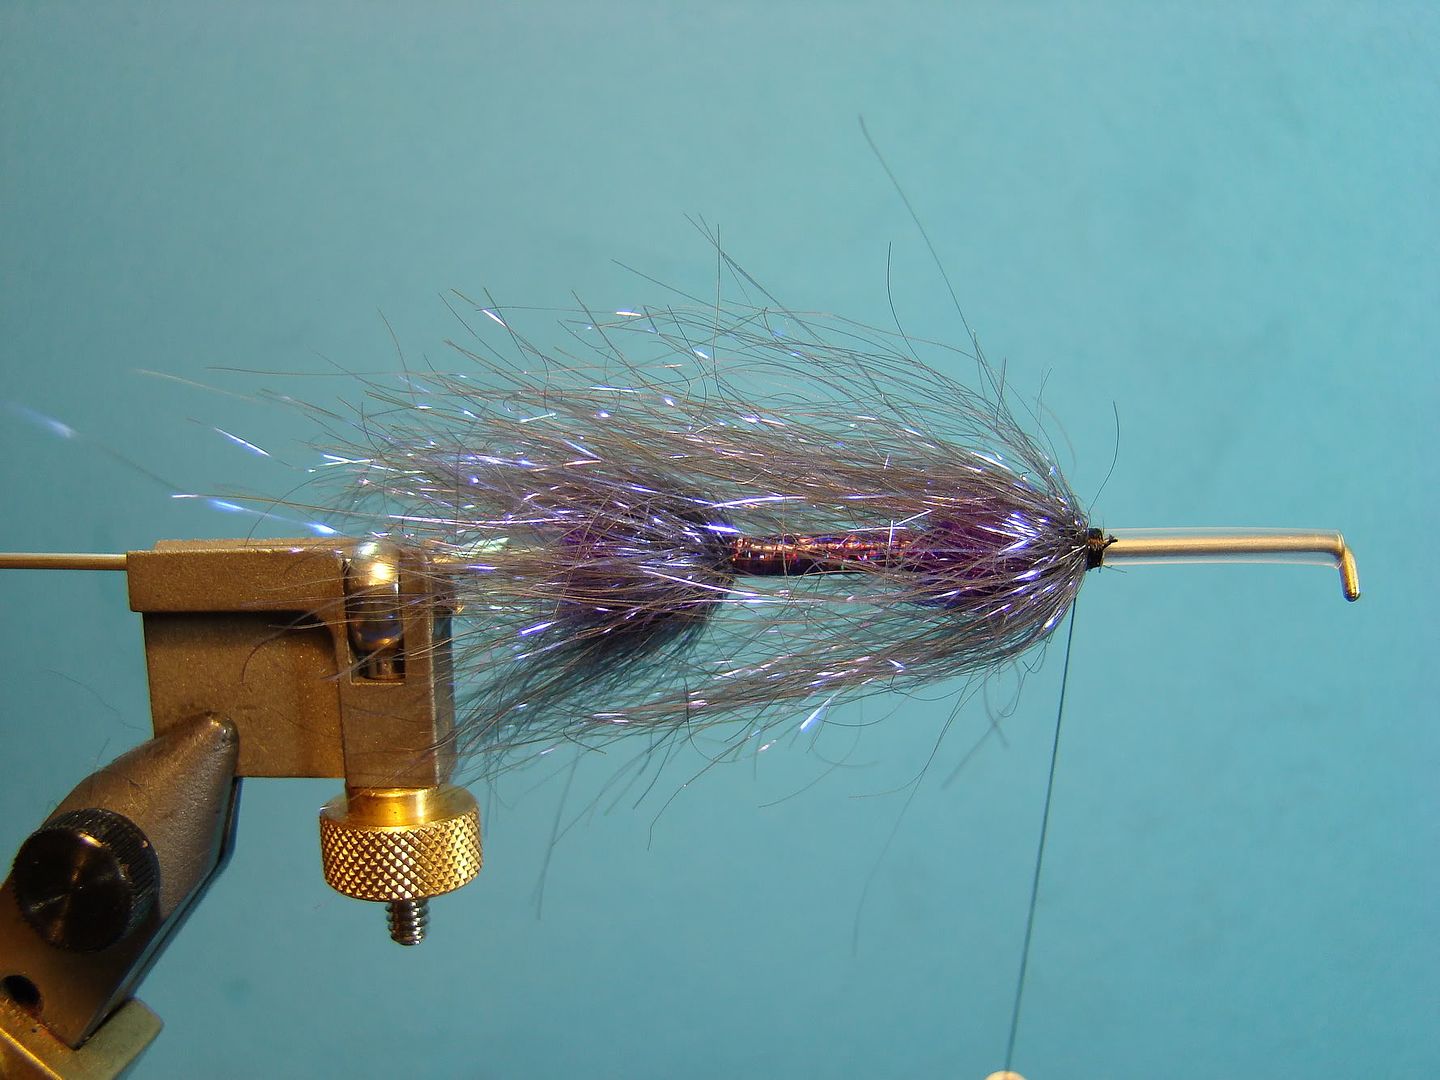
Step 4:
Tie in purple holographic tinsel. Wind to the rear and forward then secure. Apply a second ball of dubbing.
Step 5:
Repeat step 3. This time the Angel Hair should be cut to approximately 2.75-inches.
Step 6:
Take three turns of schlappen in front of Angel Hair.
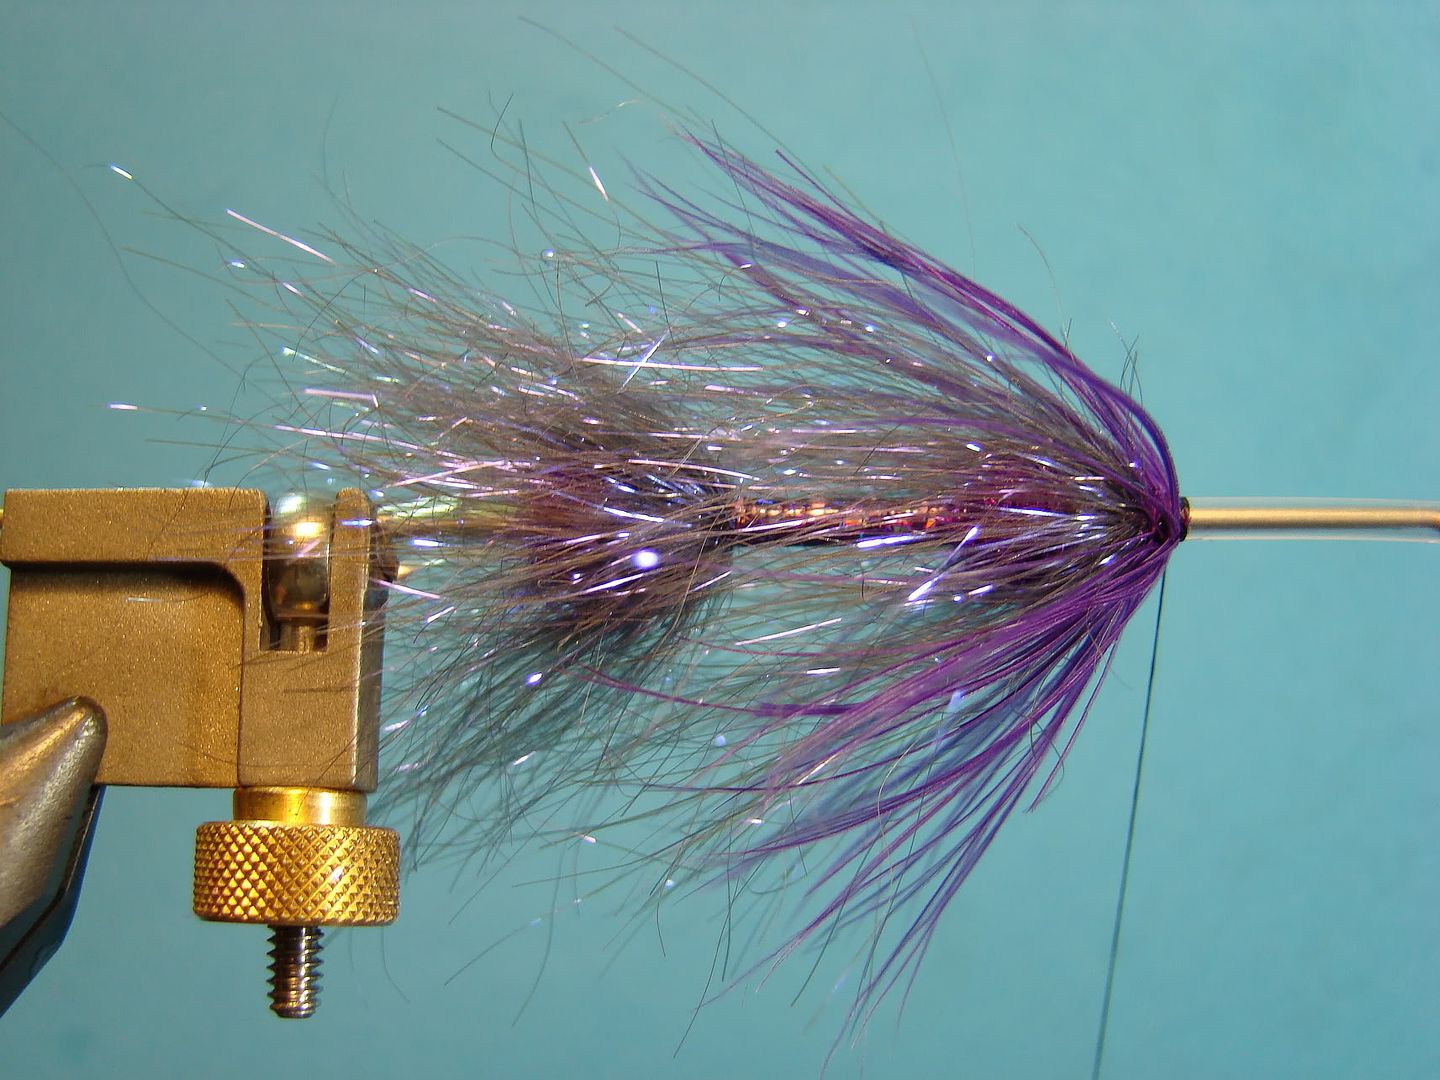
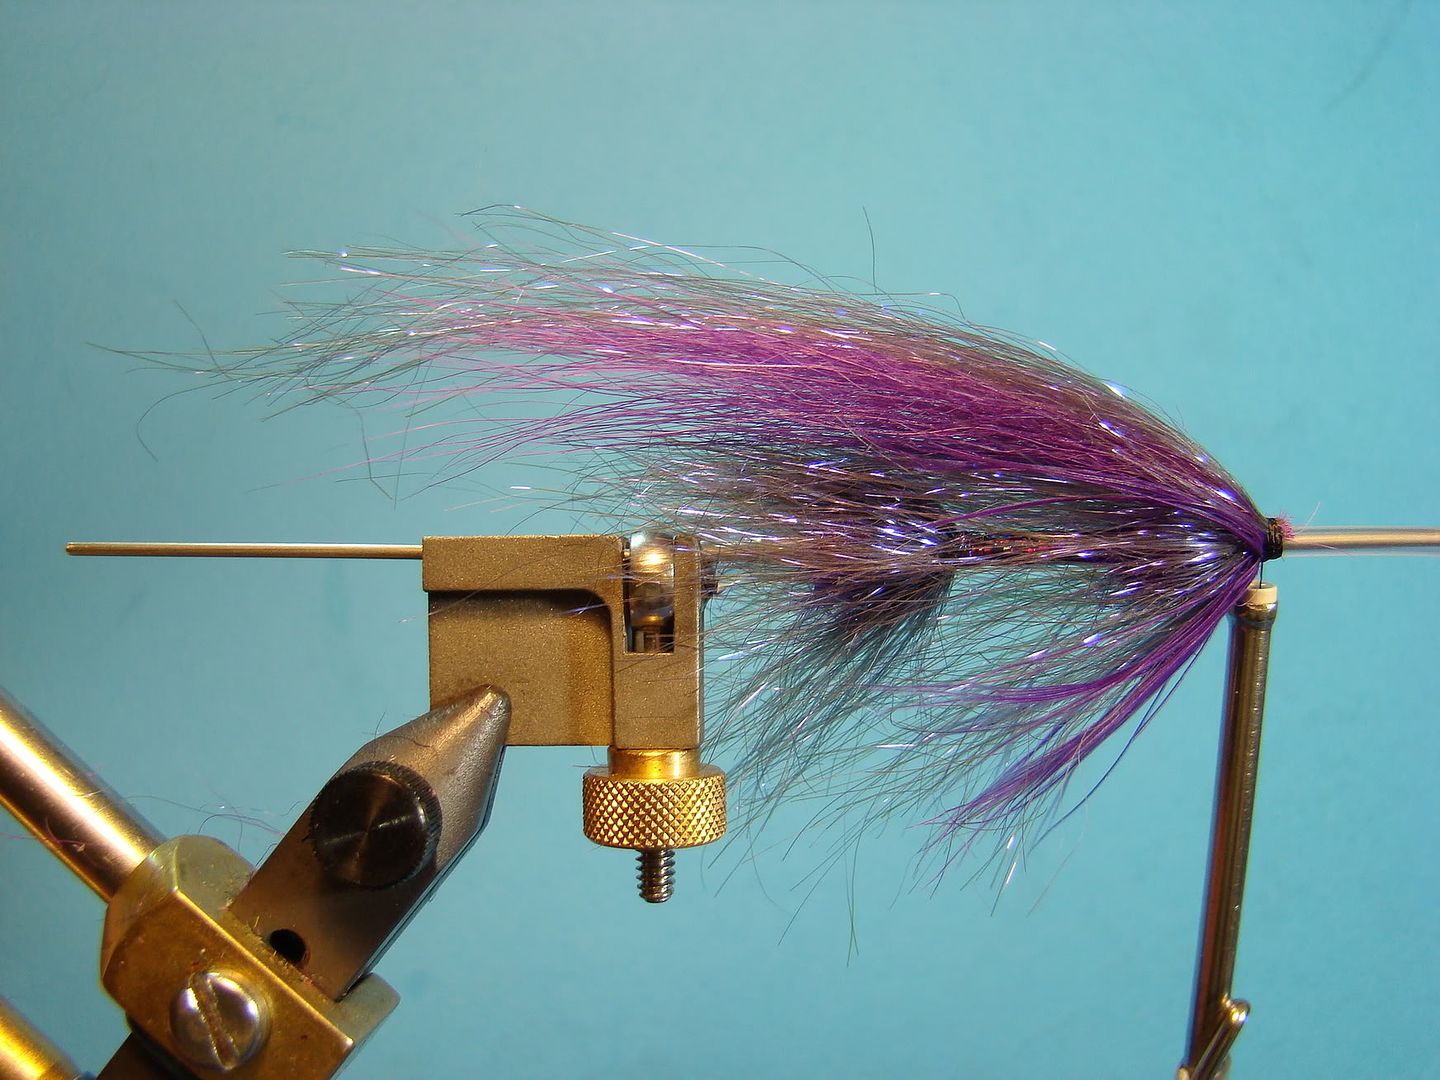
Step 7:
Apply arctic fox as an underwing. It is important to comb out most of the under fur. The wing should stand up slightly as pictured.
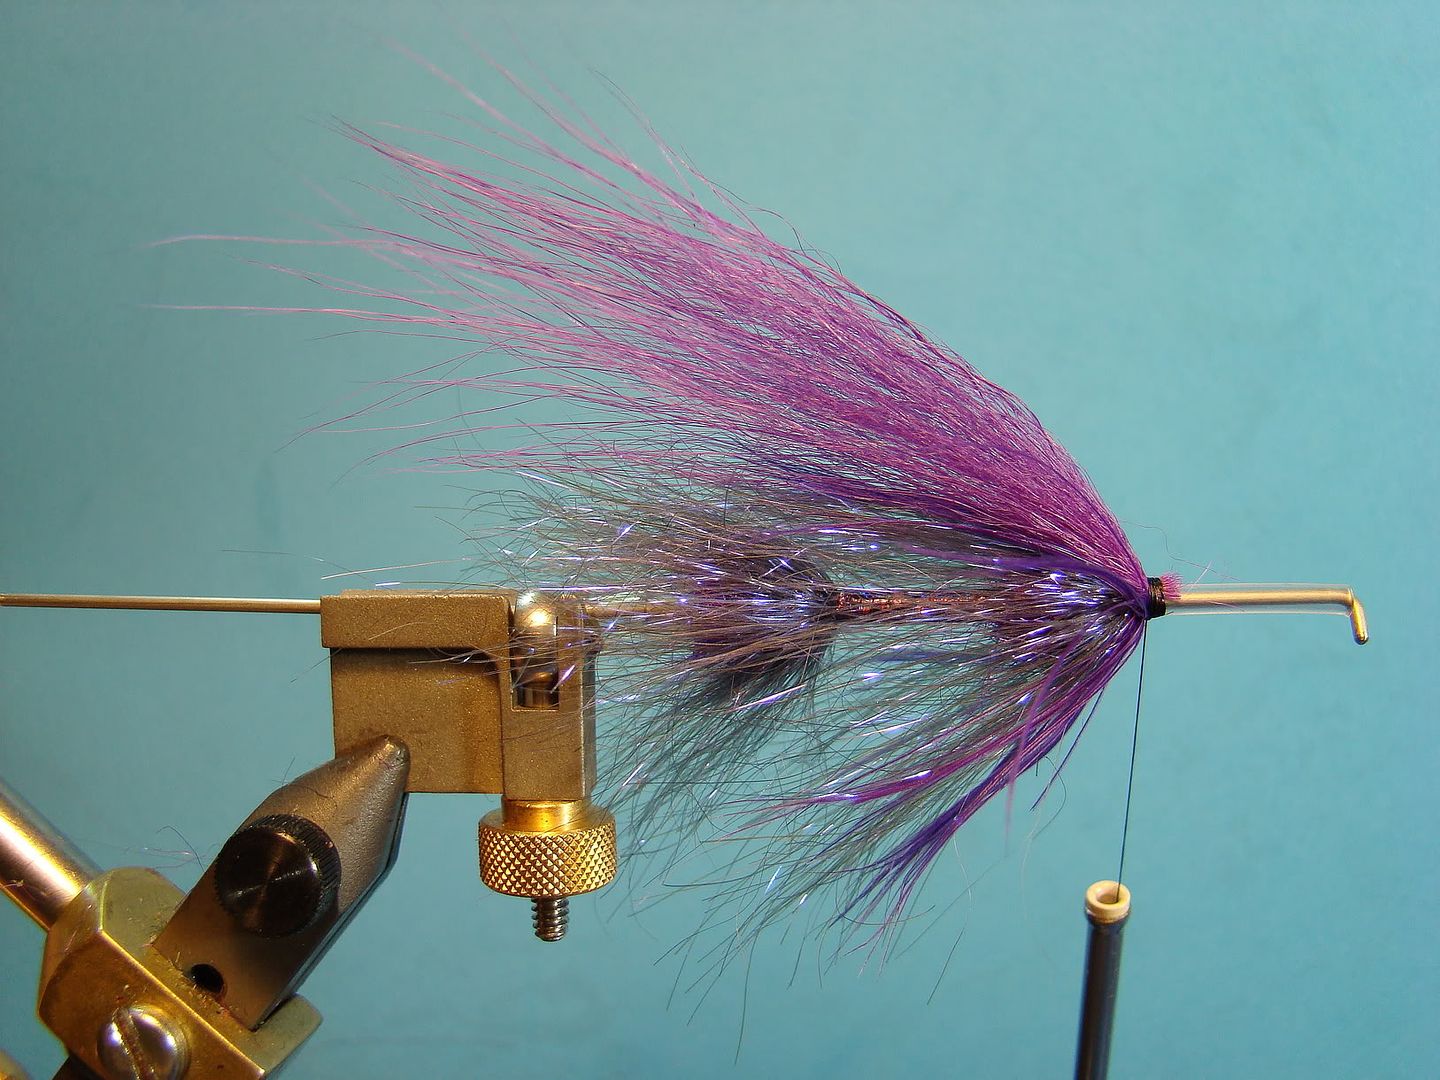
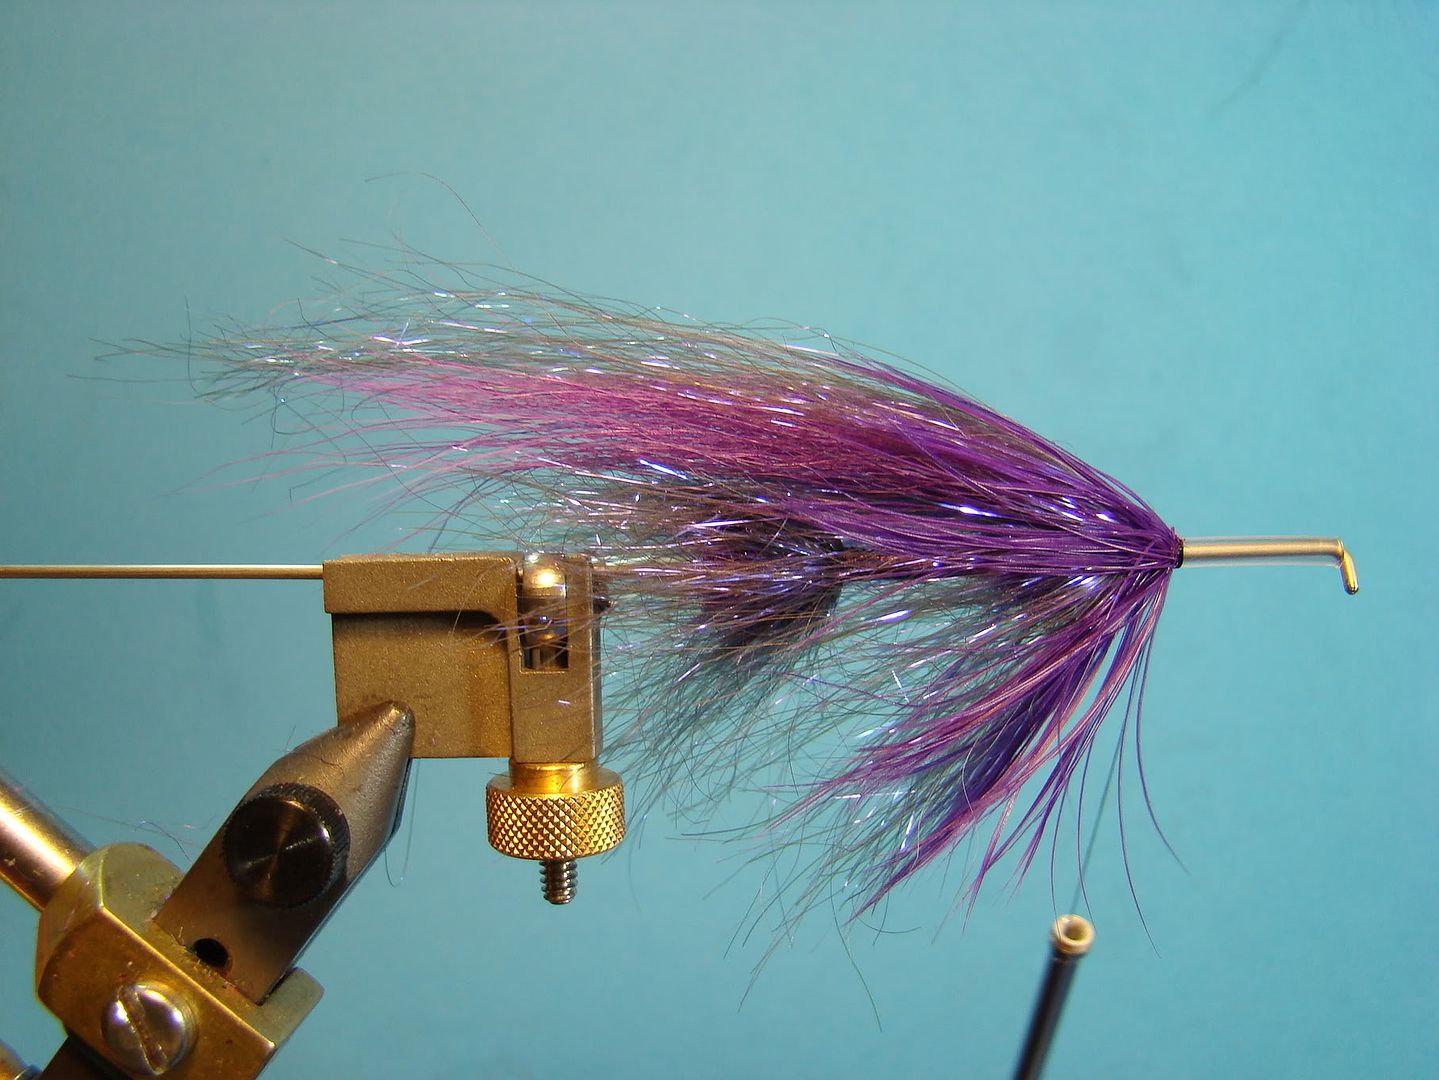
Step 8:
Apply a few highlights of Angel Hair or similar materials. Lock into place by tying material at the halfway point and then folding material over the top of wing and then taking a few wraps of thread.
Step 9:
Tie in schlappen and take another three turns.
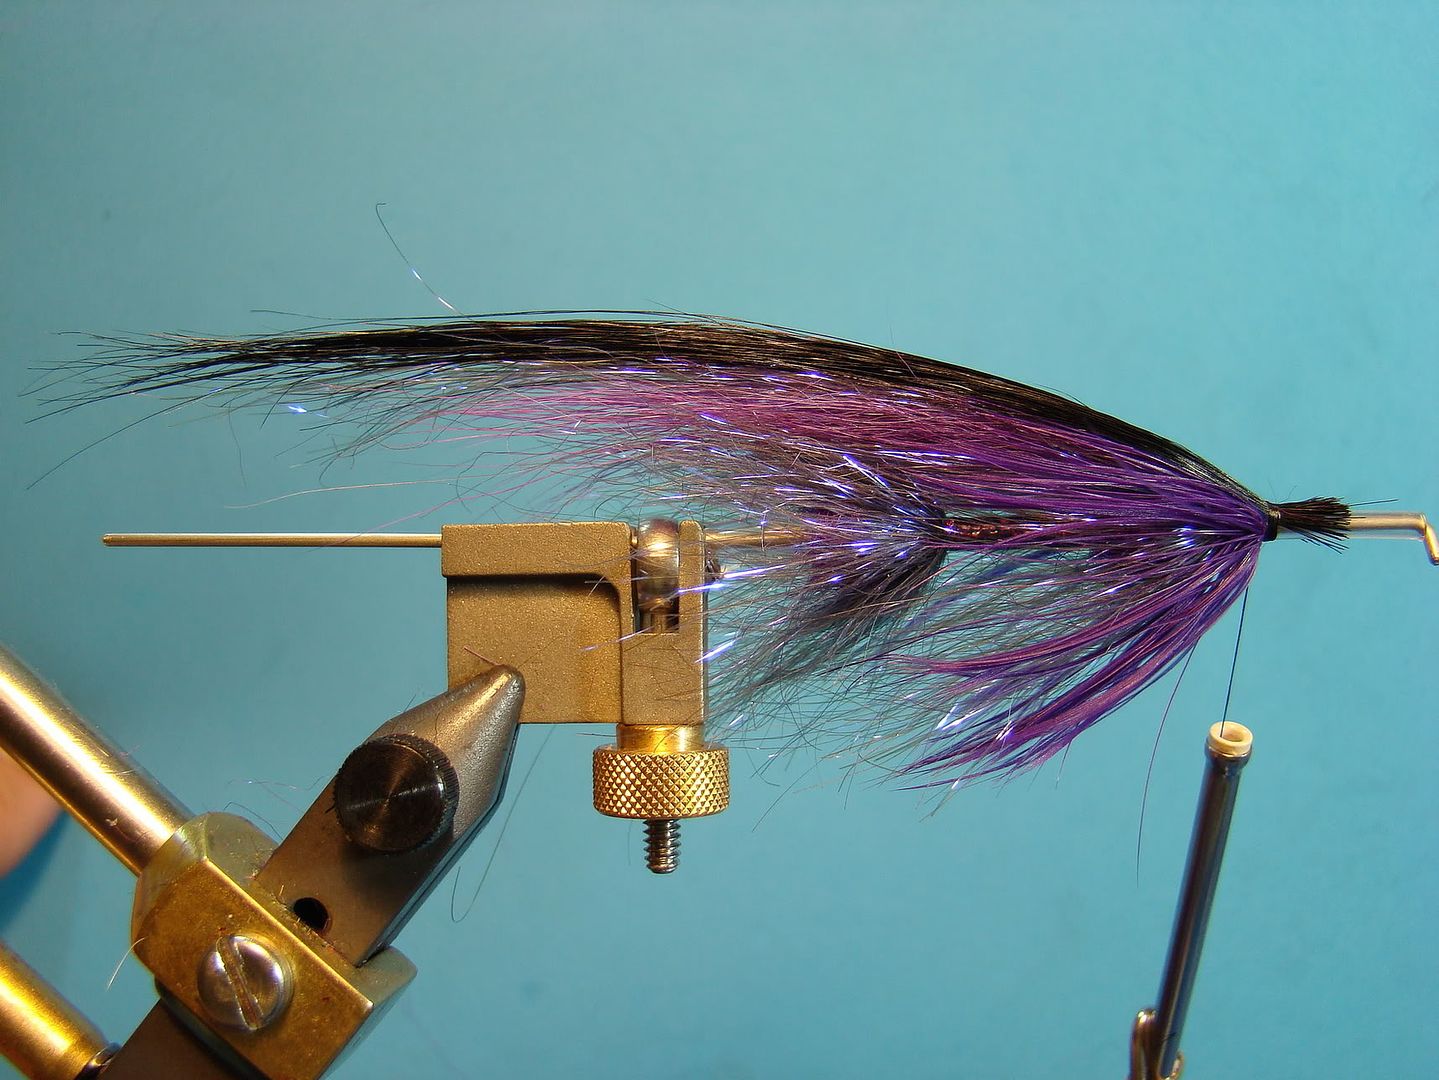
Step 10:
Tie in Cashmere goat. This hair is awesome! Very thin, wispy, and moves unlike anything you've seen! Length of wing is approximately 2-times the body length.
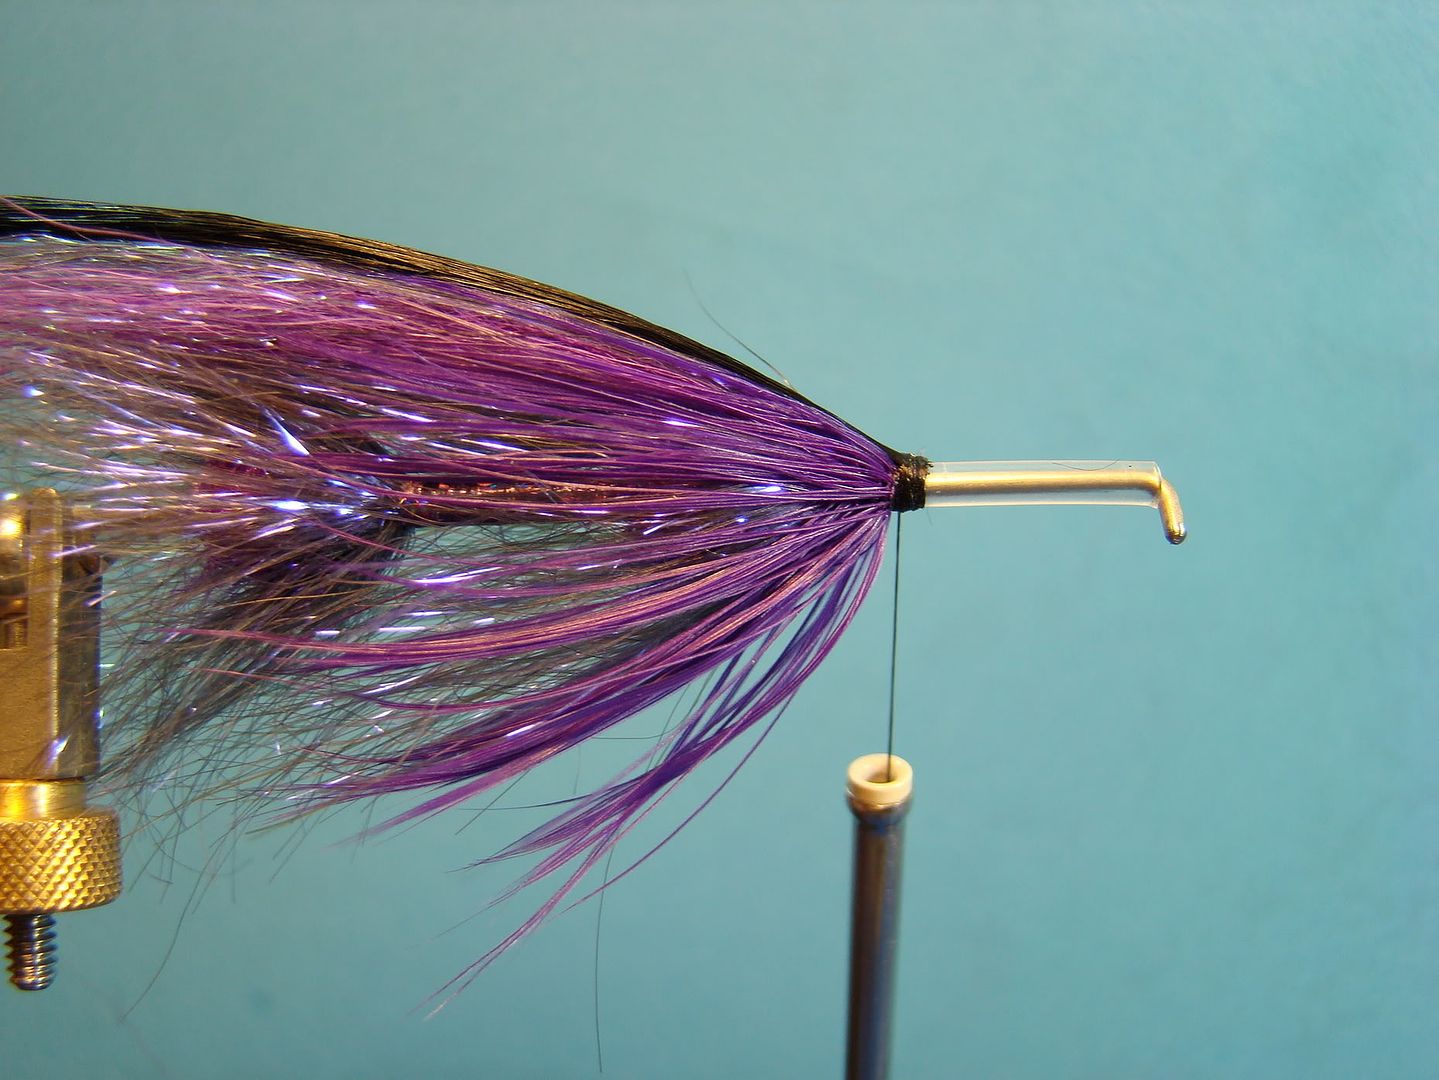
Step 11:
Instead of cutting the ends of the goat hair with scissors, a closer cut should be made with a razor blade. This will help finishing with a small head.
Step 12:
Jungle cock can be added for the cheeks although not necessary.
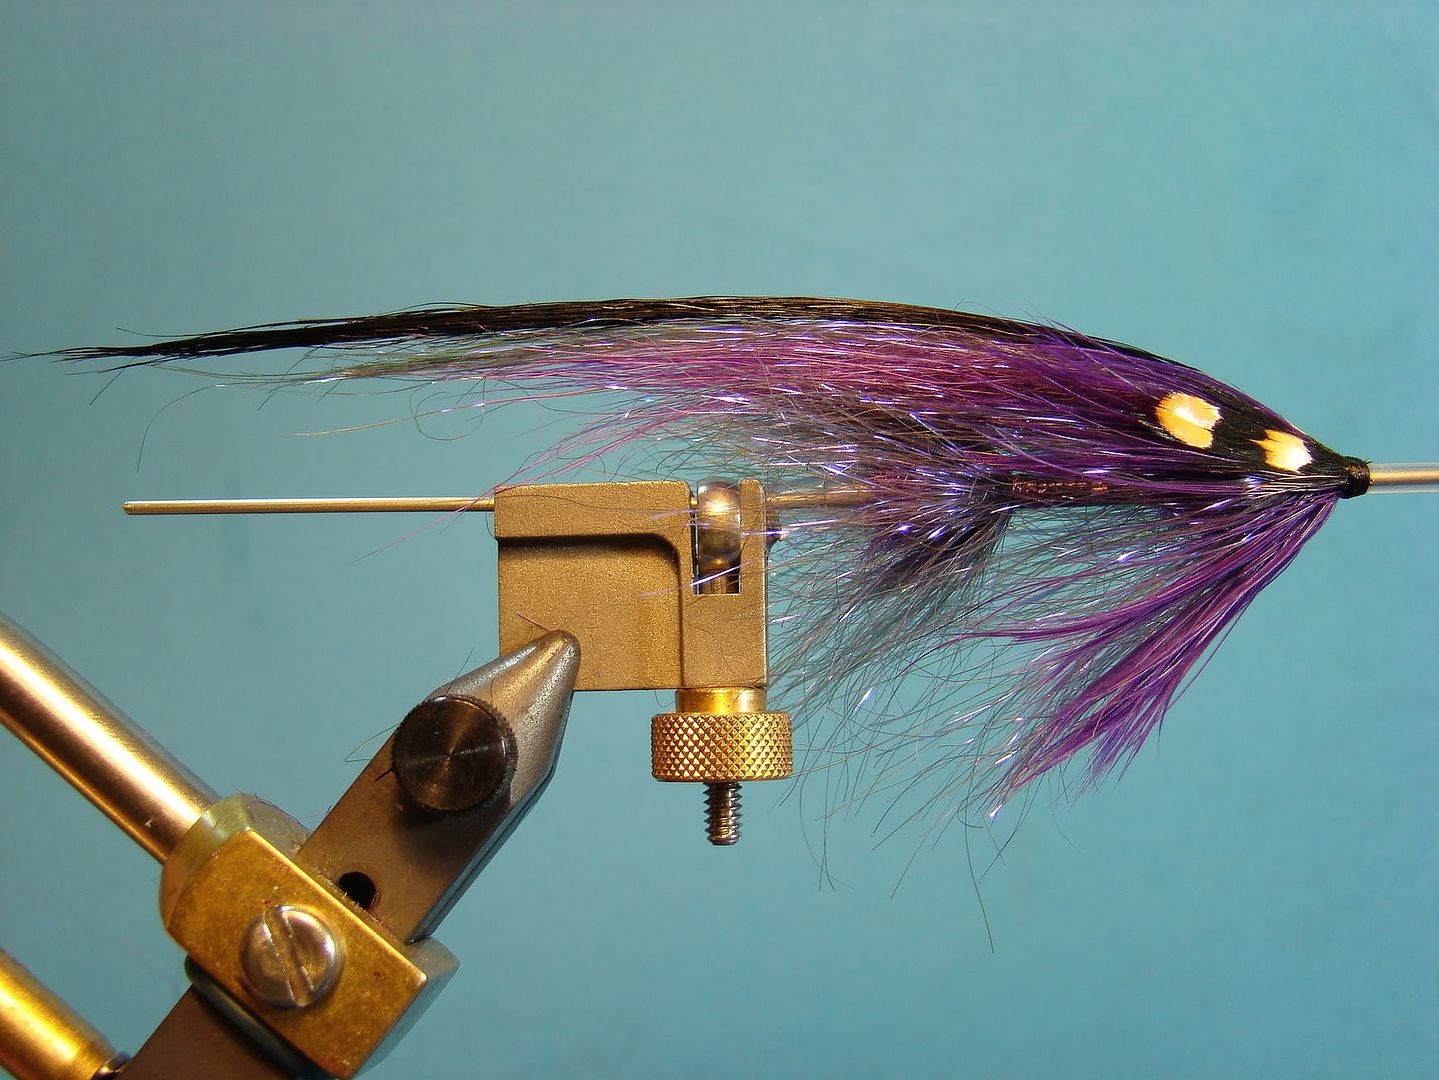
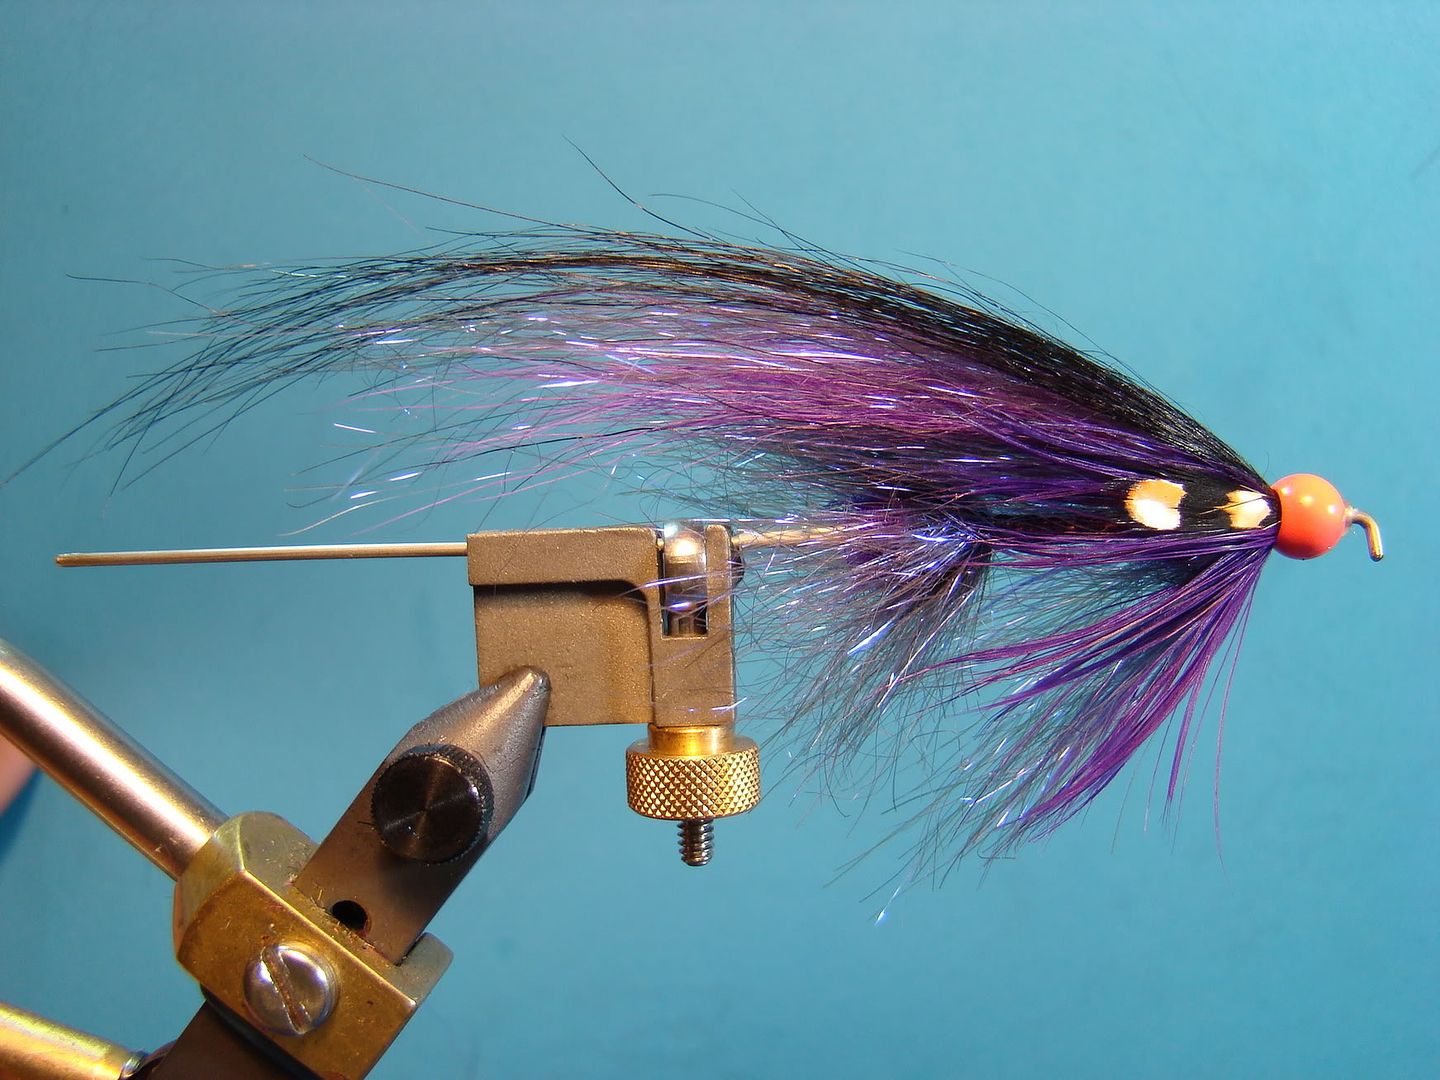
In the below pictured I applied head cement and could have cut the tubing short to complete the fly.
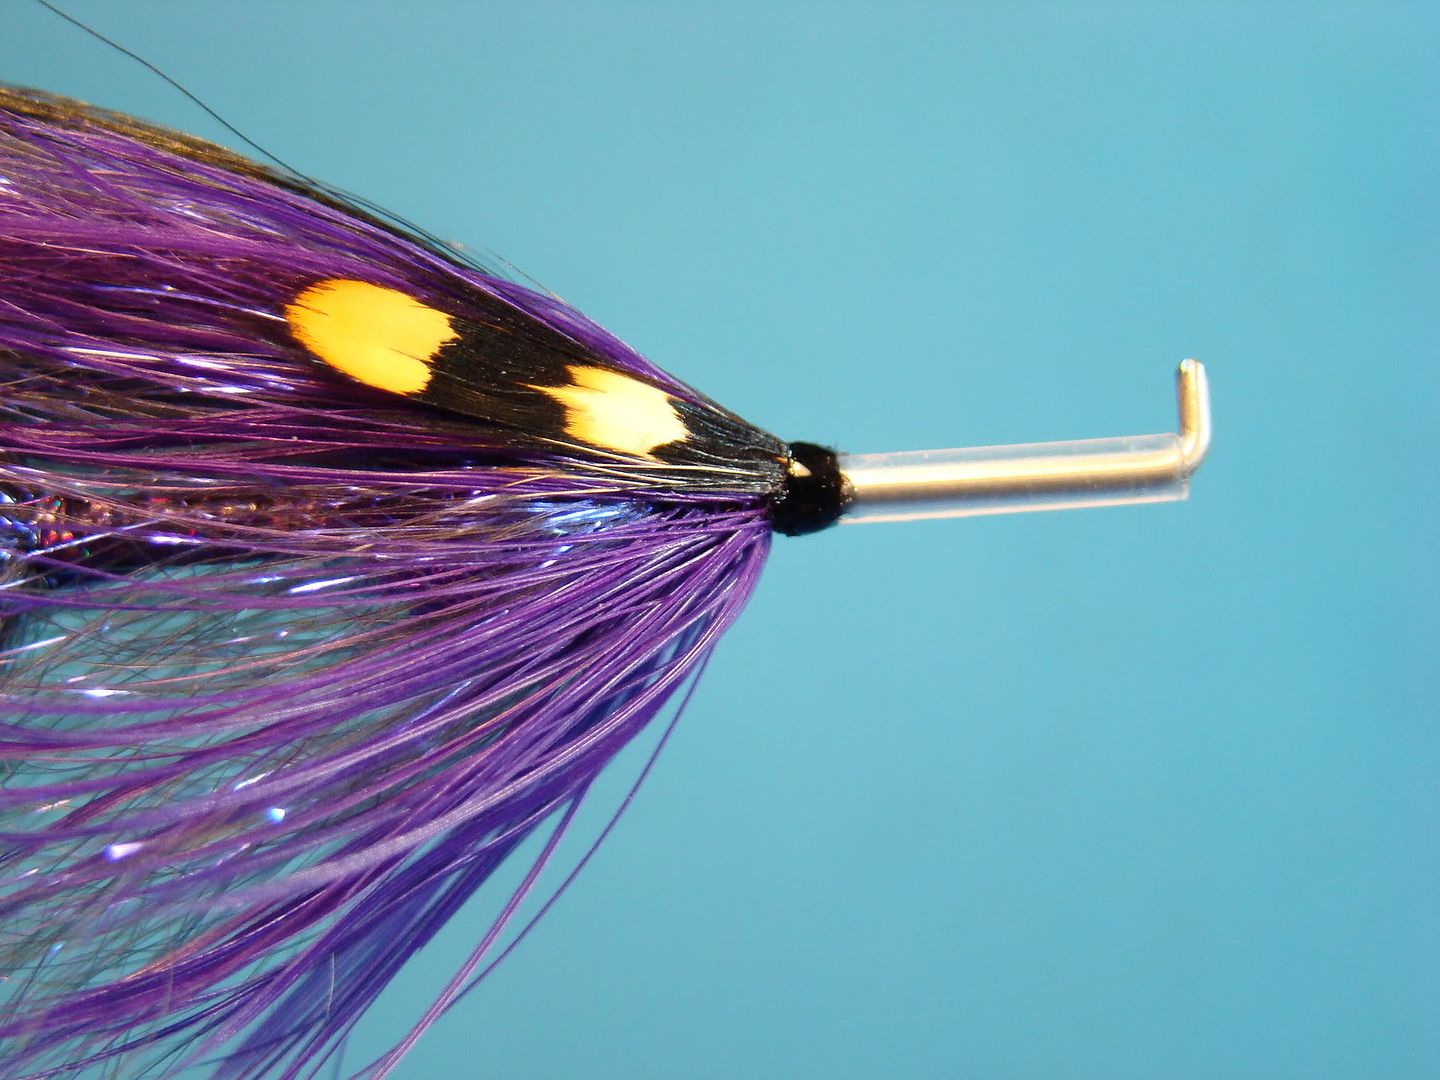
Adding a cone or bead is a personal choice. Most anglers will elect to add a cone. Once the cone or bead is in place remove fly from the mandrel and take a razor blade cutting back the remaining tubing. Leave yourself just enough tubing to take a flame and roll the edge back- securing the bead on the tube. One recommendation I'll pass along is reversing the fly on the mandrel and then applying the flame. Placing the fly back on the mandrel during this process will prevent the end of tube from collapsing or closing.
Again, this is a year around pattern. While the fly looks large and bulky it is going to thin down a lot in the water. (It is 3-inches in length.) Color combinations are endless. Try red and copper or blue and copper in the winter. Pink and purple are tried and true during the summer months as well as the above color combinations. Have fun practicing tying this highly productive style of fly!
No comments:
Post a Comment