Mel Krieger is credited with introducing the Steelhead Bunny to steelhead fishing in the late 1960's. He got the ideal during a trip to New Zealand where the locals were using rabbit strips tied Matuka style over various body colors. Krieger then tied his rabbit strip as a replacement for rubber worms he used for bass fishing. Soon he began casting his leech pattern for trout and it wasn't long before the pattern eventually made it's way in the steelhead realm.
The original Steelhead Bunny tied by Mel was a very simple fly. Red thread coated the hook for the body and then the rabbit strip was first tied in towards the eye of the hook. Next, the rabbit strip was then tied to the shank at the mid way point and again at the area above the hook point. To complete the fly, another strip was attached and wound as a collar- usually one turn.
It is believed that Les Johnson was first to wrap the entire body with a rabbit strip. It is safe assume that Les was looking to save time at the bench, possibly a fuller silhouette, or perhaps looking for certain tail/body color combinations. Nonetheless, little did he know at the time, his style is now the standard for Steelhead Bunny's.
The rabbit strip remains as a "must have" material to compliment a great steelhead fly. Rest assured the Bunny Leech is one of the deadliest and should be in your fly box; whether tied on a hook, MOAL (Mother of all Leeches) style, or a tube! So let's take a look at perhaps the simplest steelhead fly to tie.
I have also added pictures showing a few different color combinations and styles to help get the creative juices flowing at the end of the blog.
Materials:
Hook: Alec Jackson (or choice)
Thread: 6/0 Euro (color to compliment fly)
Tail: Rabbit strip (color of choice)
Body: Rabbit strip (color of choice)
Collar: (Optional)
Note: I do not add weight or beads to the Steelhead Bunny when tied directly on a hook. I feel this adversely affects the action of the fly in the water.
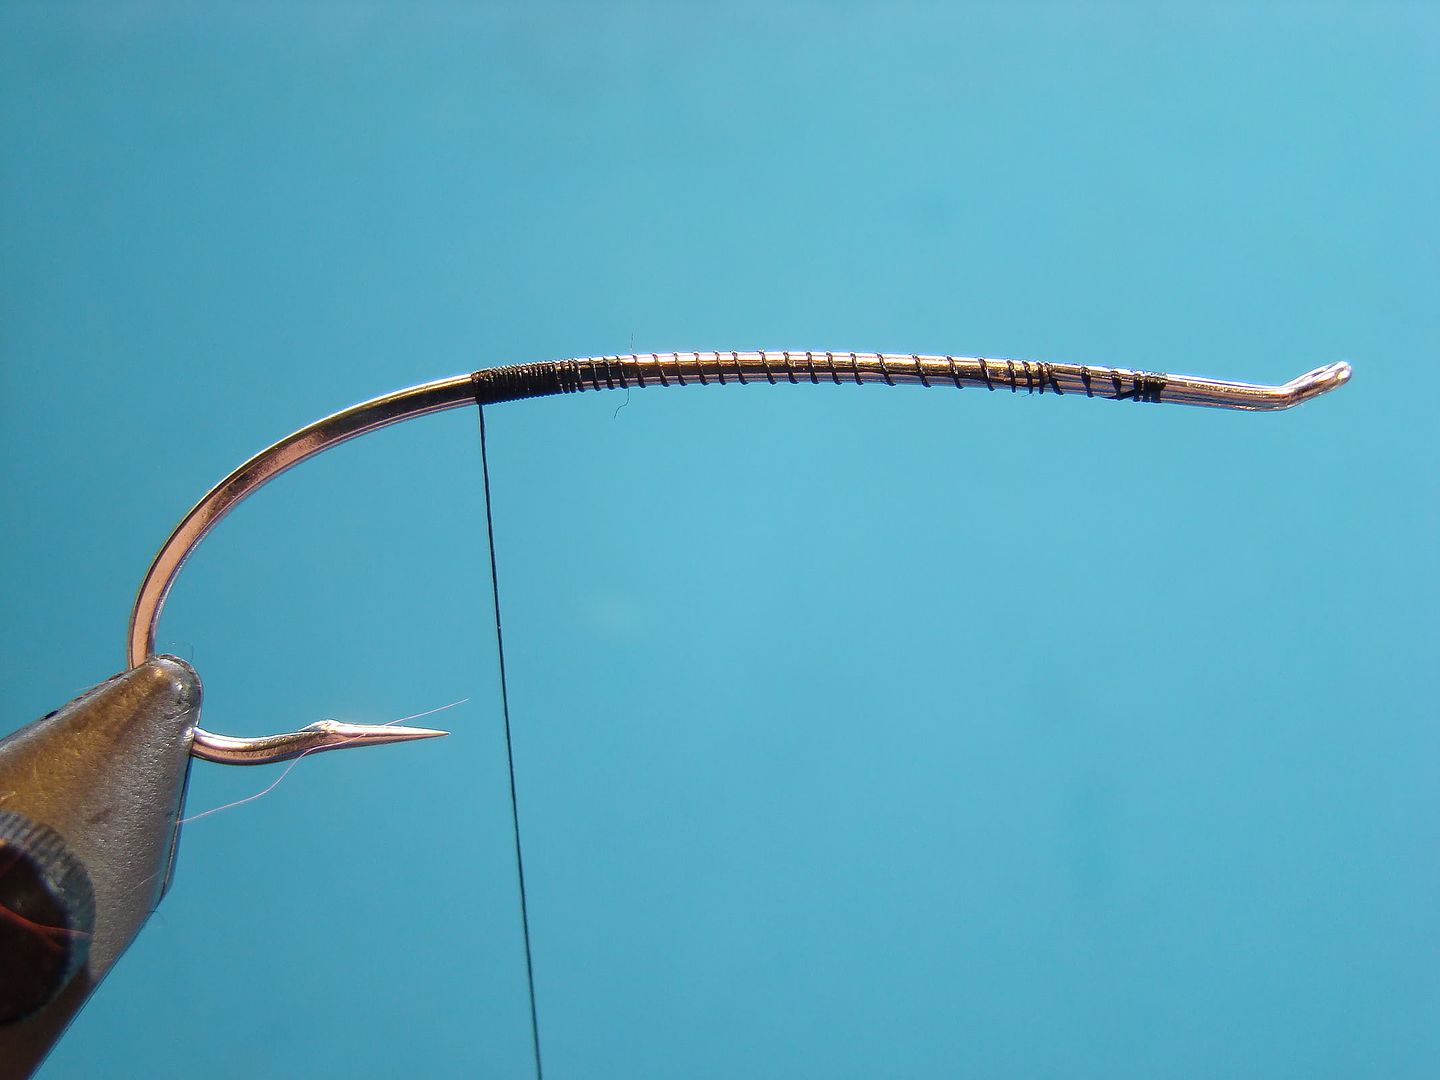
Step 1:
Start thread on the returning loop of hook. Wind to the back. Note that I have close wraps at the back. This will keep the rabbit strip tail from rolling around the hook shank when tied in.
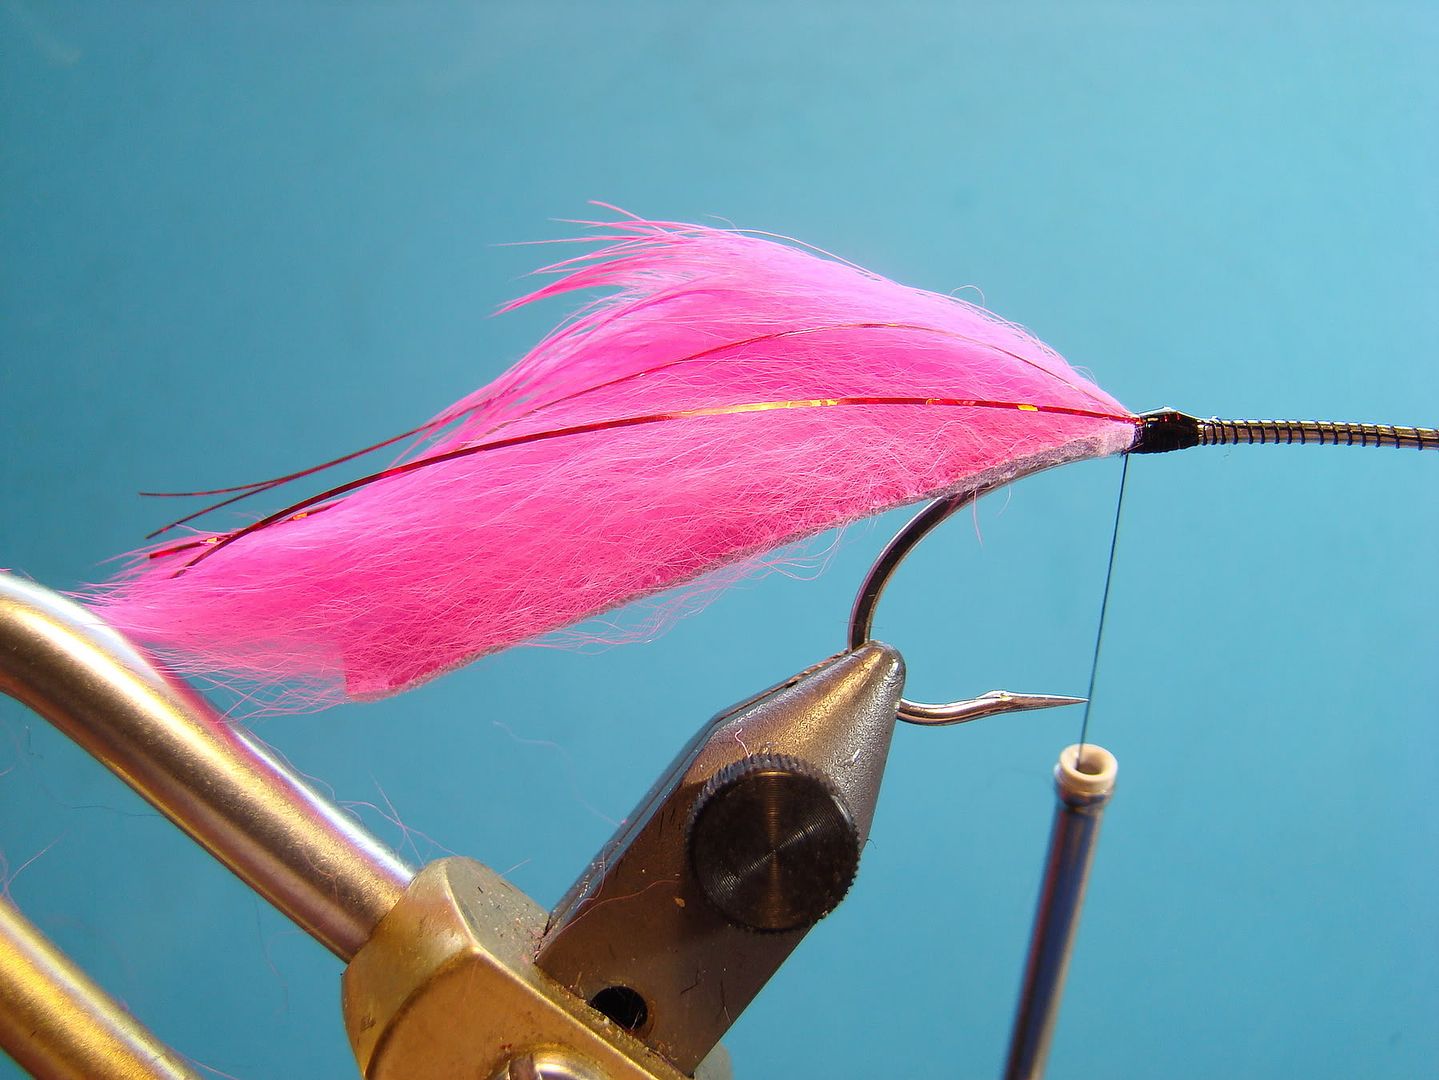
Step 2:
Select rabbit strip (color of choice). As a general rule of thumb, the length of strip should not be more than one hook length (pictured). (Again, I prefer the tails a little shorter to avoid short strikes.) Cut a point in to end of the strip (see Steelhead Matuka). Apply a drop or two of head cement to thread wraps on back of hook shank. Secure tail with several wraps. Add flash material of choice (optional). Once tail is secured, add another drop or two of head cement.
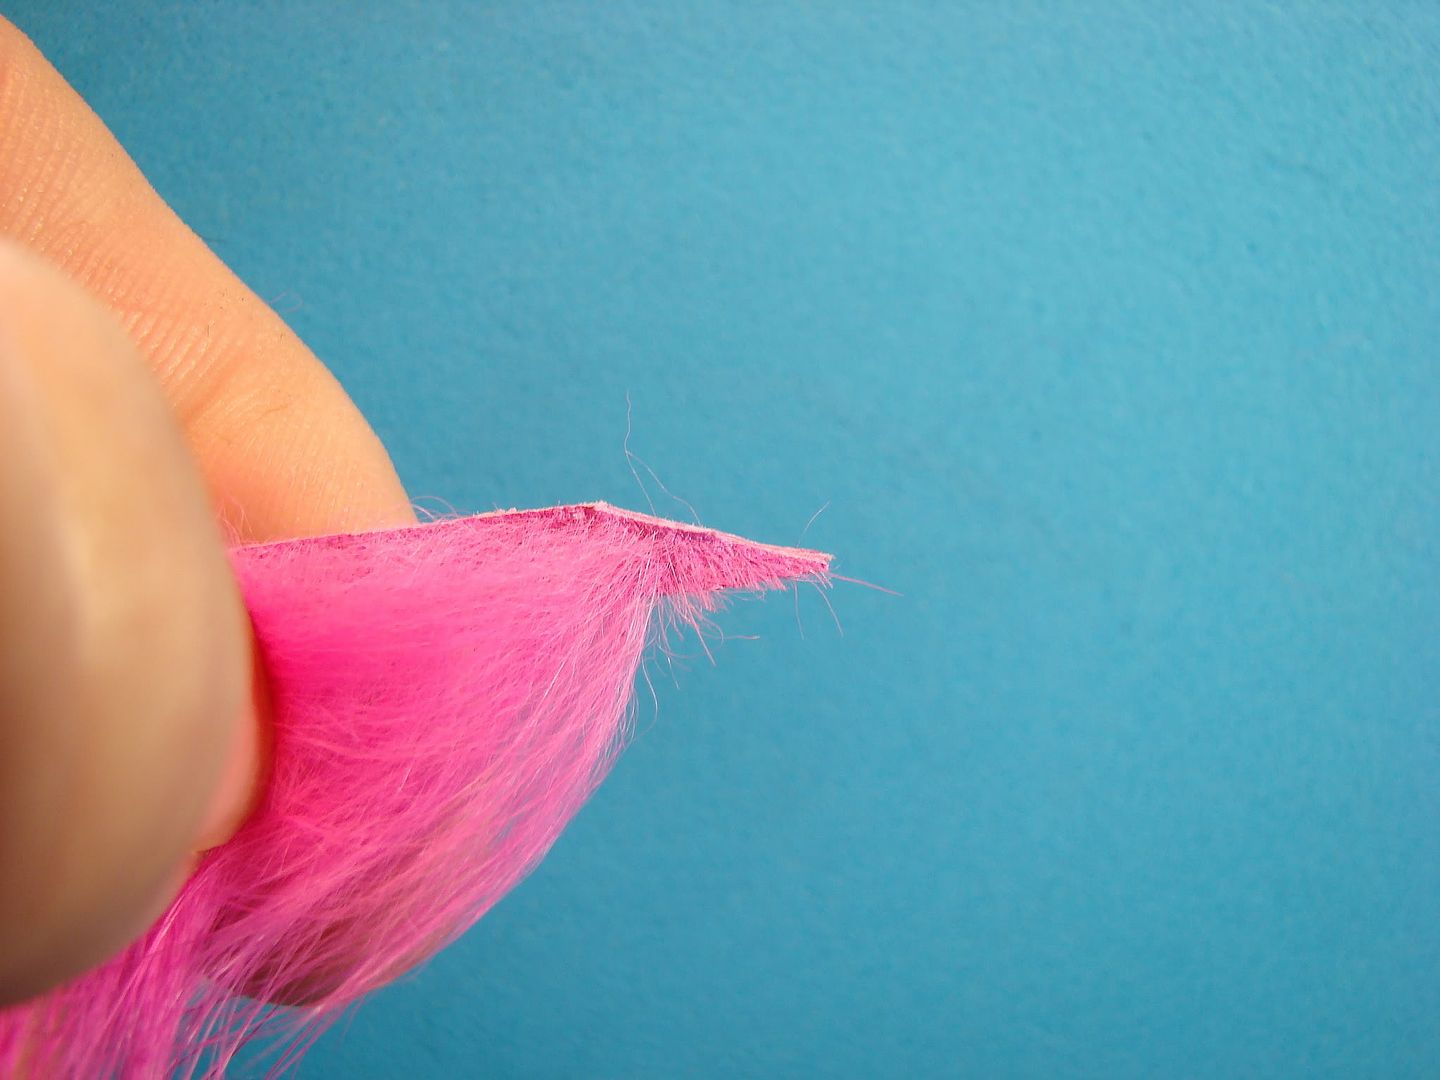
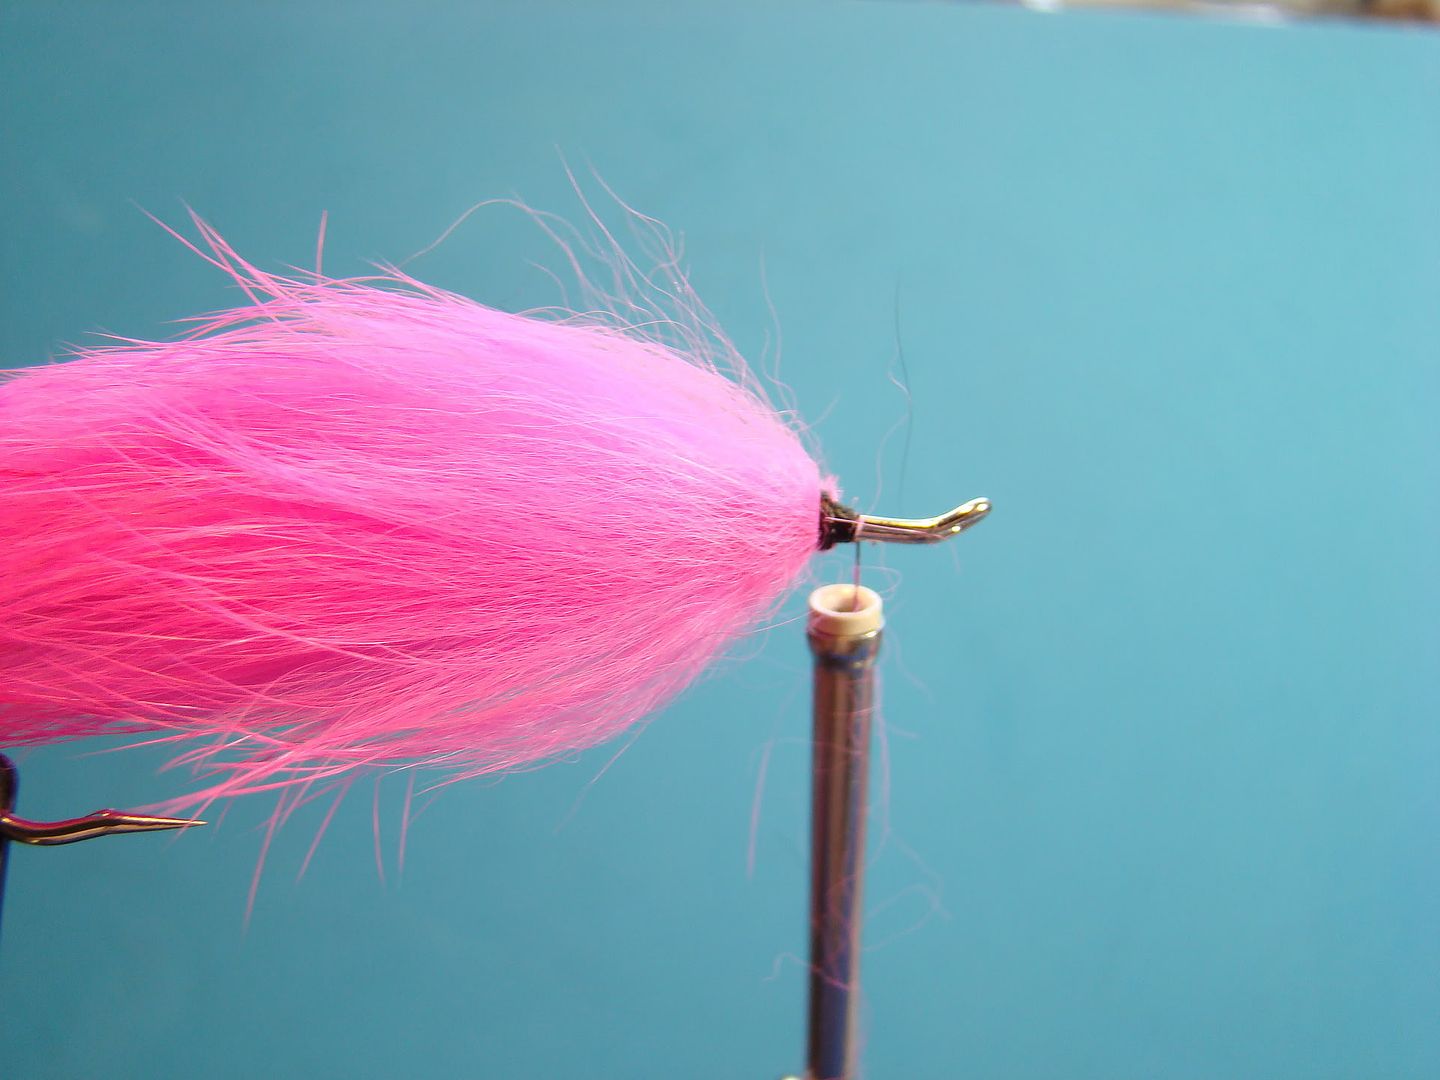
Step 3:
Select rabbit strip (color of choice) and cut a tapered edge as pictured. This cut will allow for a smaller tie in area and an easy transition when wrapping the strip without a big bump/hump at the back of the fly.
Tie rabbit strip in by the tip. Next, apply a little head cement to previous thread wraps and coat the hook shank. This will adhere the strip to the hook shank prolonging the life of the fly. Note the easy transition of thread on the hook shank after tying the the strip.

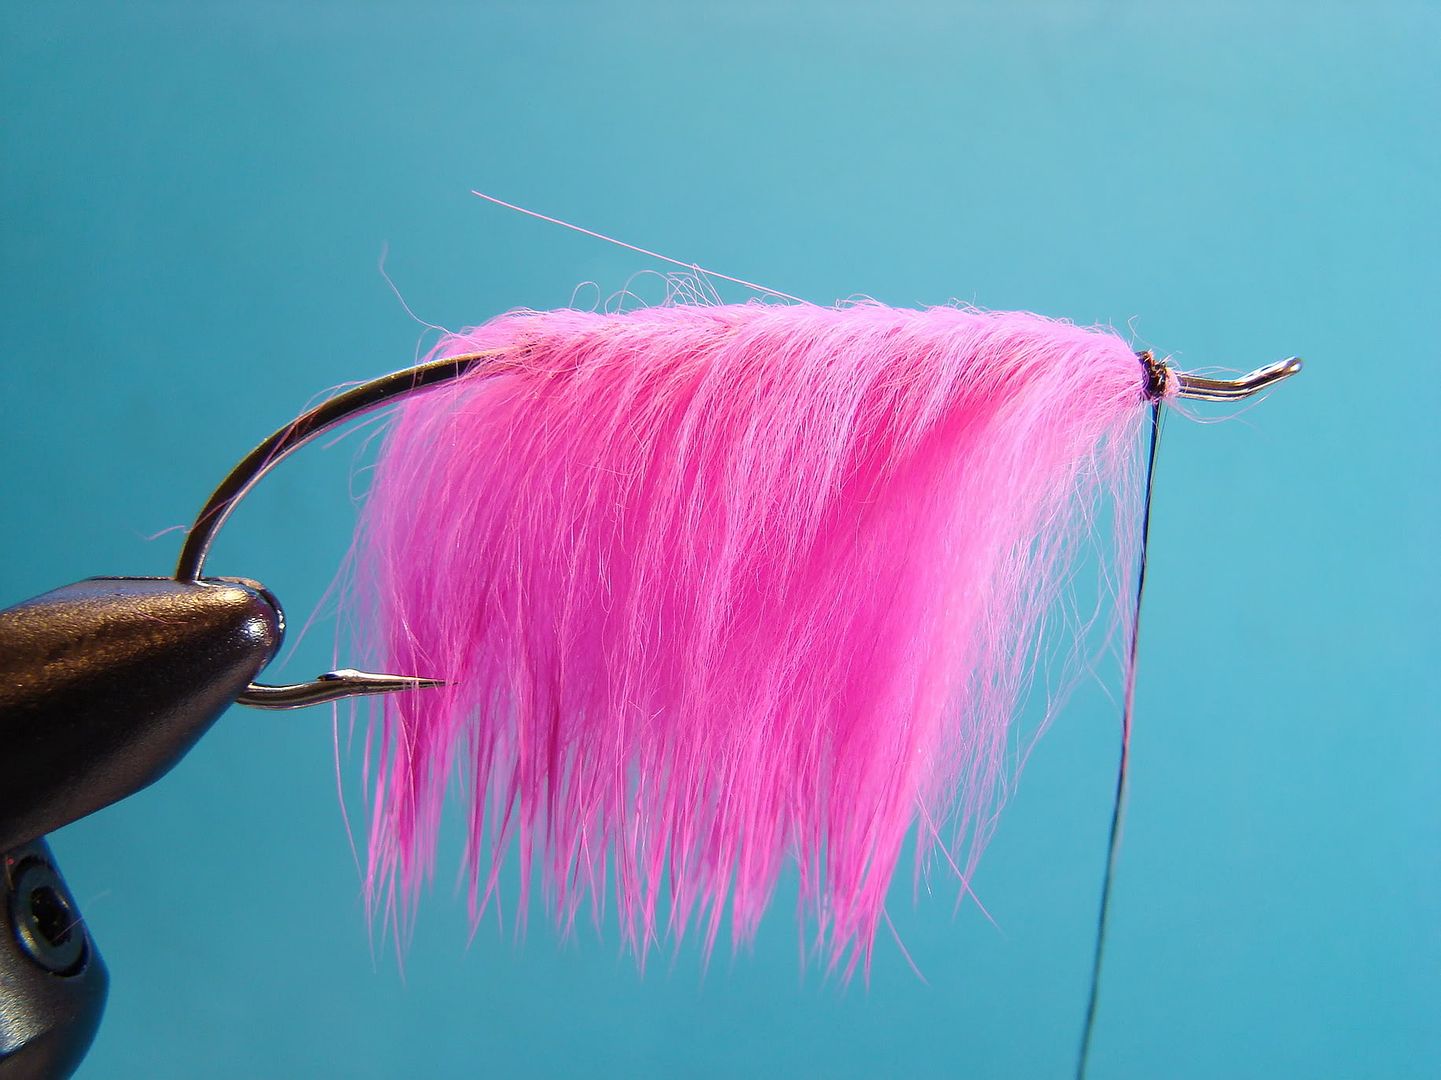
Step 4:
Wrap rabbit strip to a spot just behind the eye of the hook and secure. Each wrap should touch the previous wrap without over-lapping. I have stopped short because I am going to finish with a collar of rabbit hair spun in a loop. This will give me a nice professional looking head without the bulk normally associated with securing and finishing with the strip/hide material. This would also be a great time to add additional flash highlights (optional)
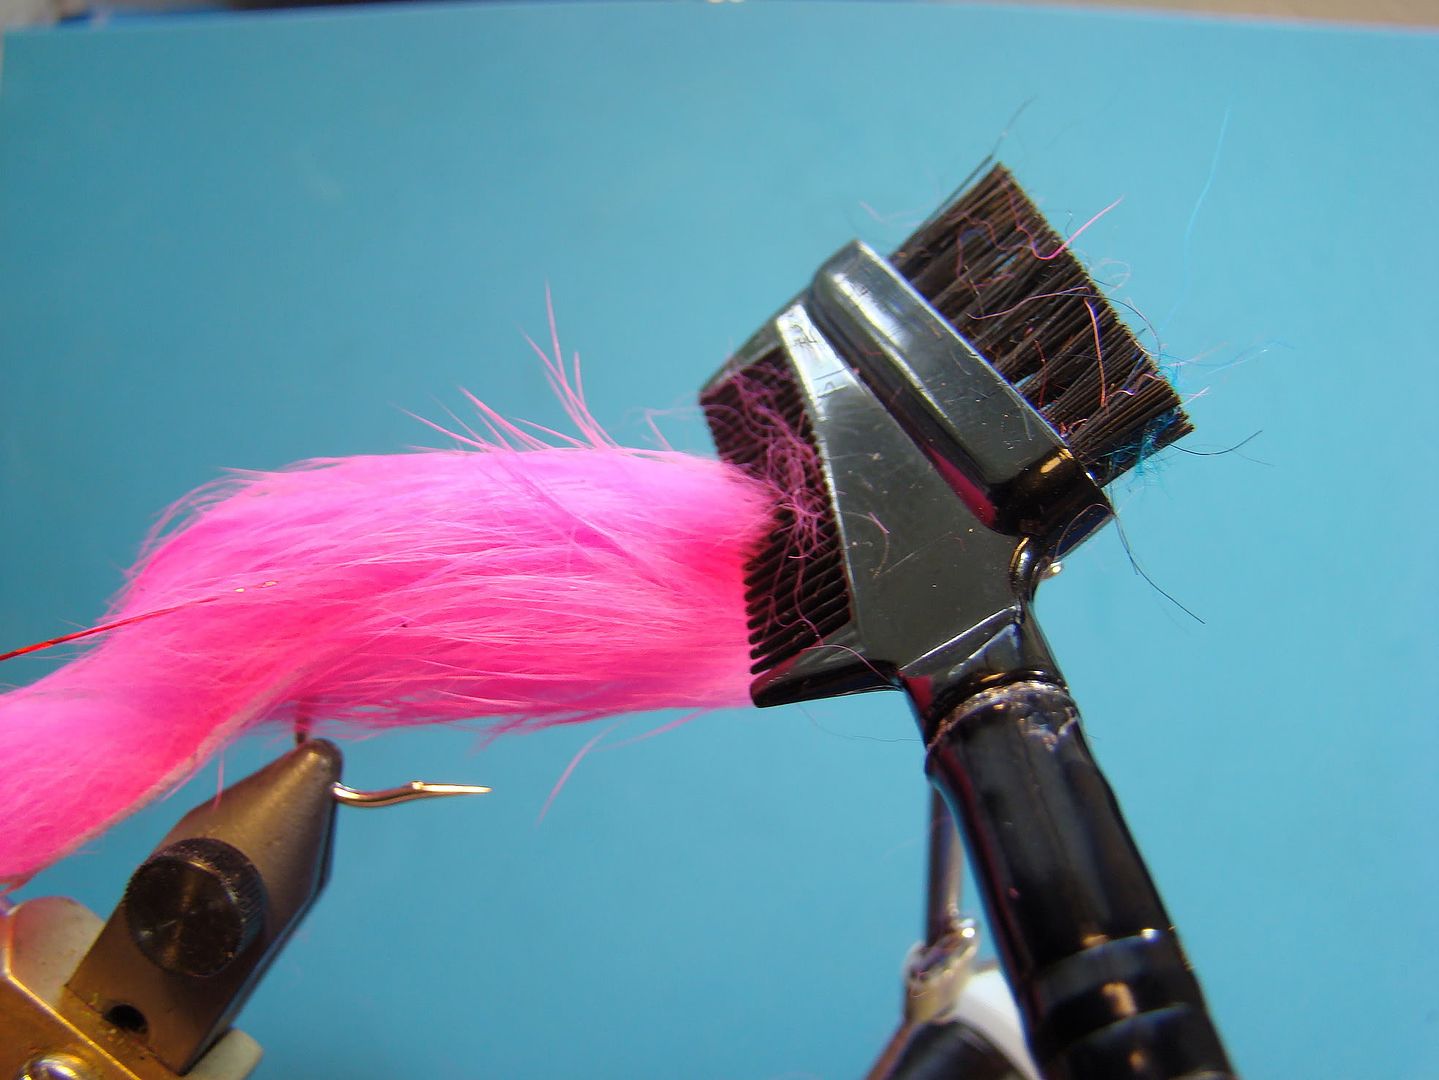
Step 5:
Make a dubbing loop and spin a collar of rabbit (color of choice). Once the collar is complete, whip finish. Combing the hair is a good idea to remove any hair that became matted during the tying steps. (I also carry a small comb streamside and comb out the rabbit hair patterns prior to fishing. This maximizes the action of the hair in the water.)
Step 6:
Apply head cement.
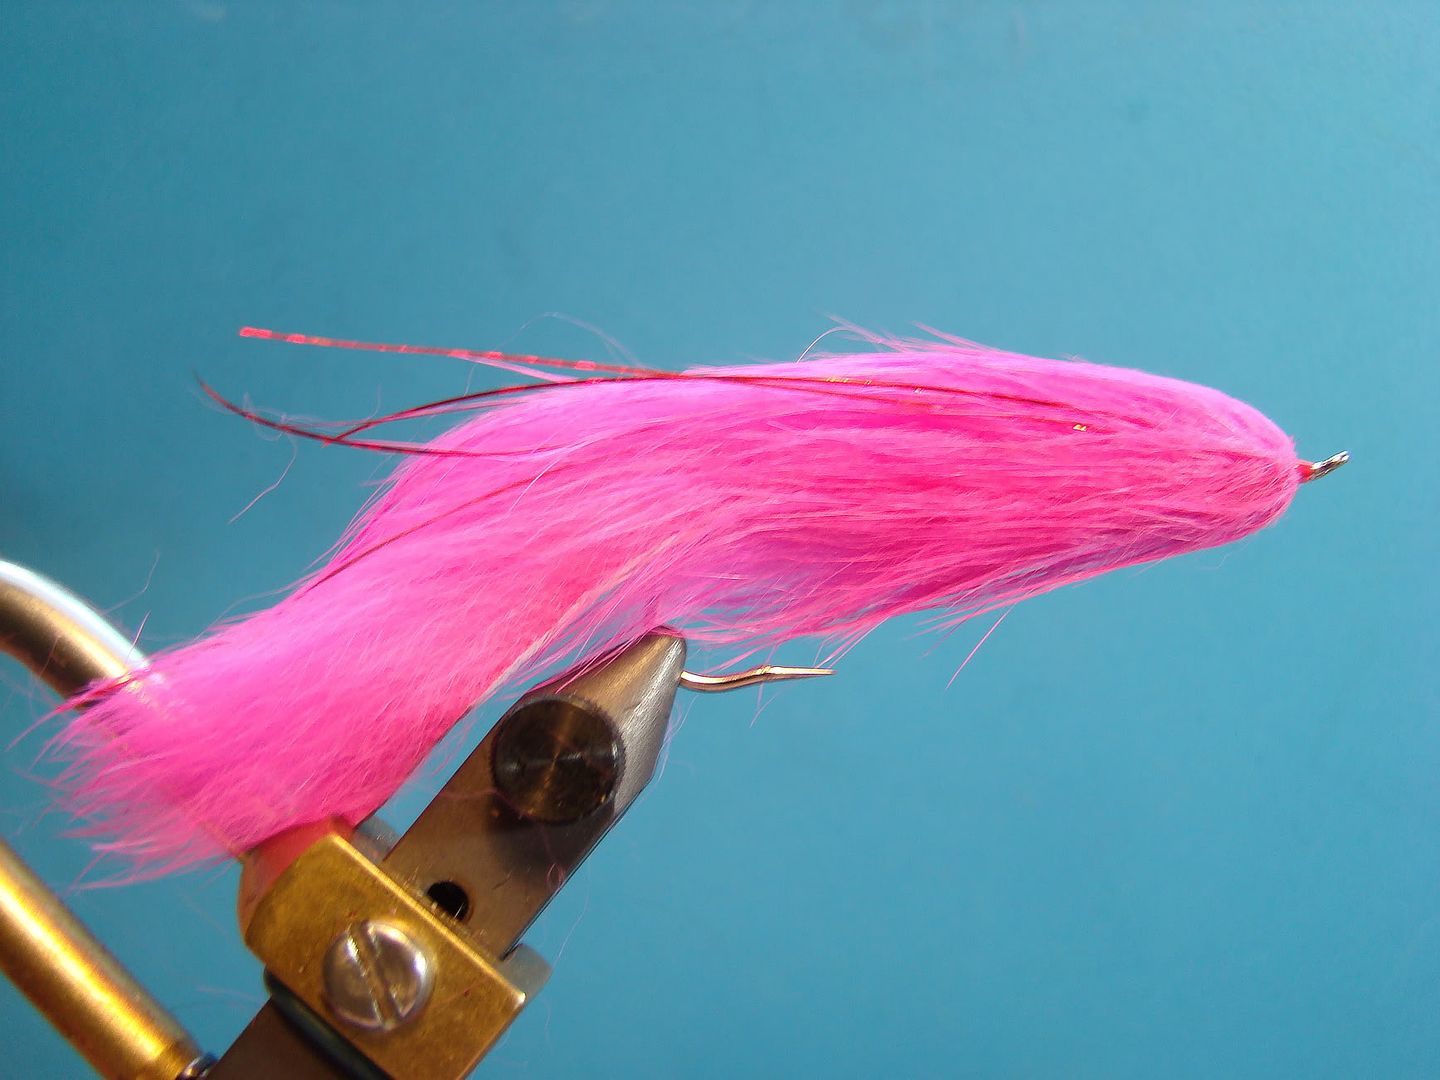
For an unique two tone look, wrap a body and then apply a strip over the back. E.g., once the body is wrapped, split the hairs evenly and draw them down under the shank.
Tie in strip by the tip, whip finish, and trim thread. Moisten hair and draw down and forward to make room for the thread.
Start thread directly behind body. Firmly tie down strip and whip finish. Trim thread.

Once the strip is secured, comb hair back.

I've added some flash highlights and a collar of rabbit hair.
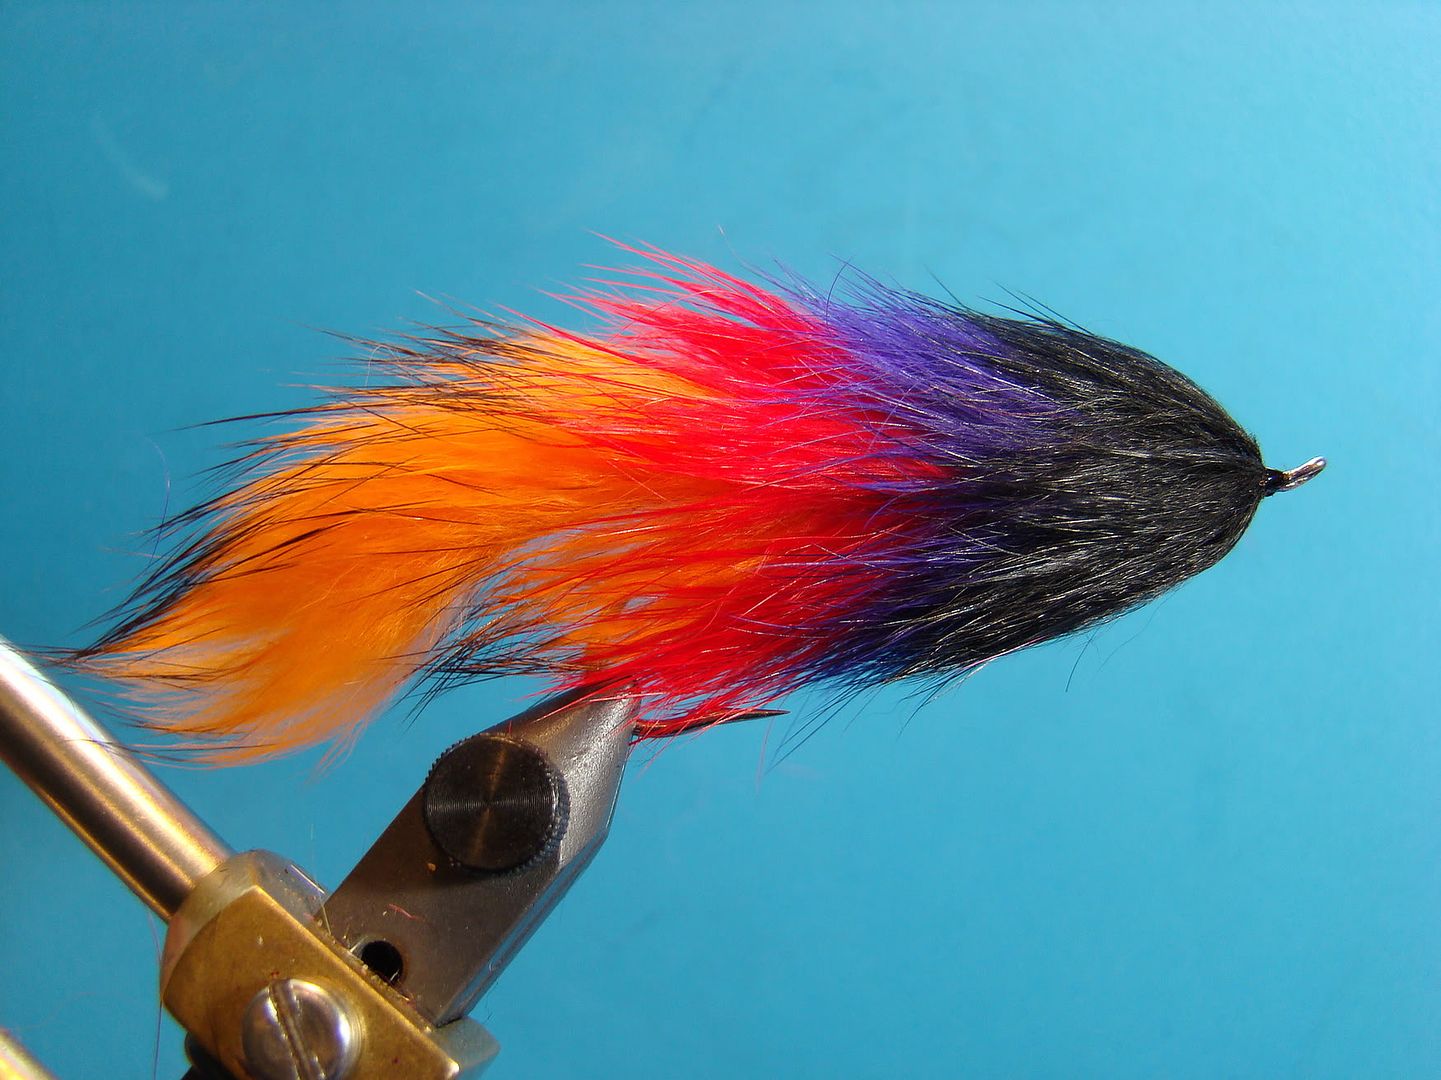
Here's a few additional ideas for you... These are proven steelhead patterns!
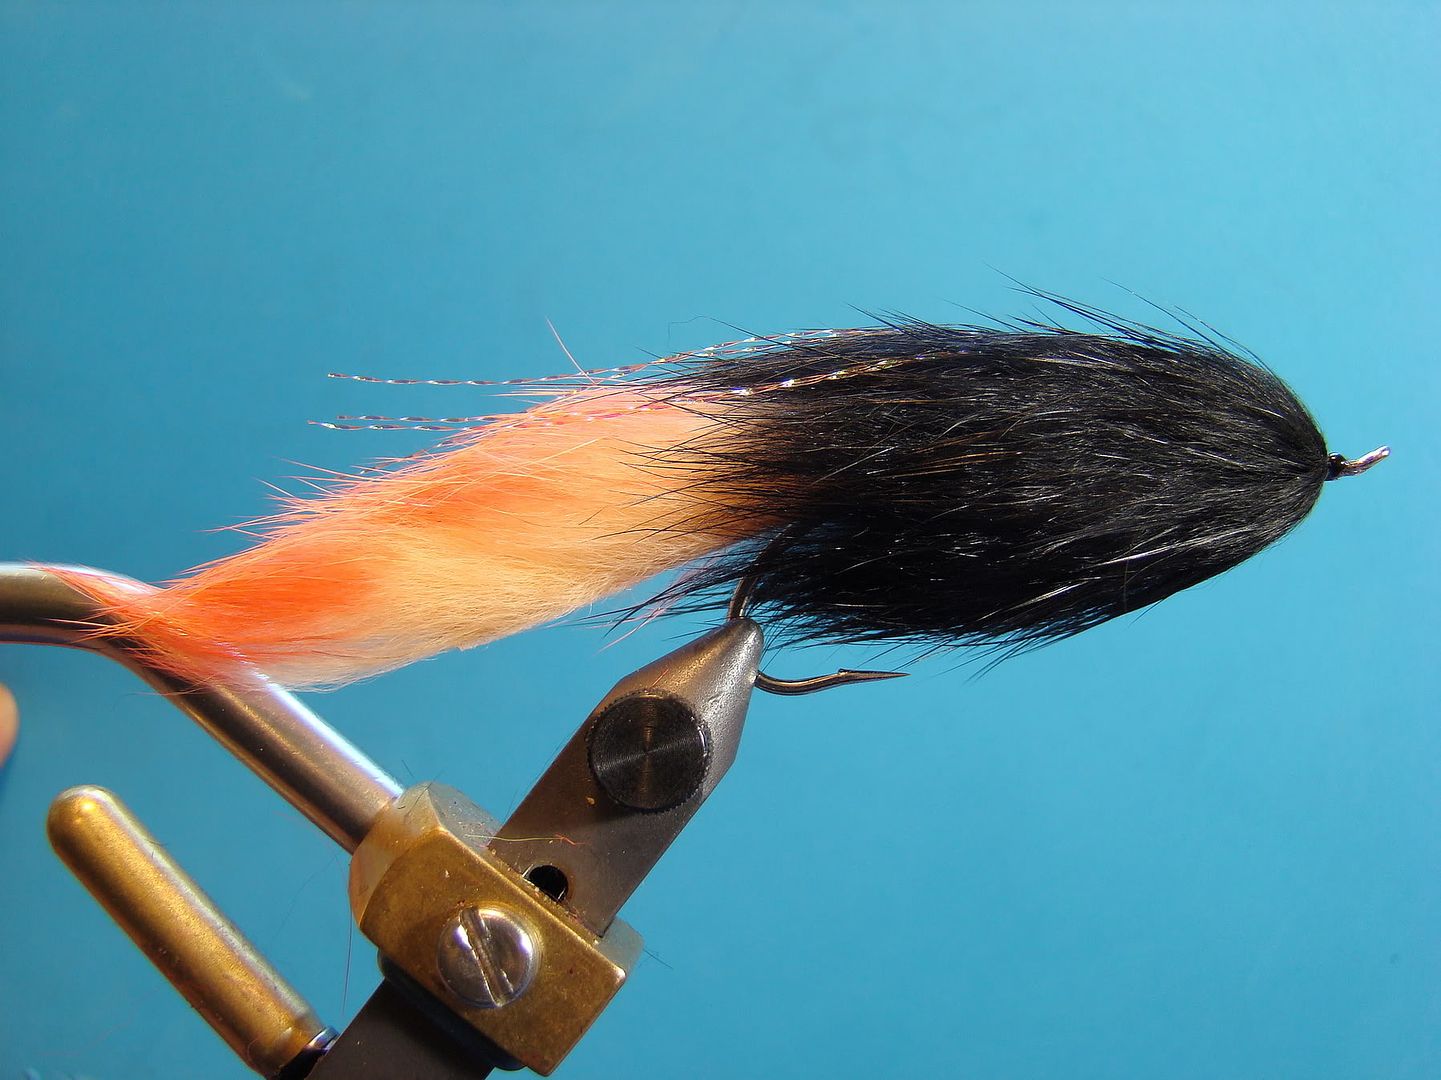
Orange and black
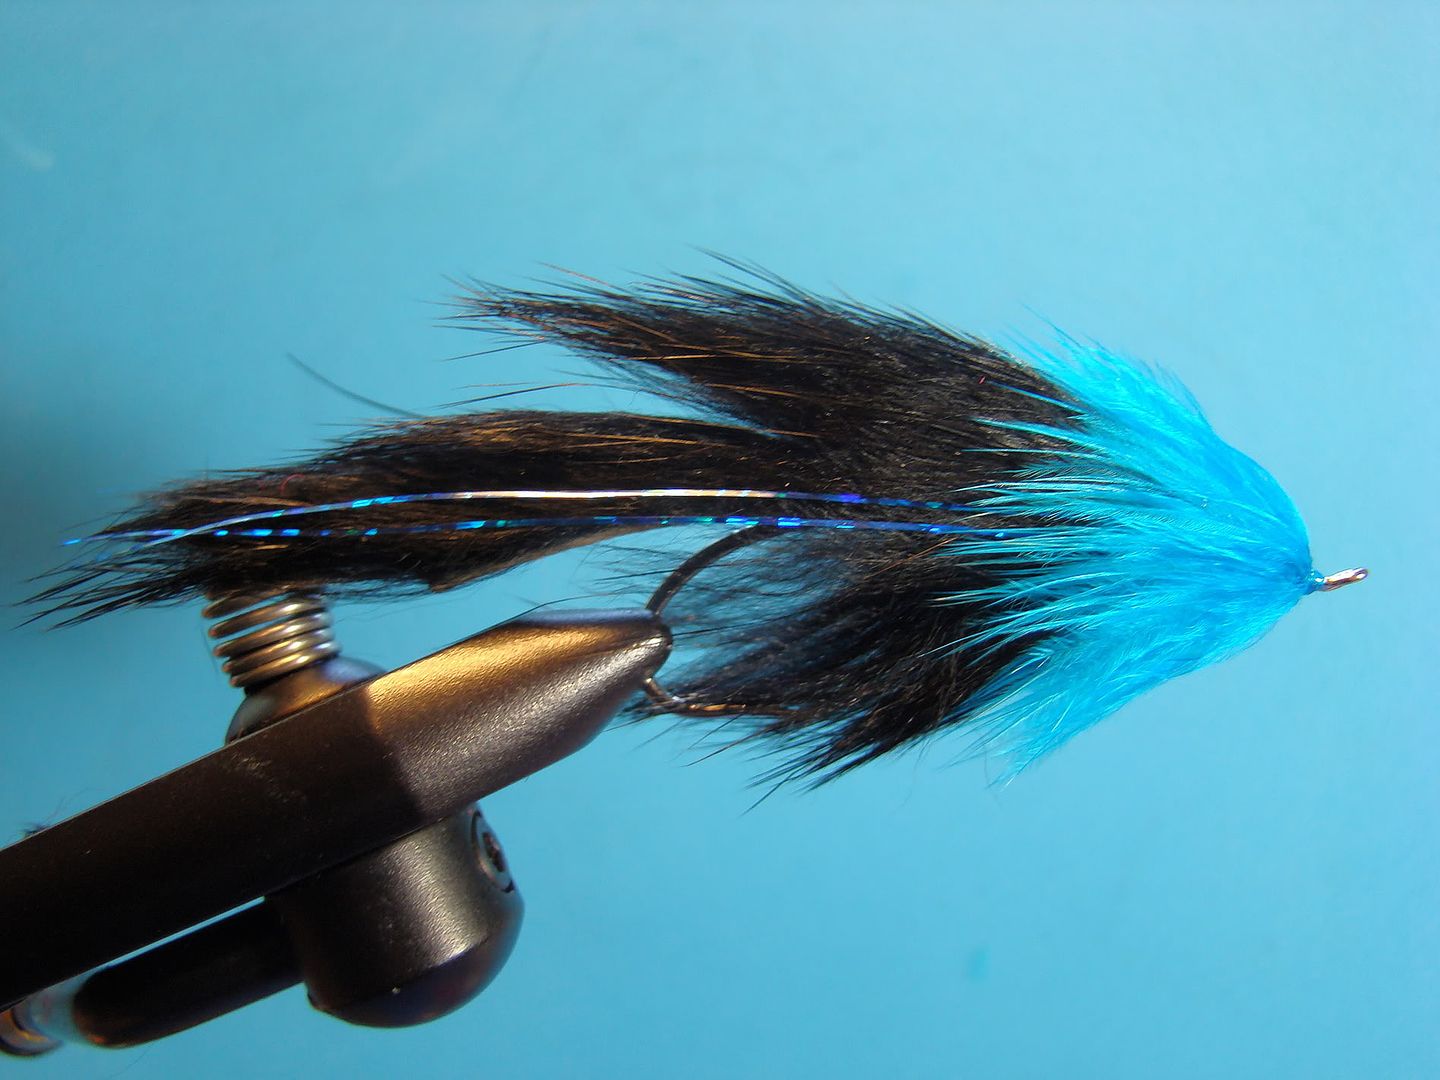
Black and blue - instead of finishing with a collar of rabbit hair, I elected to use a Chinese rooster feather. I utilized the bottom portion of the feather - half fibers/half fluff.
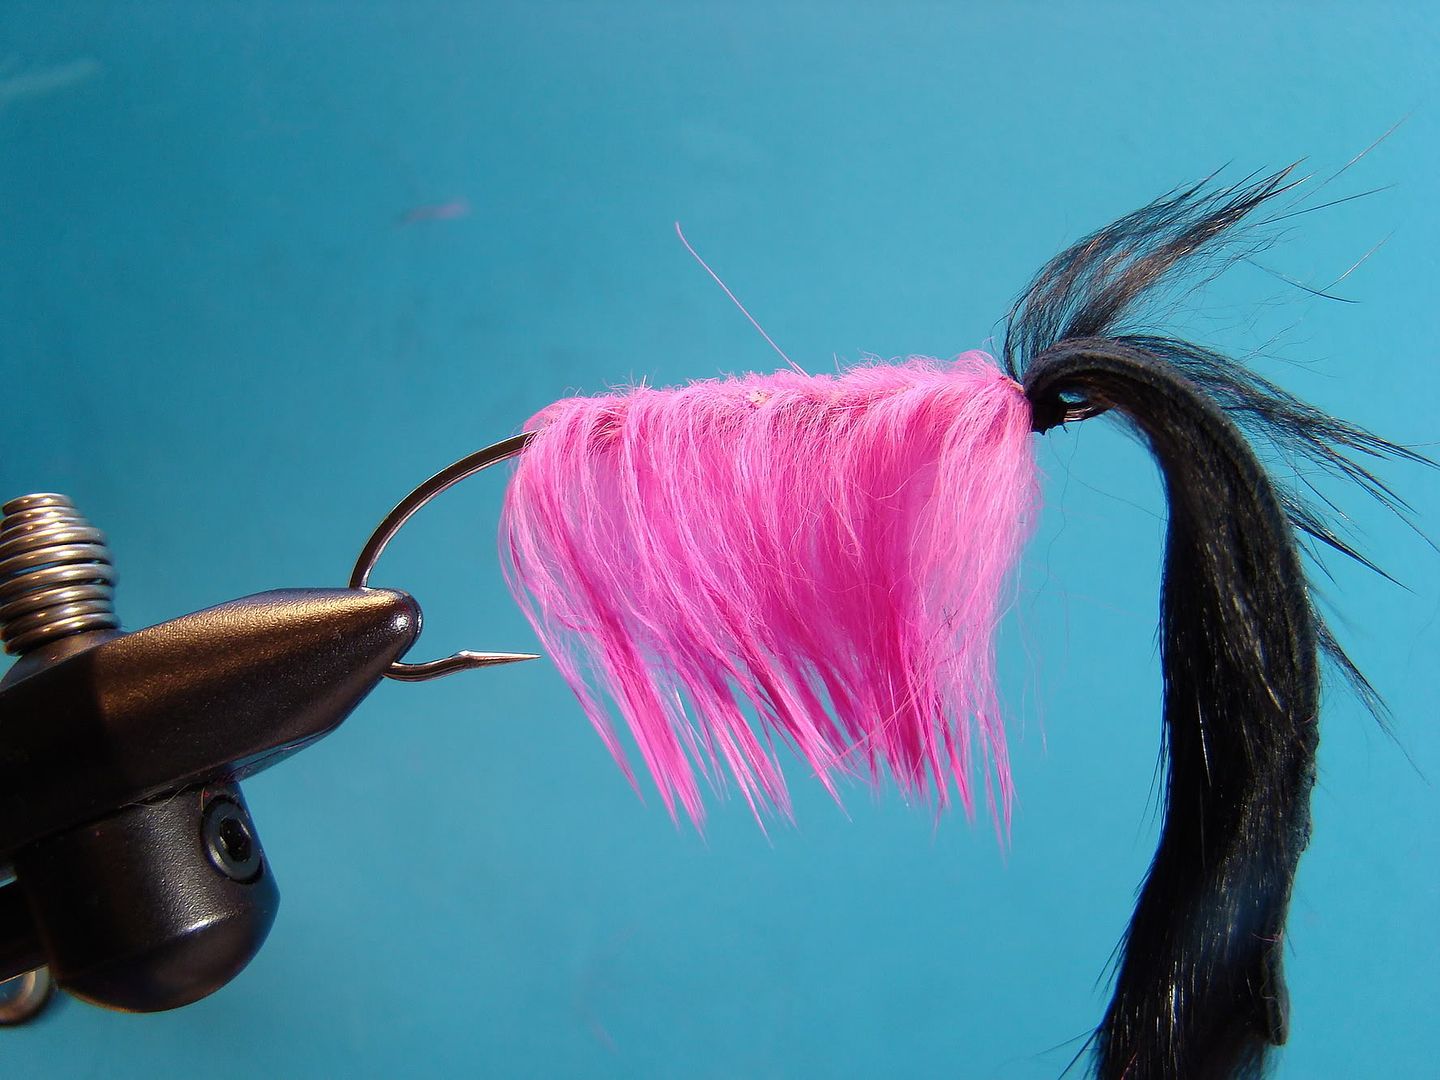
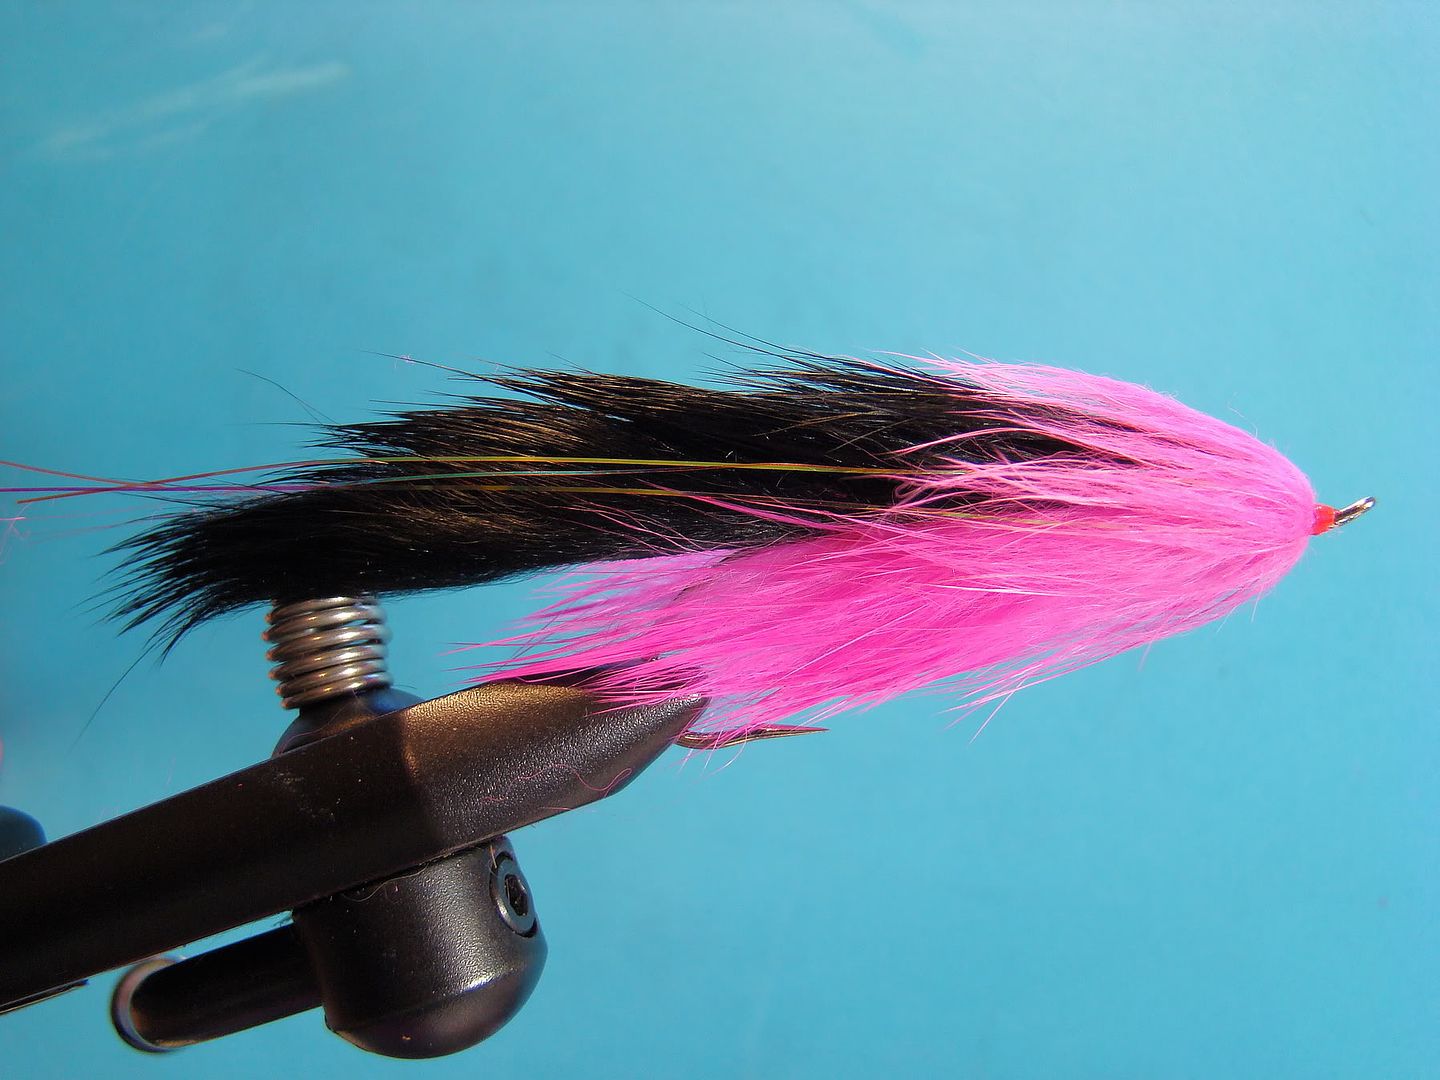
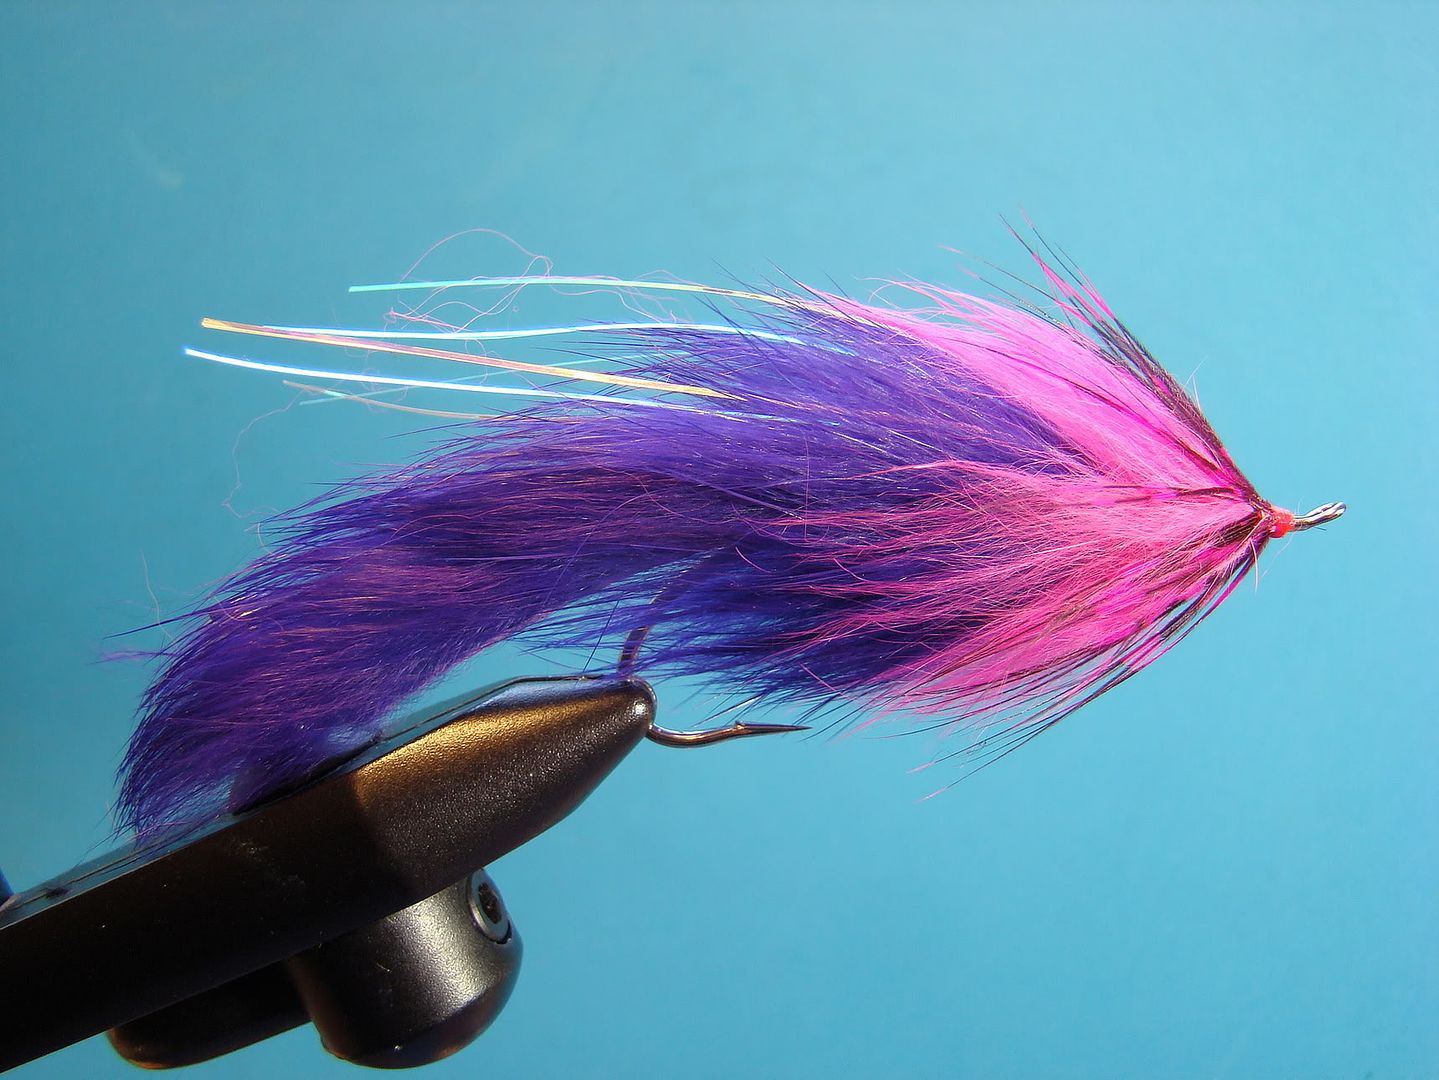
Purple and pink - I added a pink rabbit collar and hot pink Guinea
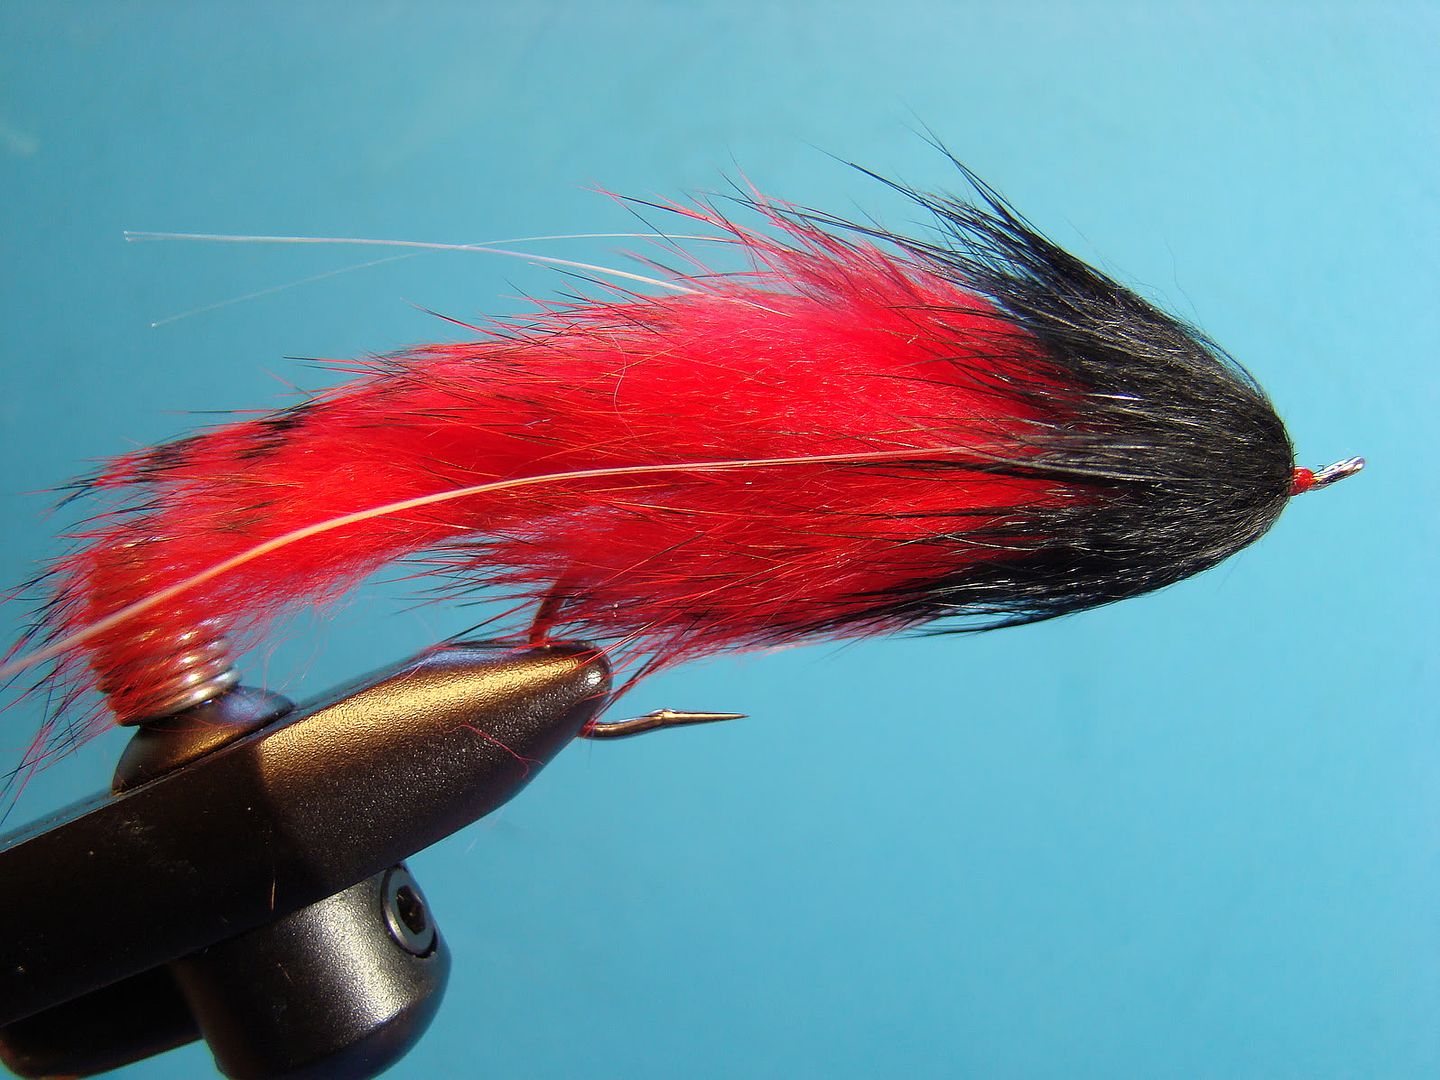
Red and black - Black barred red rabbit and black collar.
Orange/red/purple/black - Tie in orange tail. In four sections I spun rabbit in a dubbing loop- orange red, purple and black.
You probably noticed I didn't write about utilizing cross cut rabbit strips. I only use them on smaller trout size patterns and prefer to use normal strips for the added bulk (cross cut strips tend to lack a lot of under fur). Besides, the hair can be trained to lay flat with a liberally amount of water, combed, and then dried during and after the tying process.
Have fun at the tying bench. There's plenty of color combinations and ideas left to explore!
No comments:
Post a Comment