Saturday, July 30, 2011

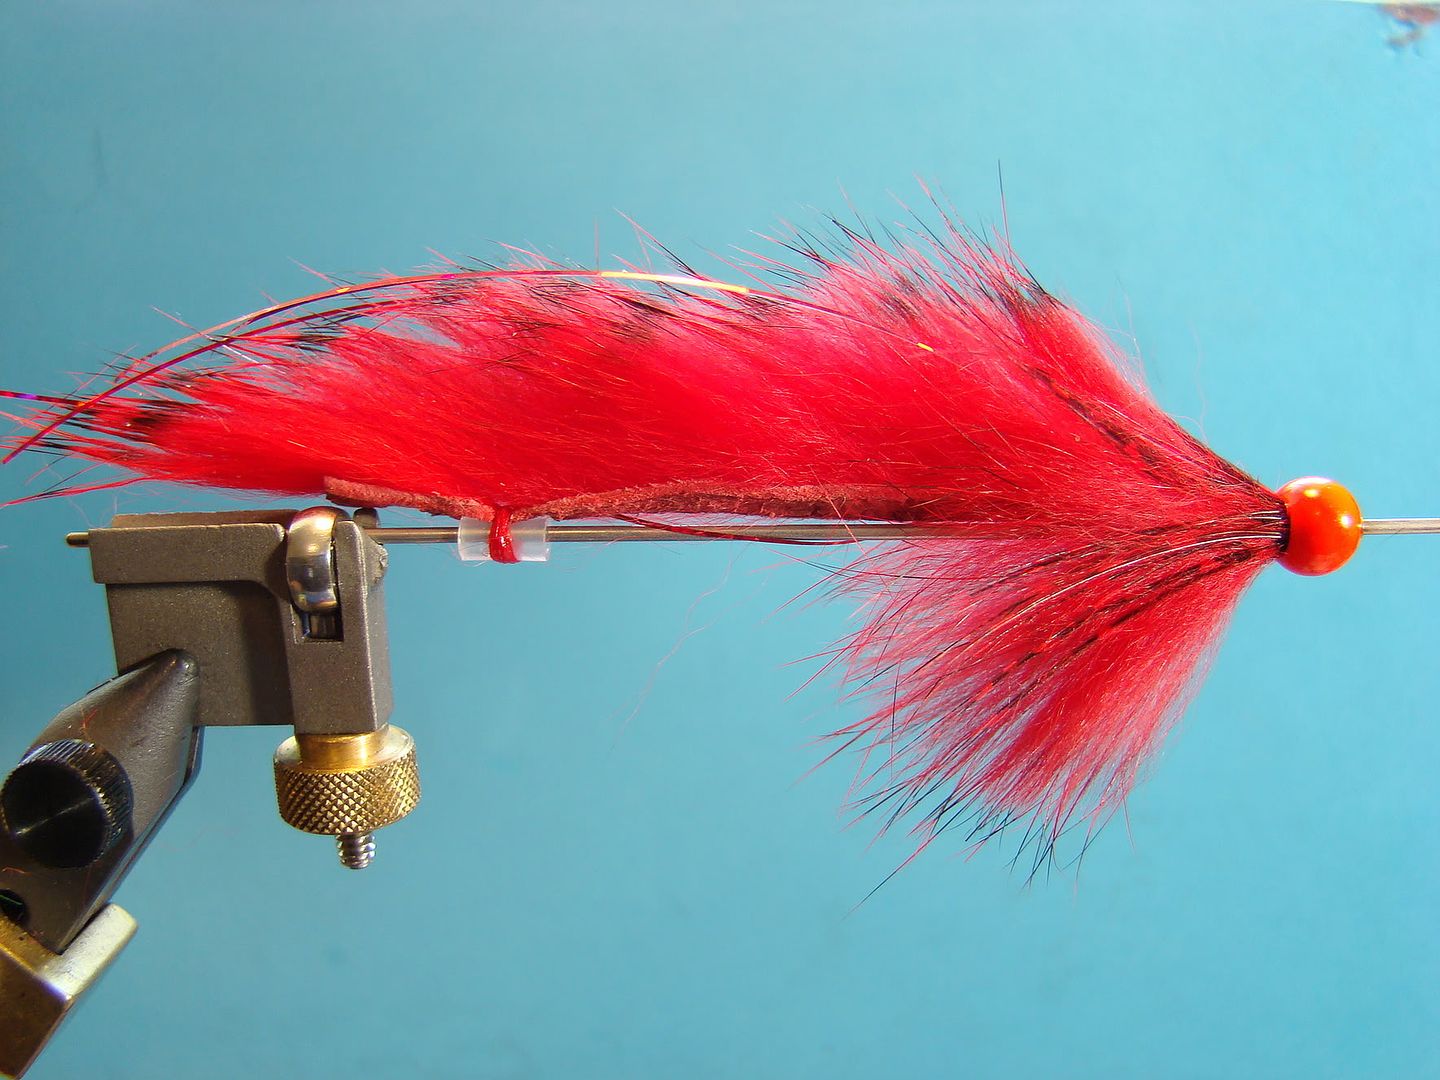
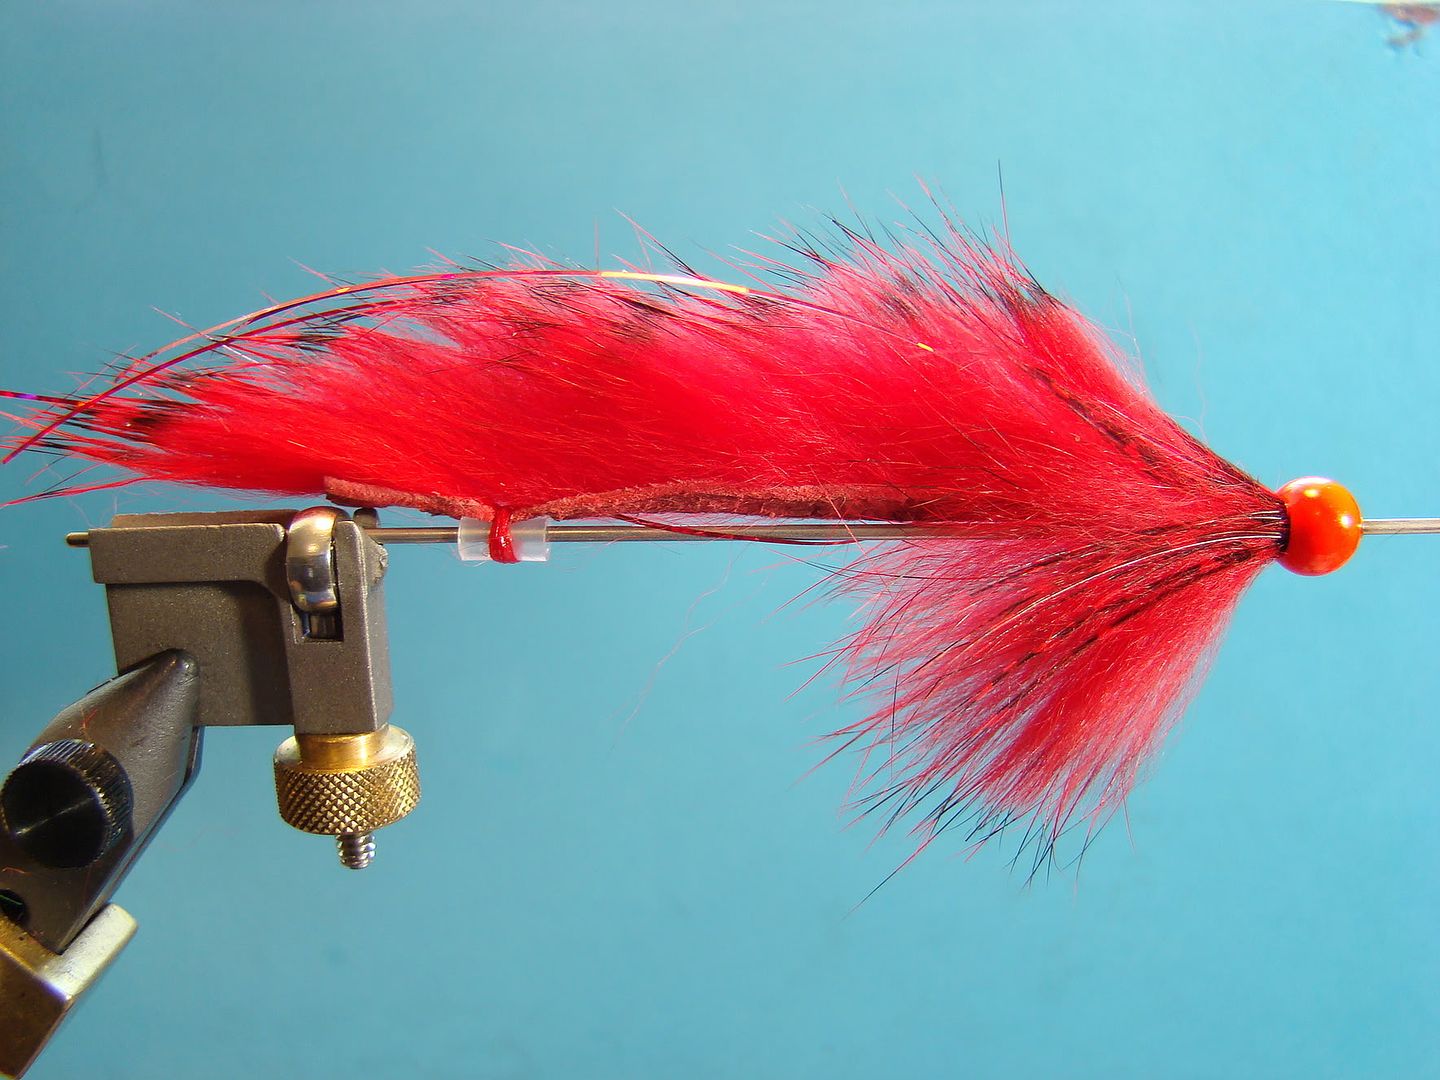
The Steelhead Bunny


Mel Krieger is credited with introducing the Steelhead Bunny to steelhead fishing in the late 1960's.  He got the ideal during a trip to New Zealand where the locals were using rabbit strips tied Matuka style over various body colors.  Krieger then tied his rabbit strip as a replacement for rubber worms he used for bass fishing.  Soon he began casting his leech pattern for trout and it wasn't long before the pattern eventually made it's way in the steelhead realm.  


The original Steelhead Bunny tied by Mel was a very simple fly.  Red thread coated the hook for the body and then the rabbit strip was first tied in towards the eye of the hook.  Next, the rabbit strip was then tied to the shank at the mid way point and again at the area above the hook point.  To complete the fly, another strip was attached and wound as a collar- usually one turn.


It is believed that Les Johnson was first to wrap the entire body with a rabbit strip.  It is safe assume that Les was looking to save time at the bench, possibly a fuller silhouette, or perhaps looking for certain tail/body color combinations.  Nonetheless, little did he know at the time, his style is now the standard for Steelhead Bunny's.  


The rabbit strip remains as a "must have" material to compliment a great steelhead fly.  Rest assured the Bunny Leech is one of the deadliest and should be in your fly box; whether tied on a hook, MOAL (Mother of all Leeches) style, or a tube!  So let's take a look at perhaps the simplest steelhead fly to tie.


I have also added pictures showing a few different color combinations and styles to help get the creative juices flowing at the end of the blog.  


Materials:


Hook:  Alec Jackson (or choice)
Thread:  6/0 Euro (color to compliment fly)
Tail:  Rabbit strip (color of choice)
Body: Rabbit strip (color of choice)
Collar: (Optional)


Note: I do not add weight or beads to the Steelhead Bunny when tied directly on a hook.  I feel this adversely affects the action of the fly in the water.  


Step 1:


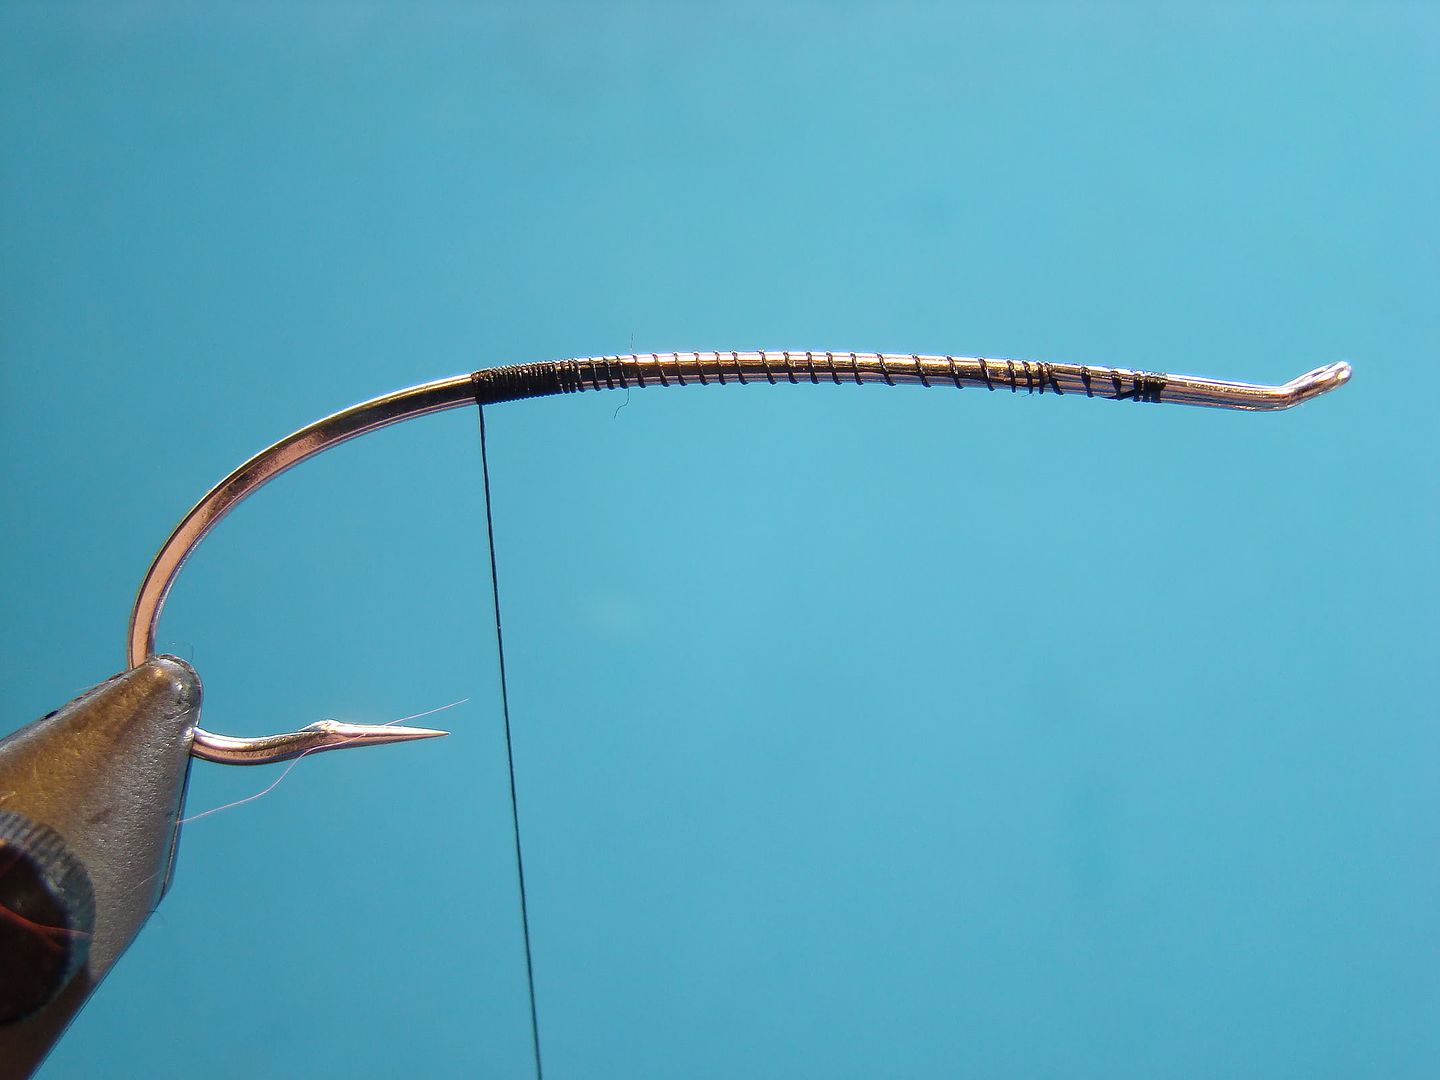
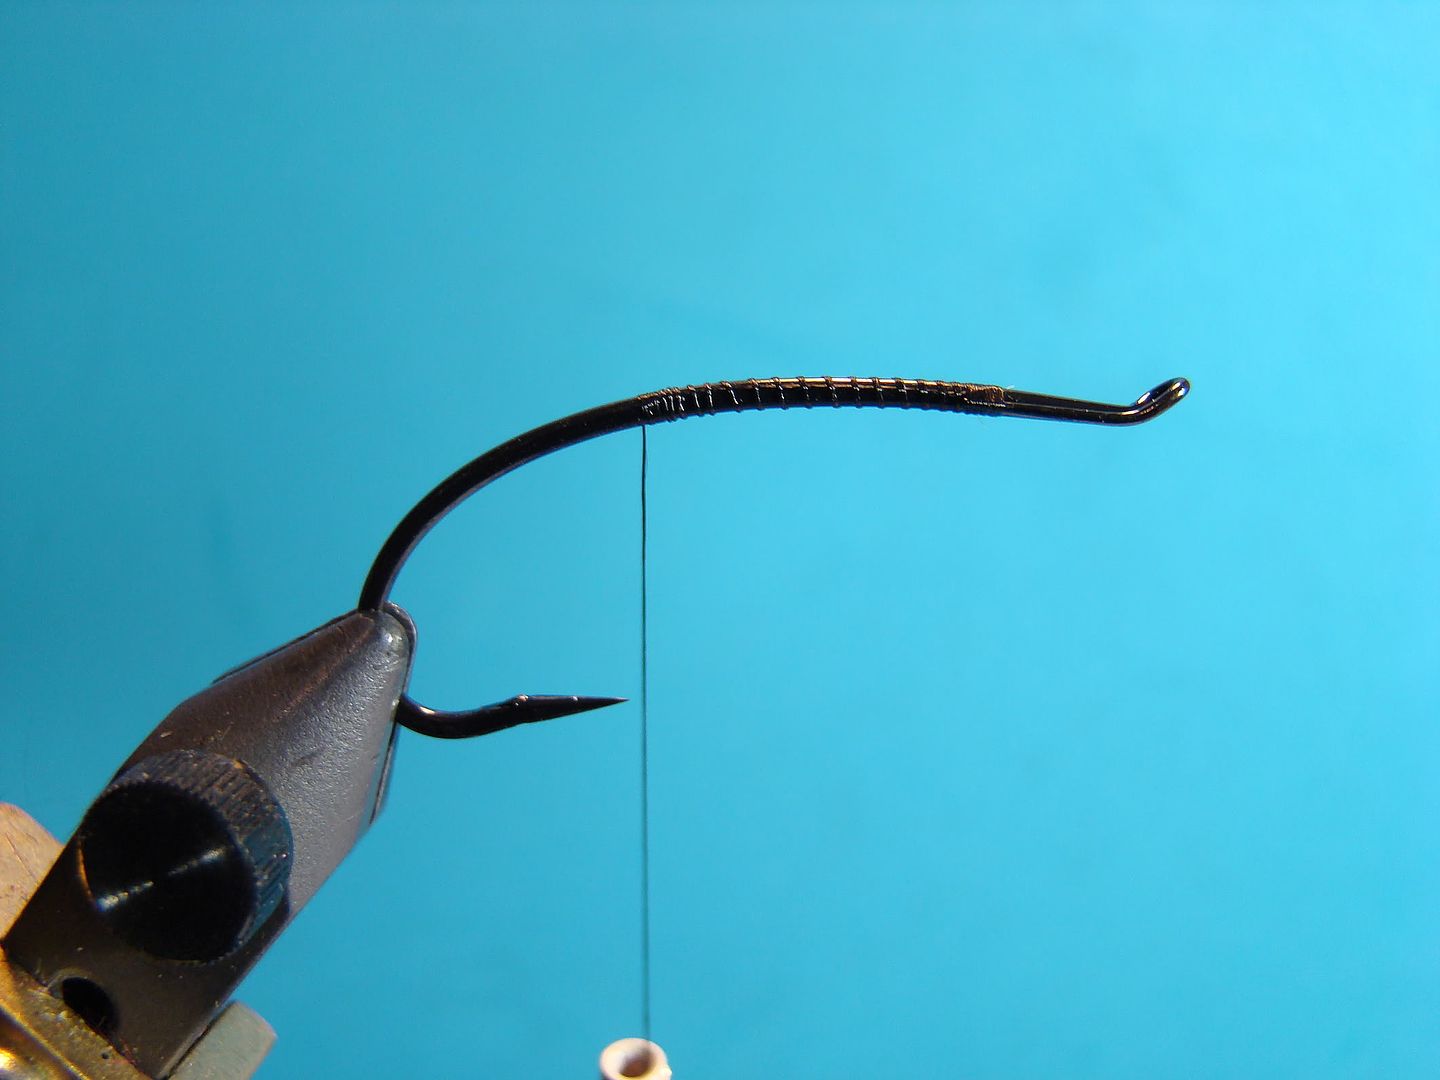
Start thread on the returning loop of hook.  Wind to the back.  Note that I have close wraps at the back.  This will keep the rabbit strip tail from rolling around the hook shank when tied in.


Step 2:


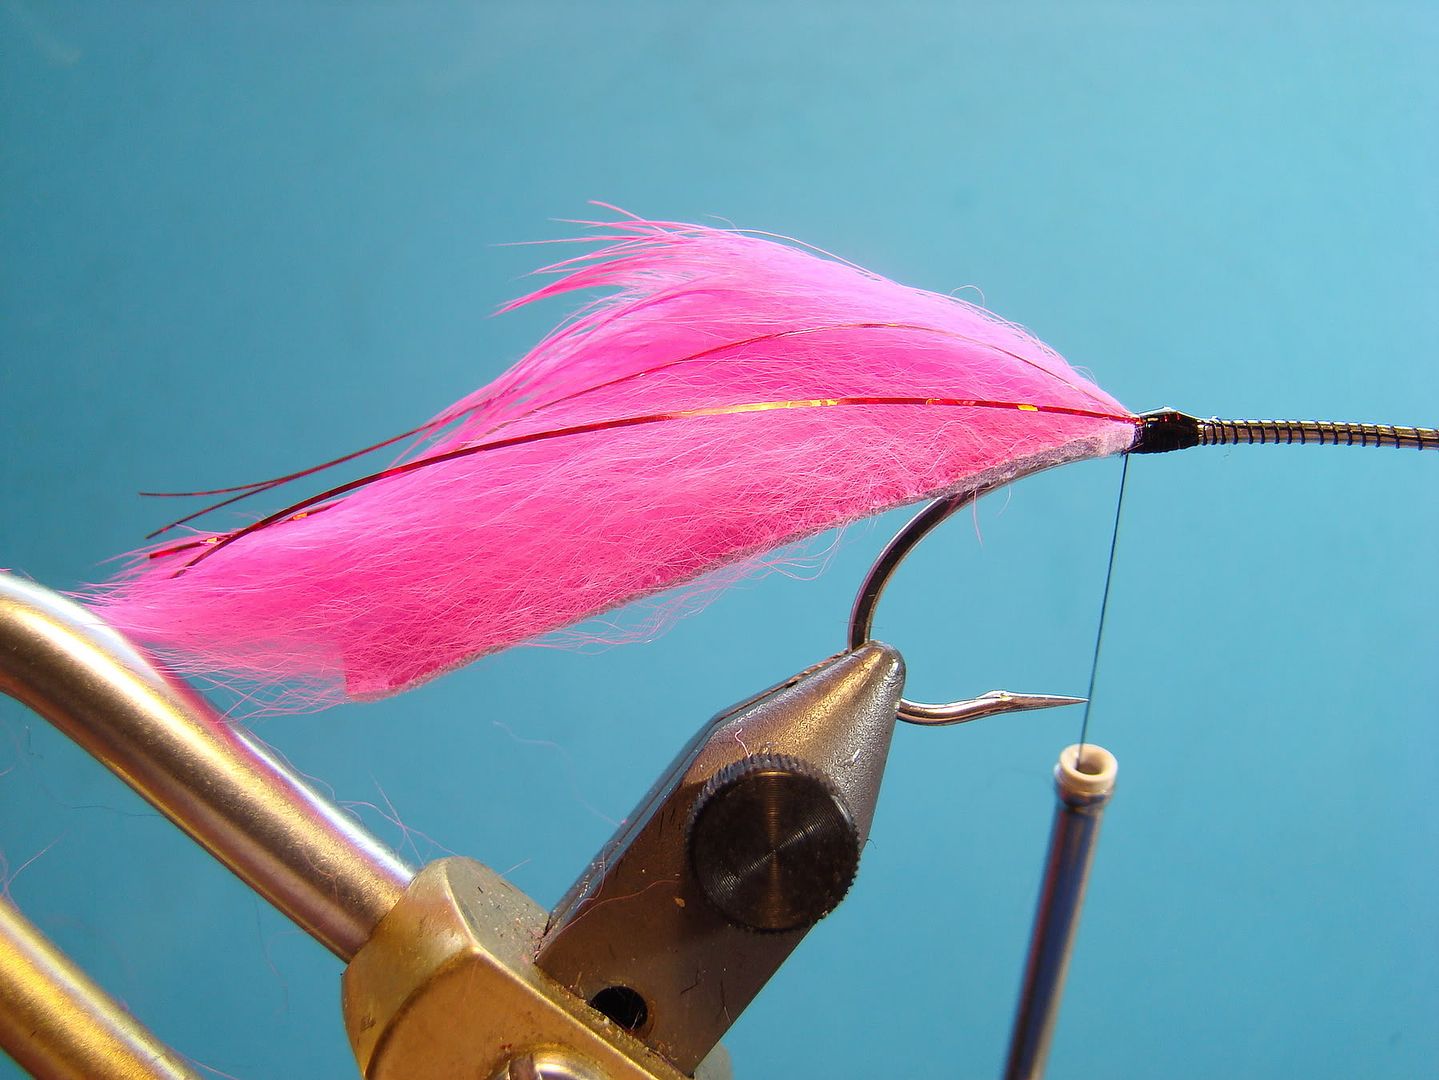
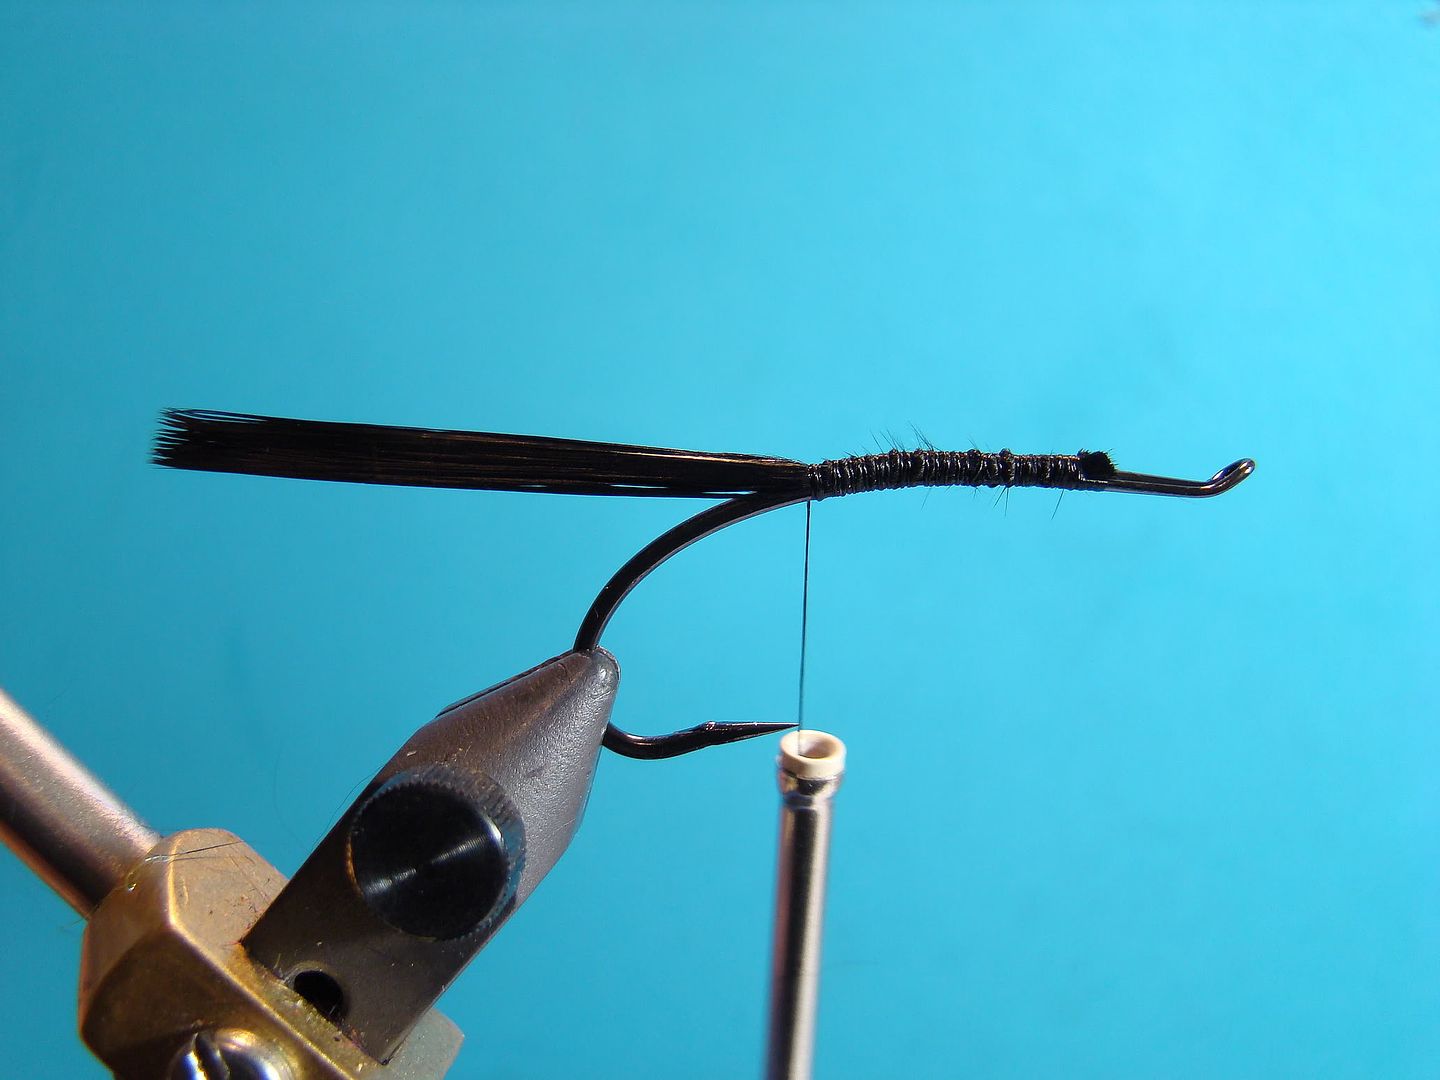
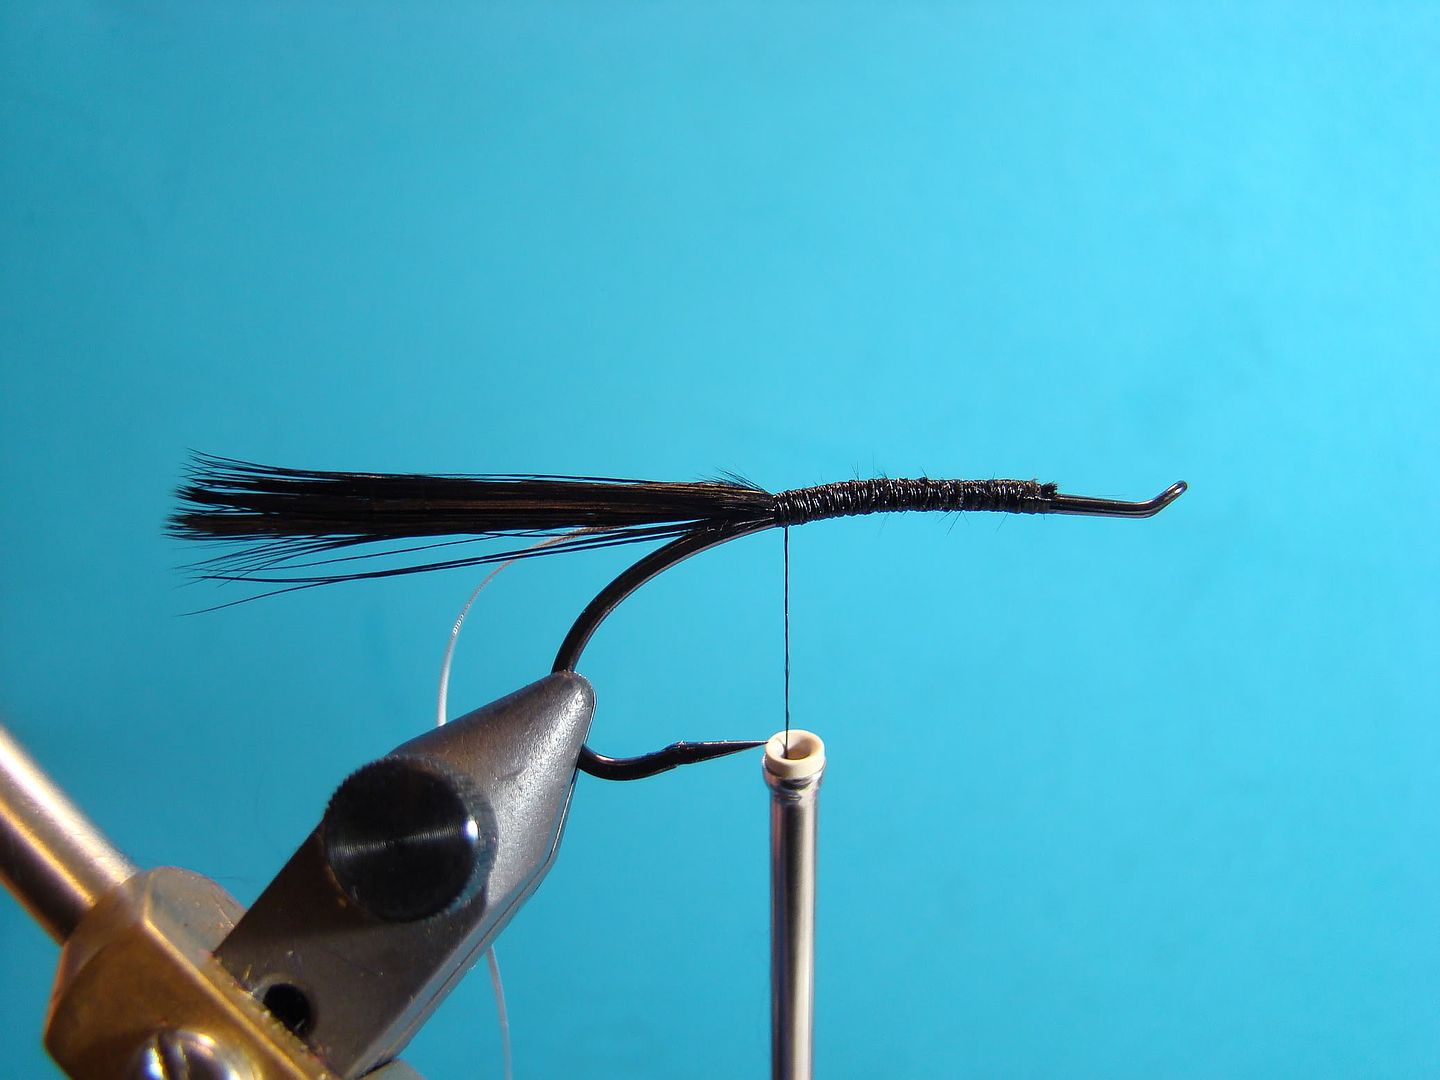
Select rabbit strip (color of choice).  As a general rule of thumb, the length of strip should not be more than one hook length (pictured).  (Again, I prefer the tails a little shorter to avoid short strikes.)  Cut a point in to end of the strip (see Steelhead Matuka).  Apply a drop or two of head cement to thread wraps on back of hook shank.  Secure tail with several wraps.  Add flash material of choice (optional).  Once tail is secured, add another drop or two of head cement.


Step 3:


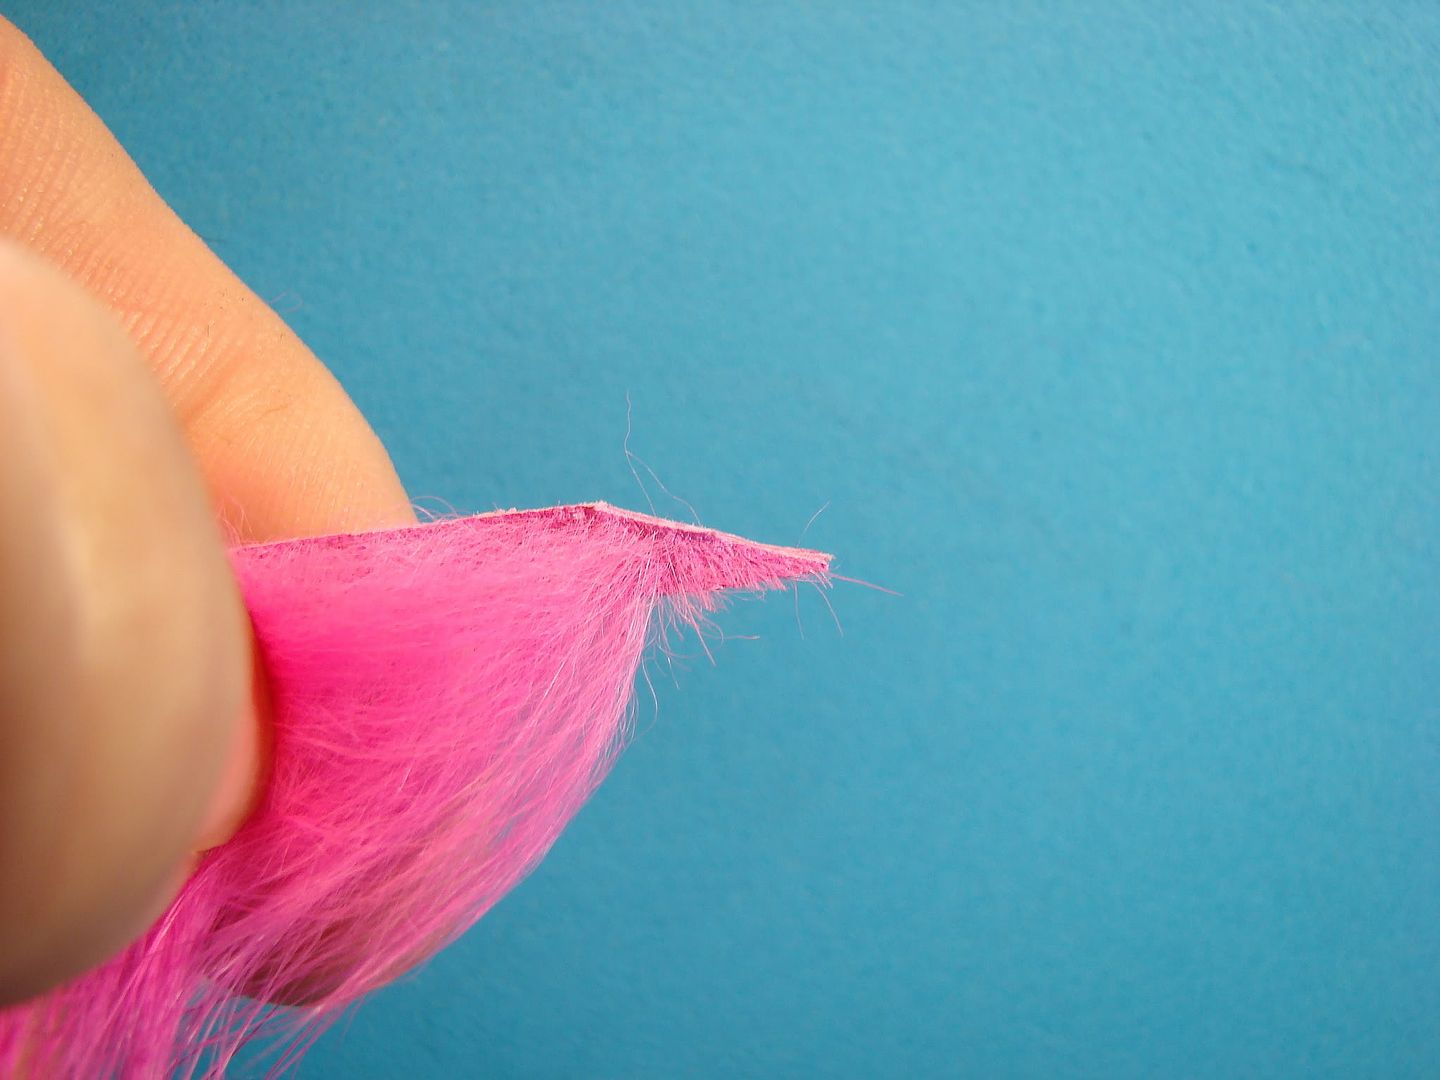
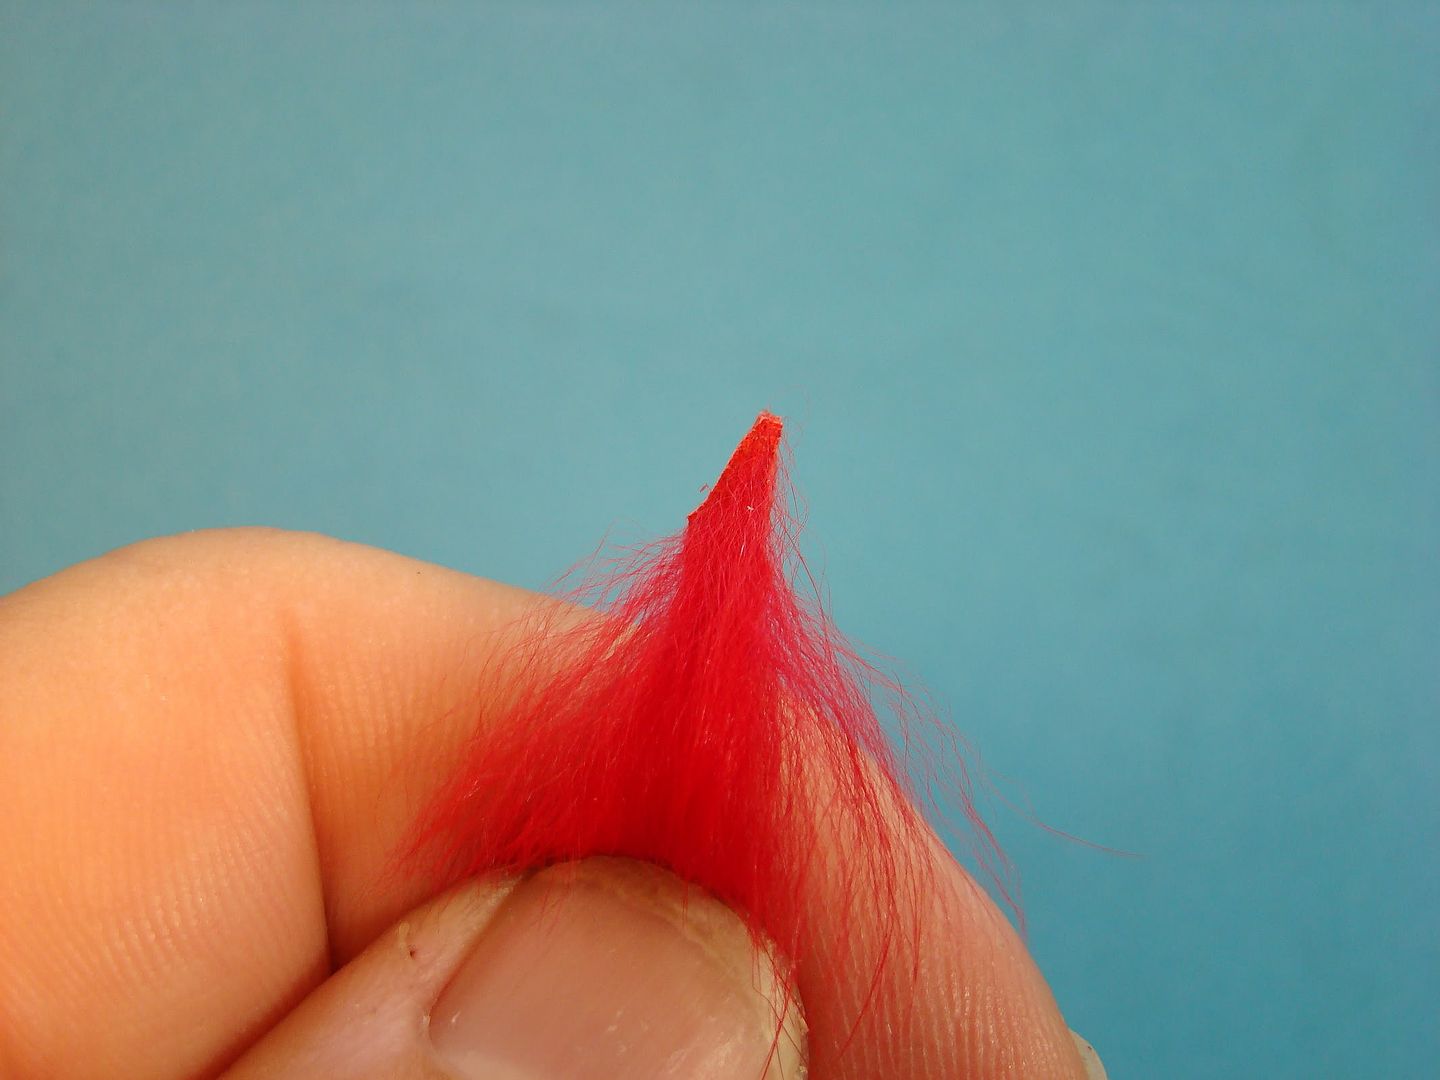
Select rabbit strip (color of choice) and cut a tapered edge as pictured.  This cut will allow for a smaller tie in area and an easy transition when wrapping the strip without a big bump/hump at the back of the fly.  


Tie rabbit strip in by the tip. Next, apply a little head cement to previous thread wraps and coat the hook shank. This will adhere the strip to the hook shank prolonging the life of the fly.  Note the easy transition of thread on the hook shank after tying the the strip.


Step 4:


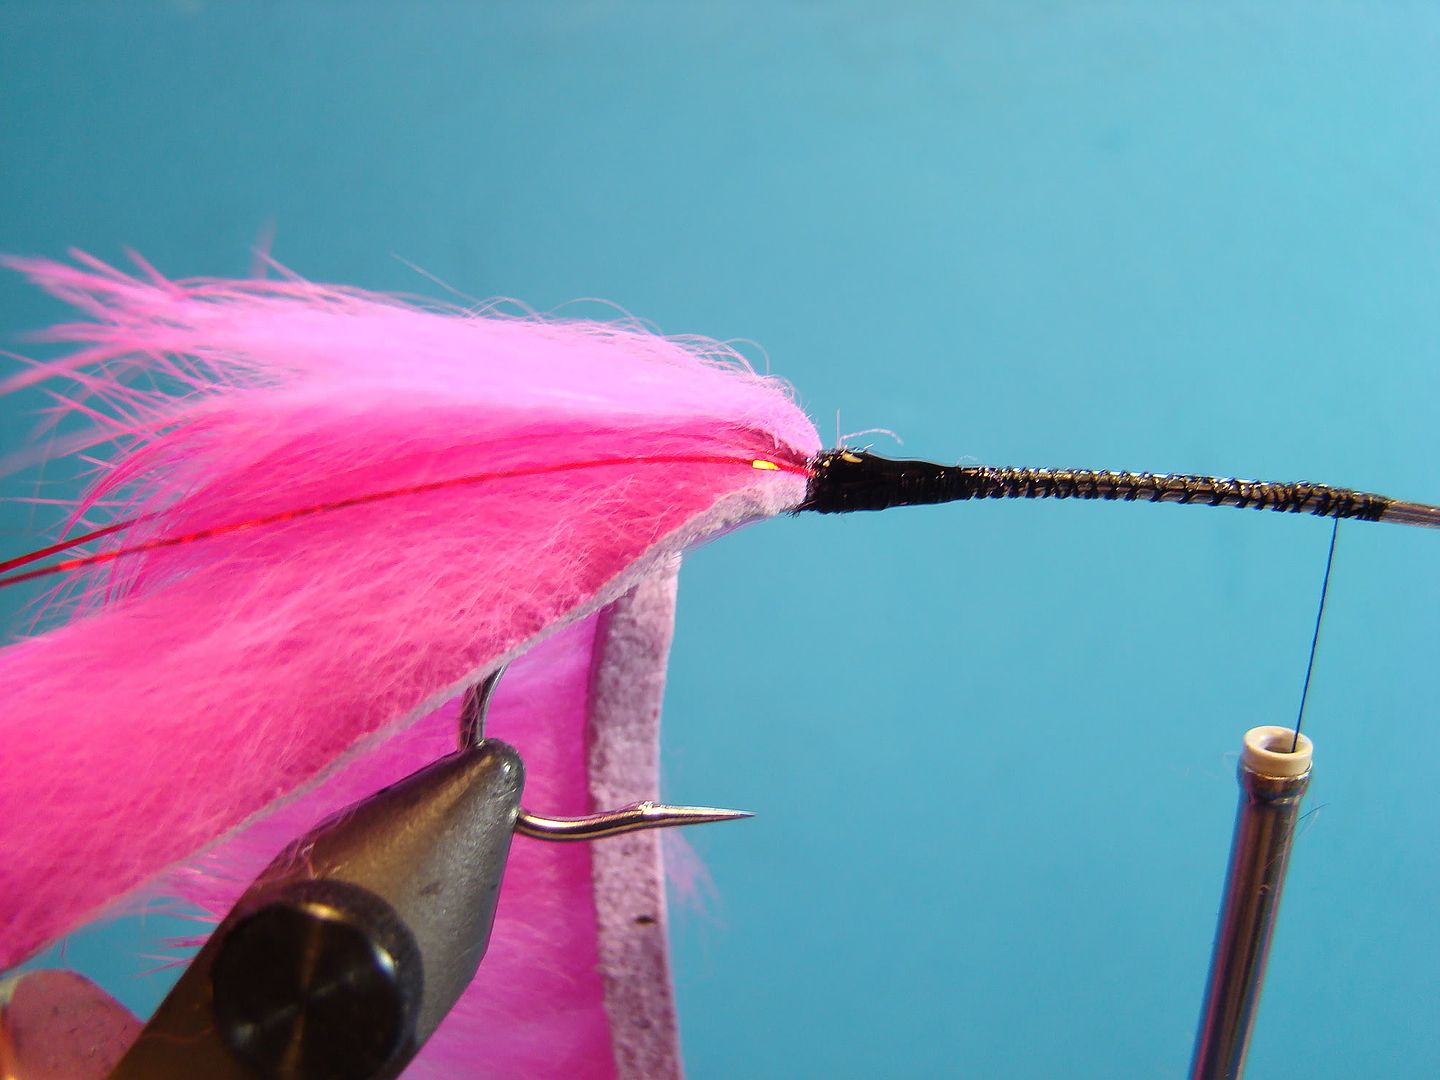
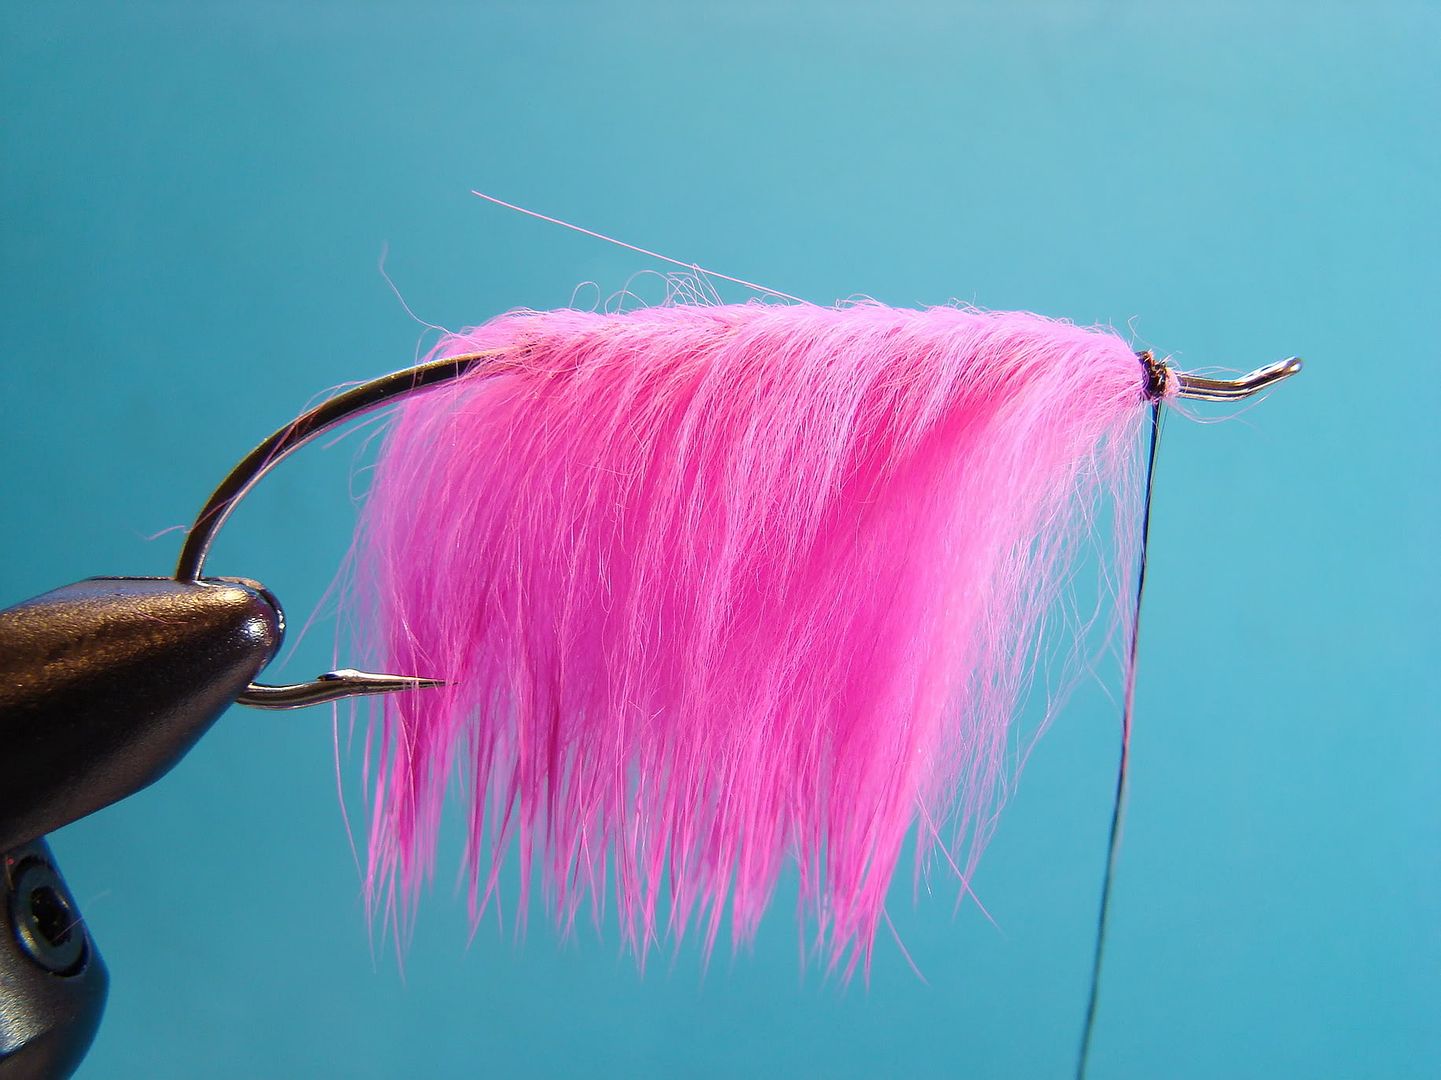
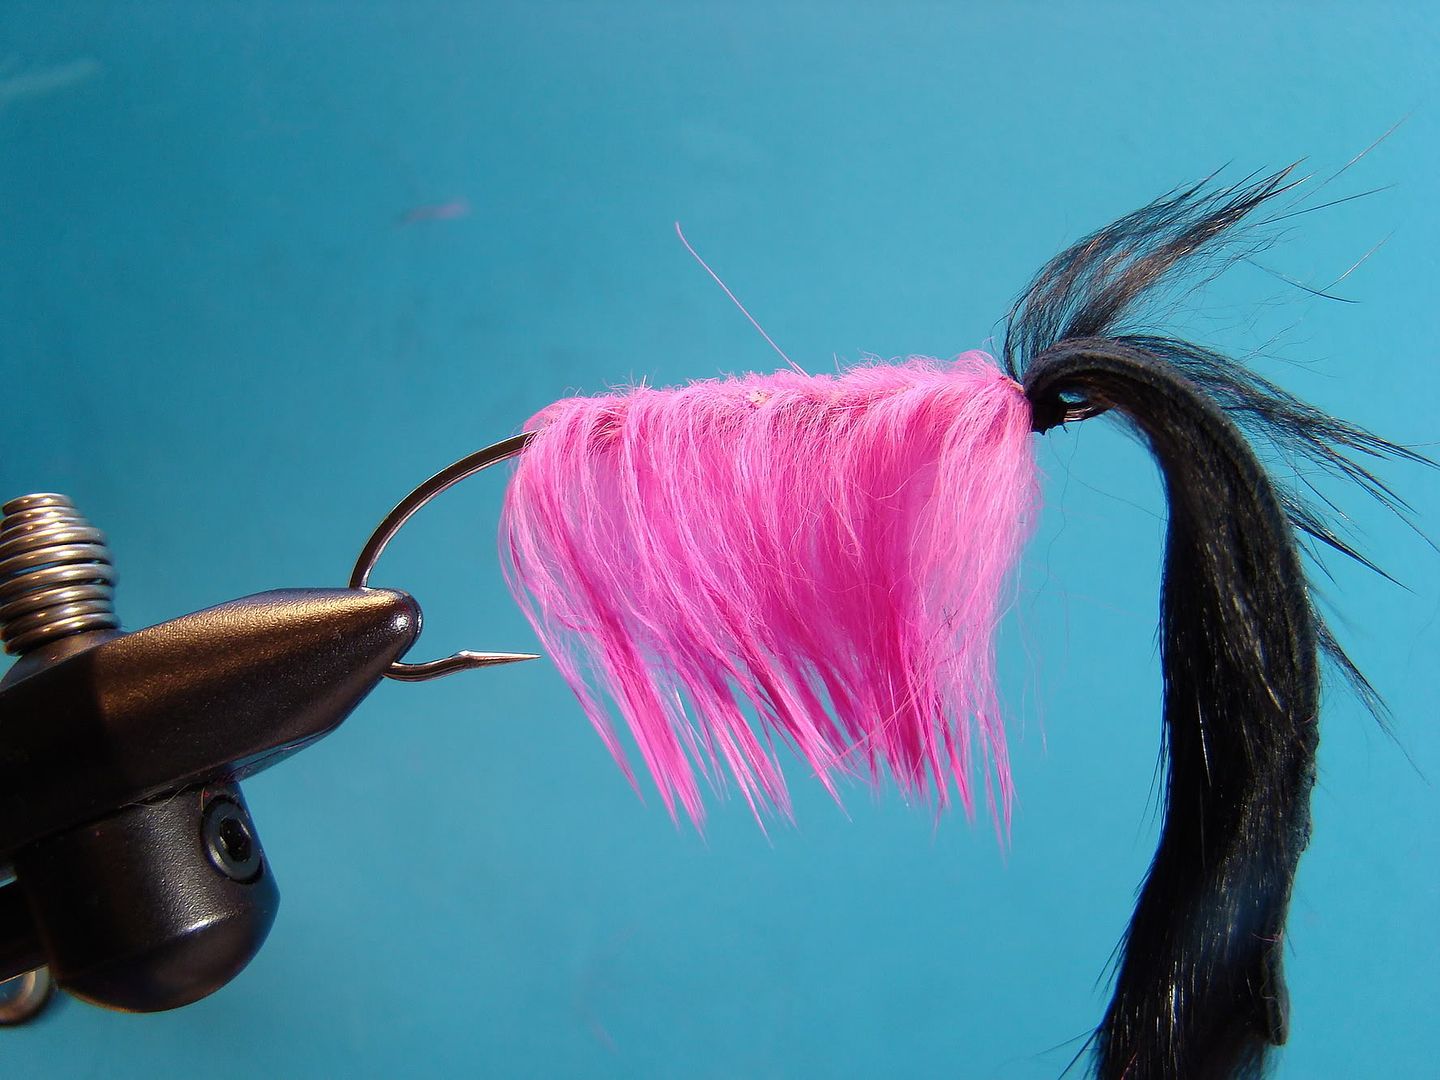
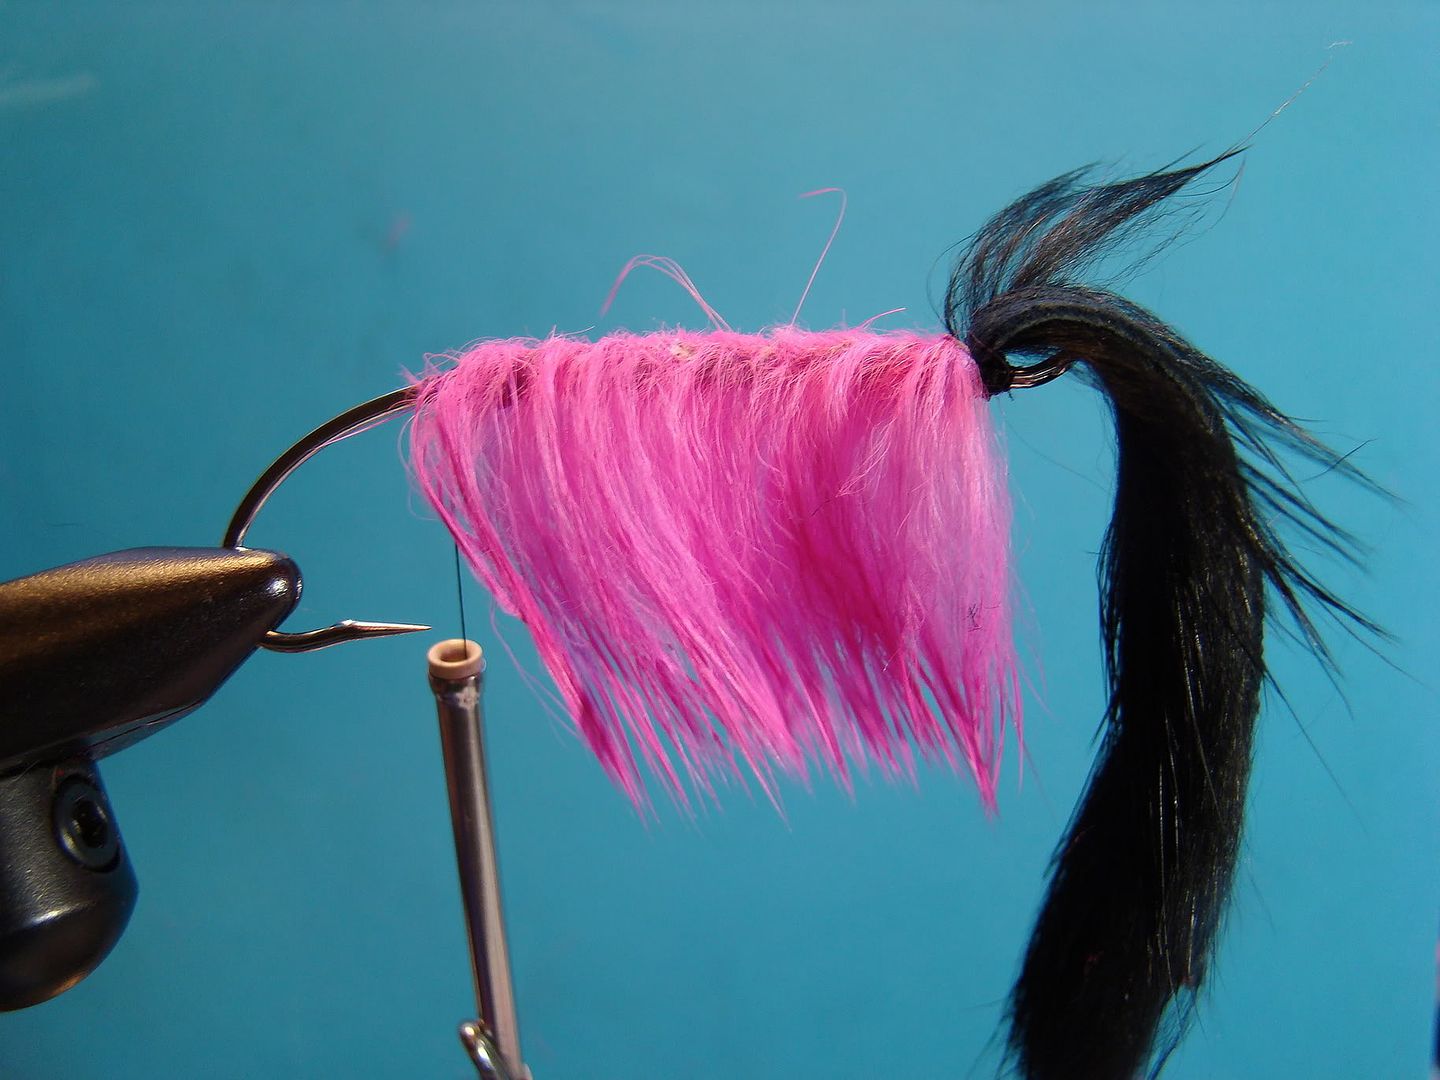
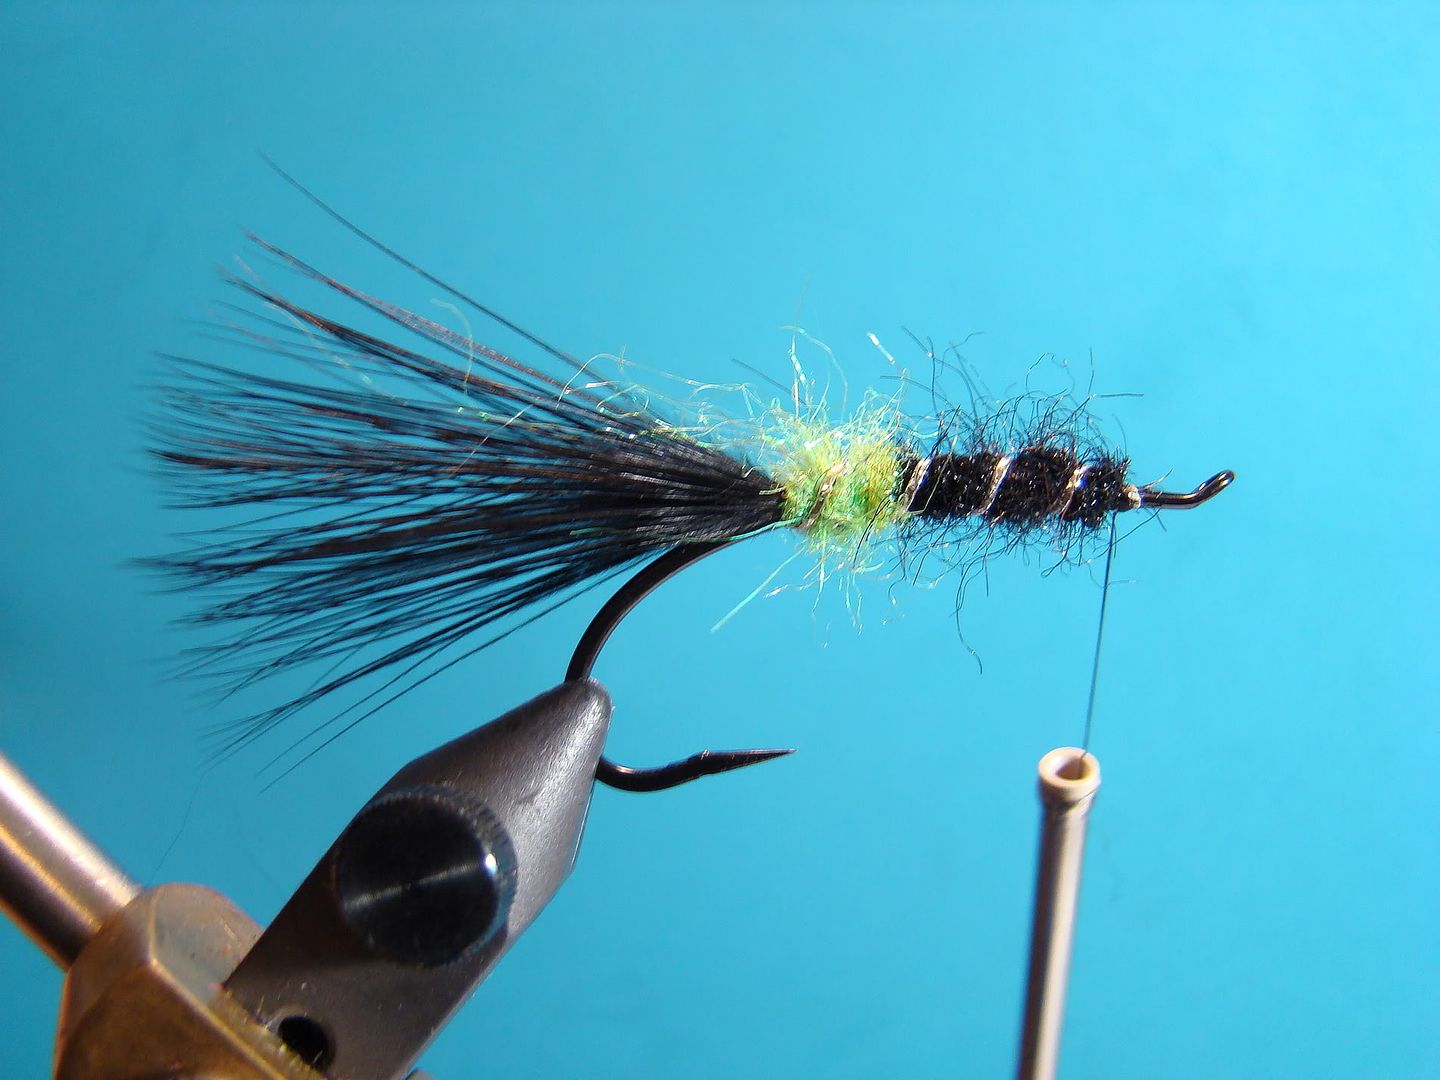
Wrap rabbit strip to a spot just behind the eye of the hook and secure.  Each wrap should touch the previous wrap without over-lapping.  I have stopped short because I am going to finish with a collar of rabbit hair spun in a loop.  This will give me a nice professional looking head without the bulk normally associated with securing and finishing with the strip/hide material.  This would also be a great time to add additional flash highlights (optional)


Step 5:


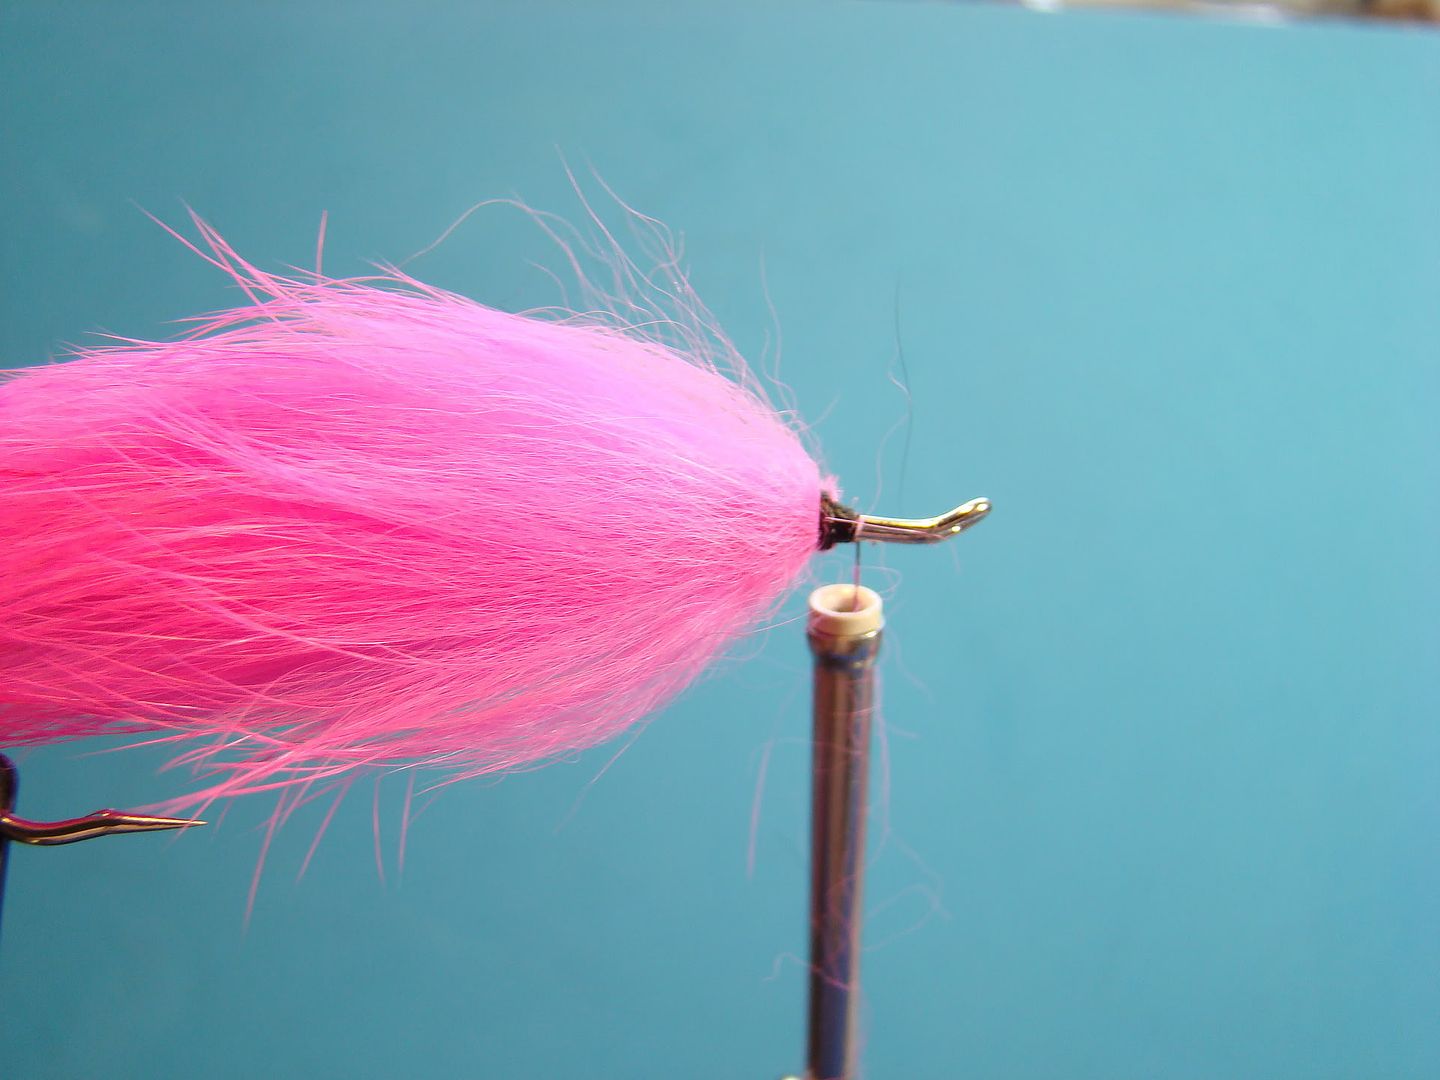
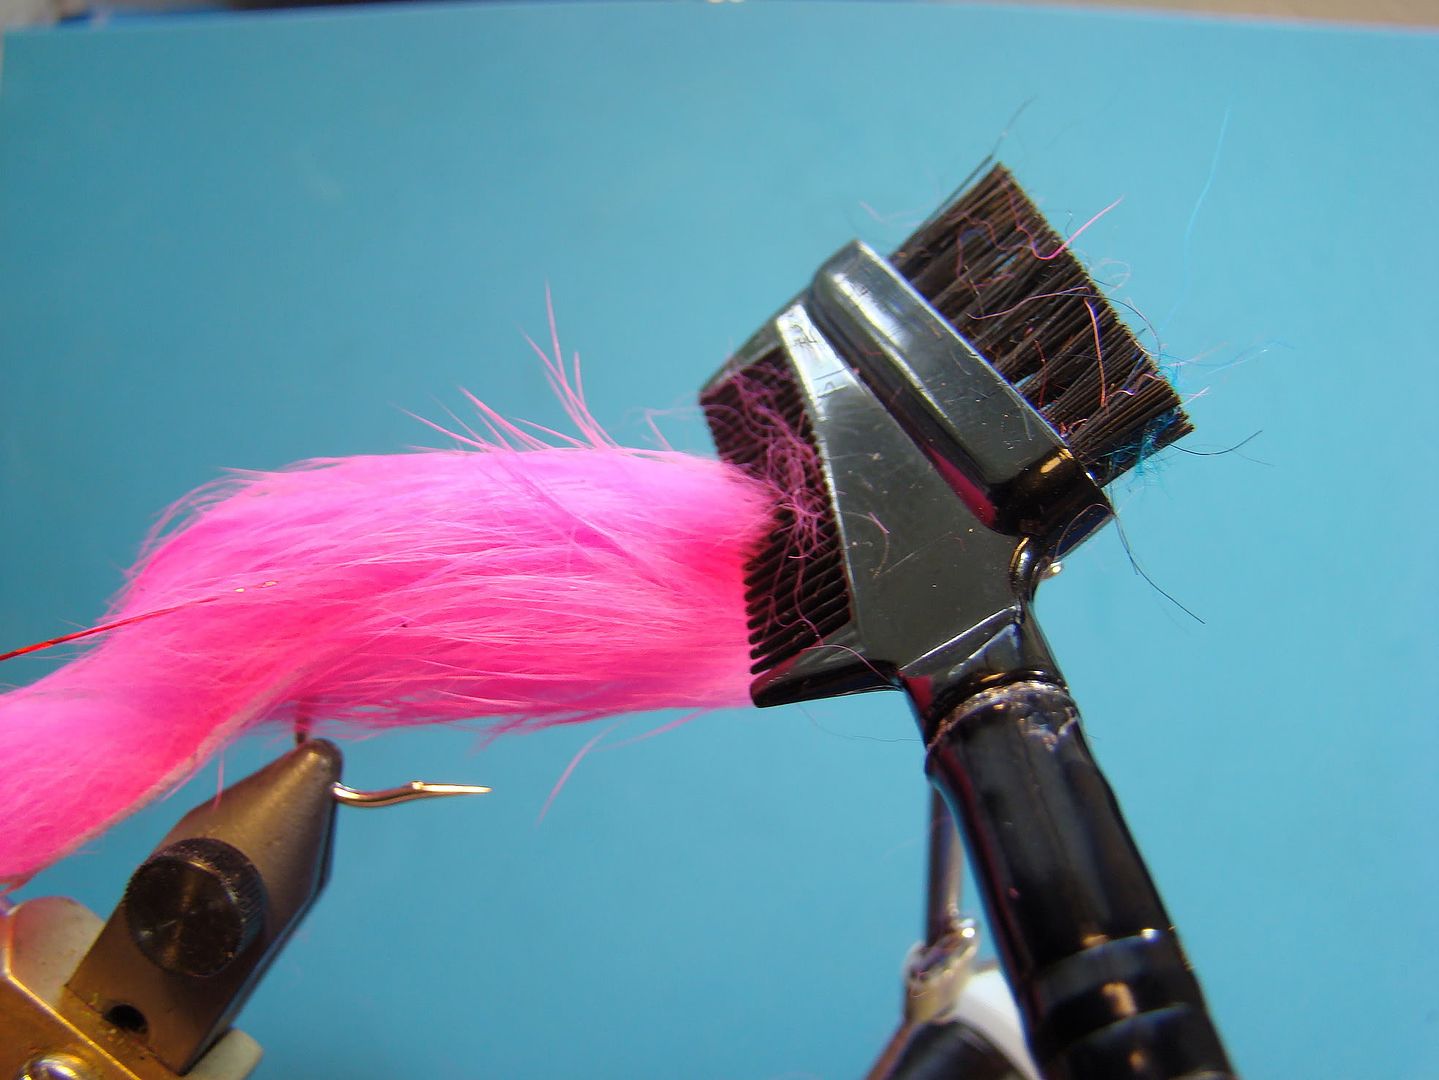
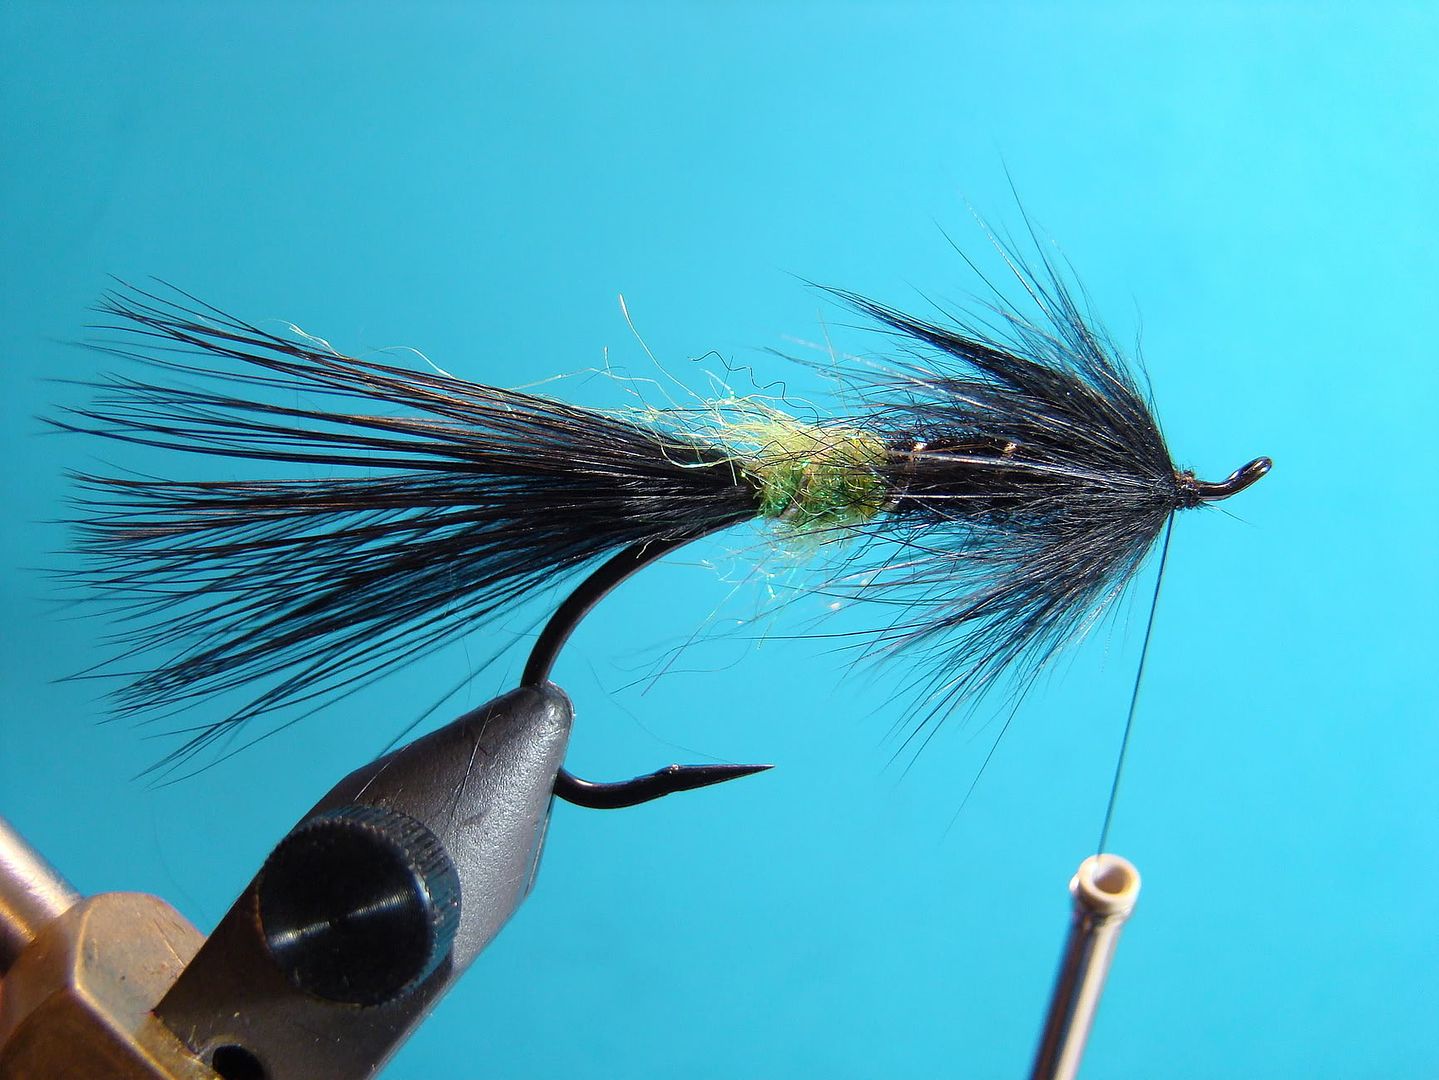
Make a dubbing loop and spin a collar of rabbit (color of choice).  Once the collar is complete, whip finish. Combing the hair is a good idea to remove any hair that became matted during the tying steps.  (I also carry a small comb streamside and comb out the rabbit hair patterns prior to fishing.  This maximizes the action of the hair in the water.)


Step 6:


Apply head cement.


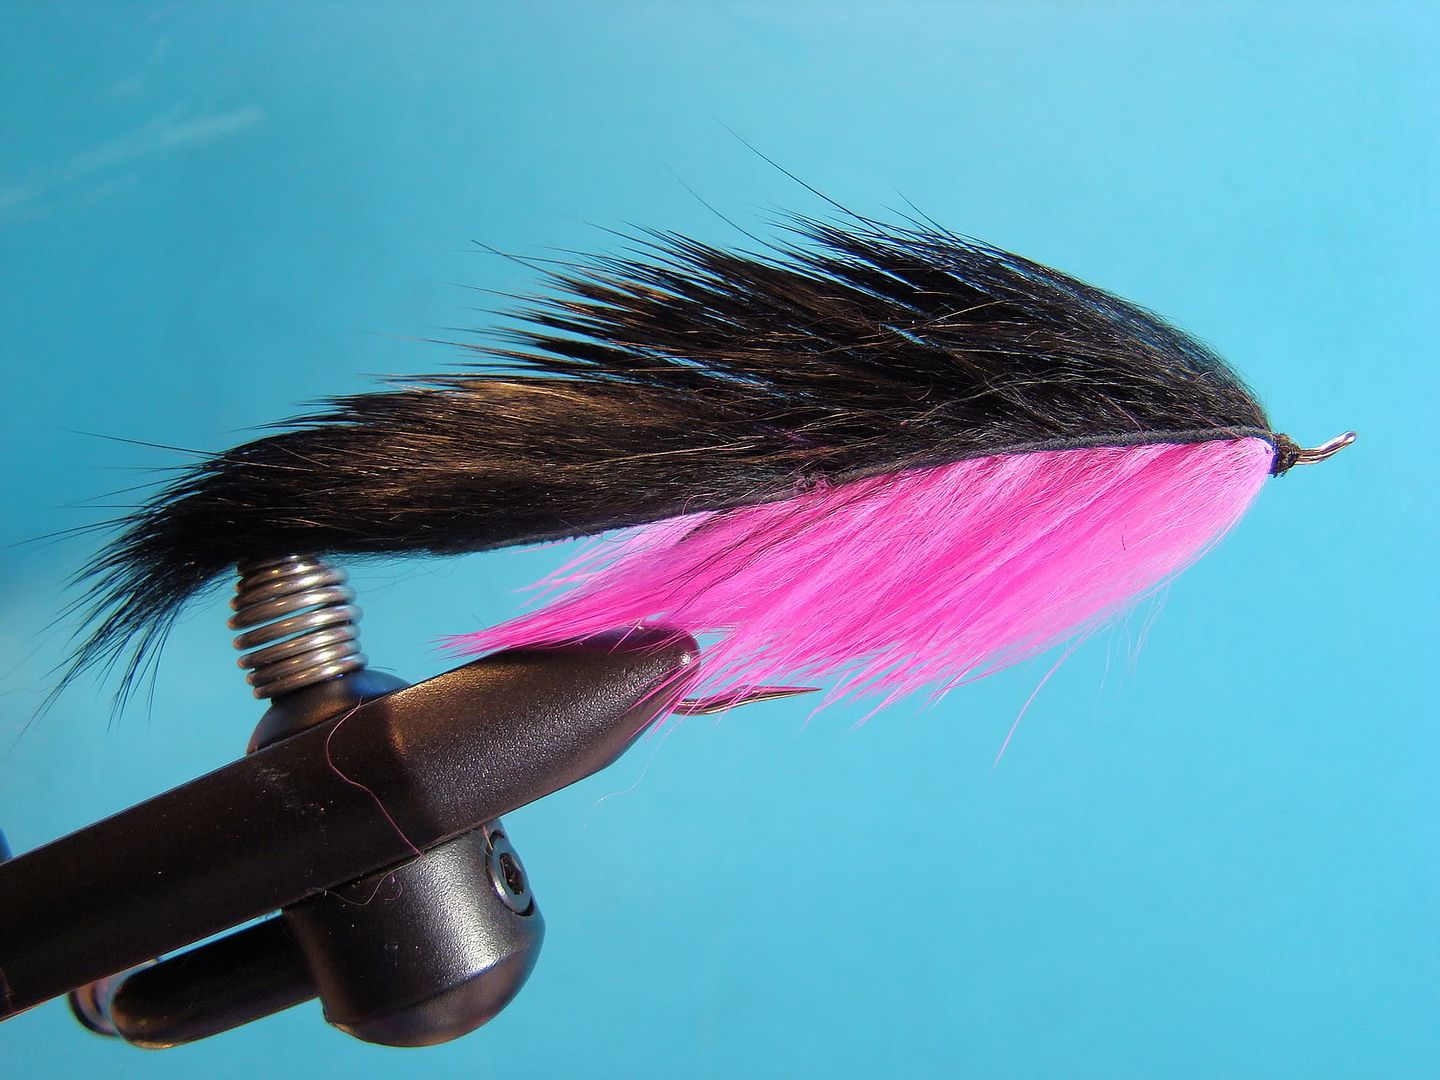
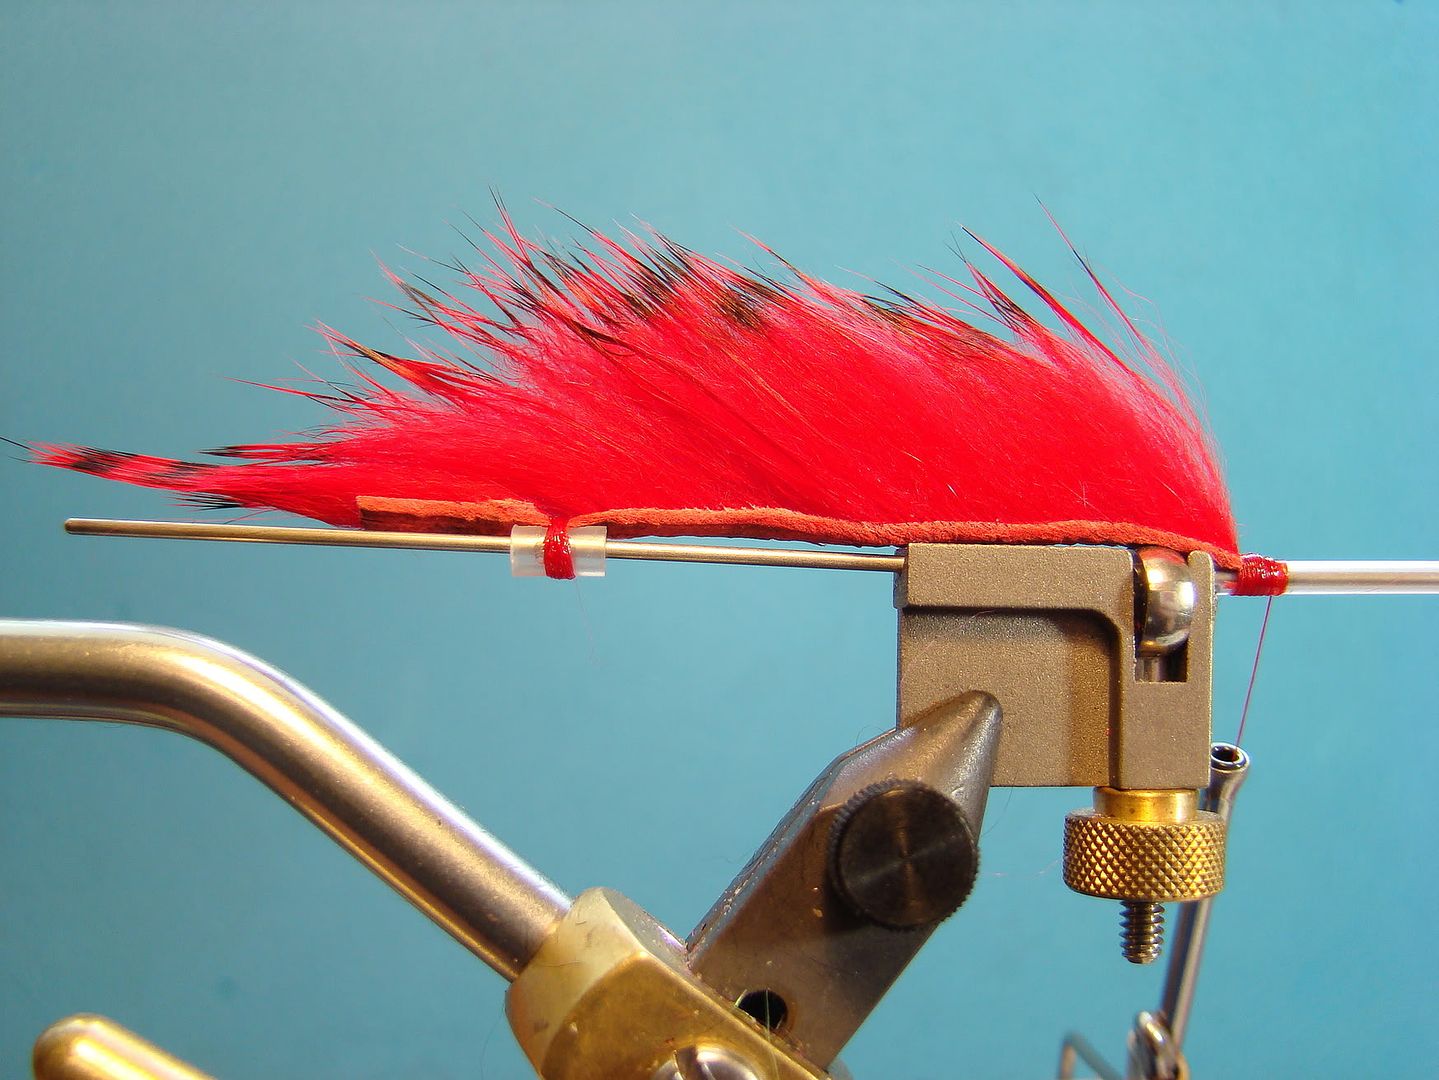
For an unique two tone look, wrap a body and then apply a strip over the back. E.g., once the body is wrapped, split the hairs evenly and draw them down under the shank.


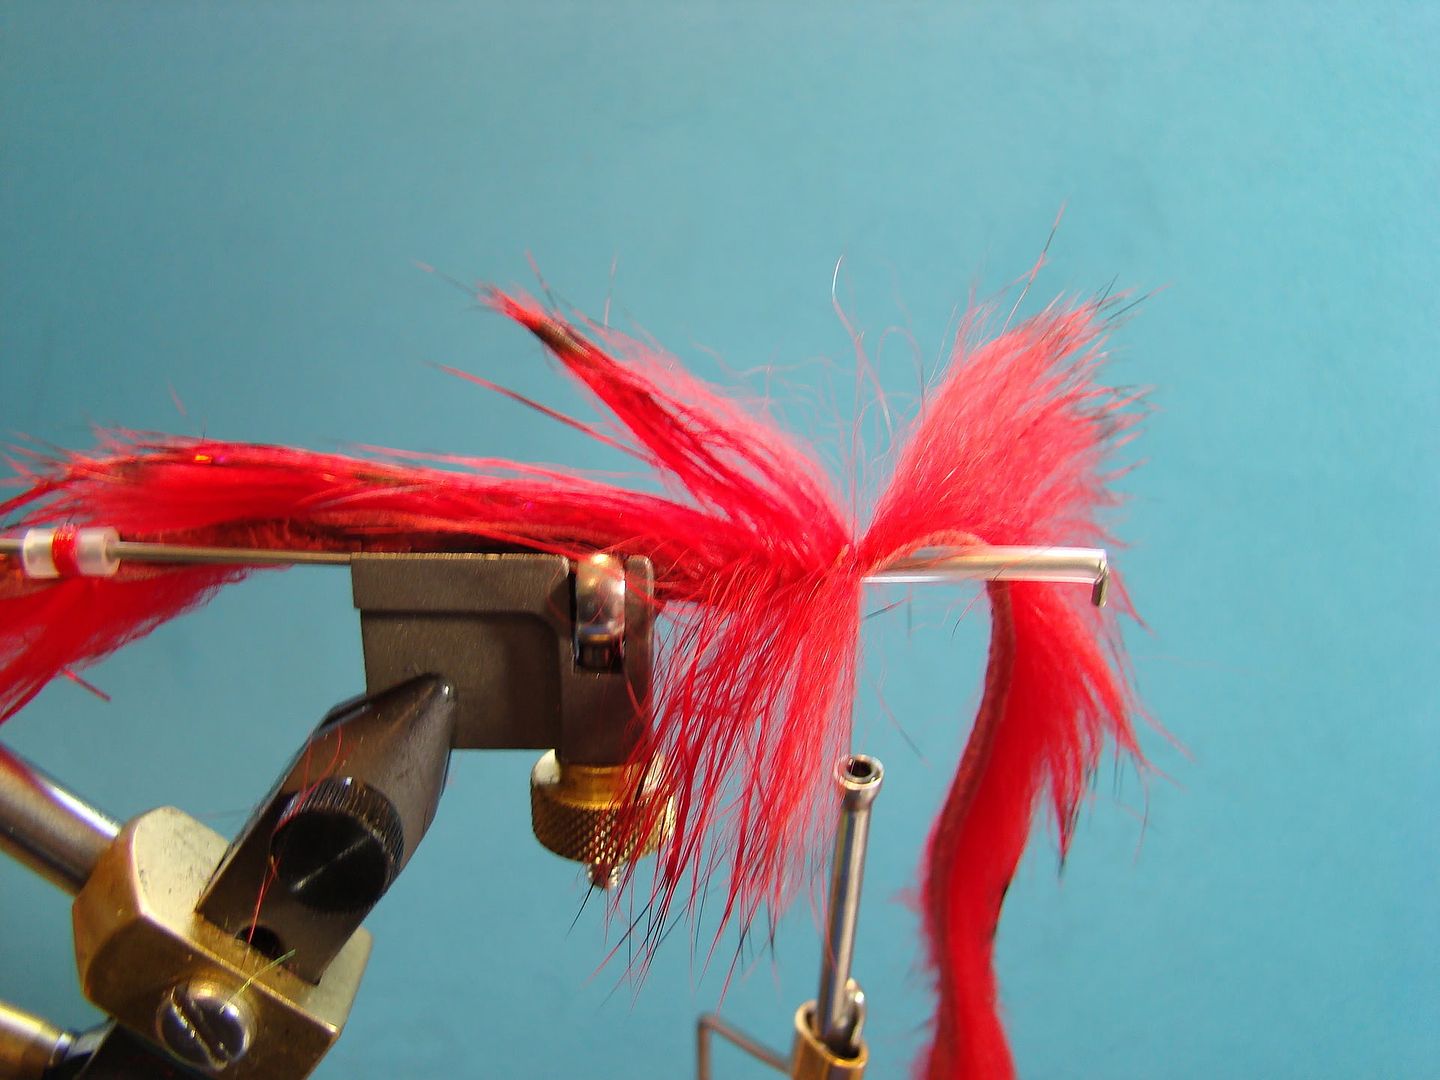
Tie in strip by the tip, whip finish, and trim thread.  Moisten hair and draw down and forward to make room for the thread.


Start thread directly behind body.  Firmly tie down strip and whip finish. Trim thread.


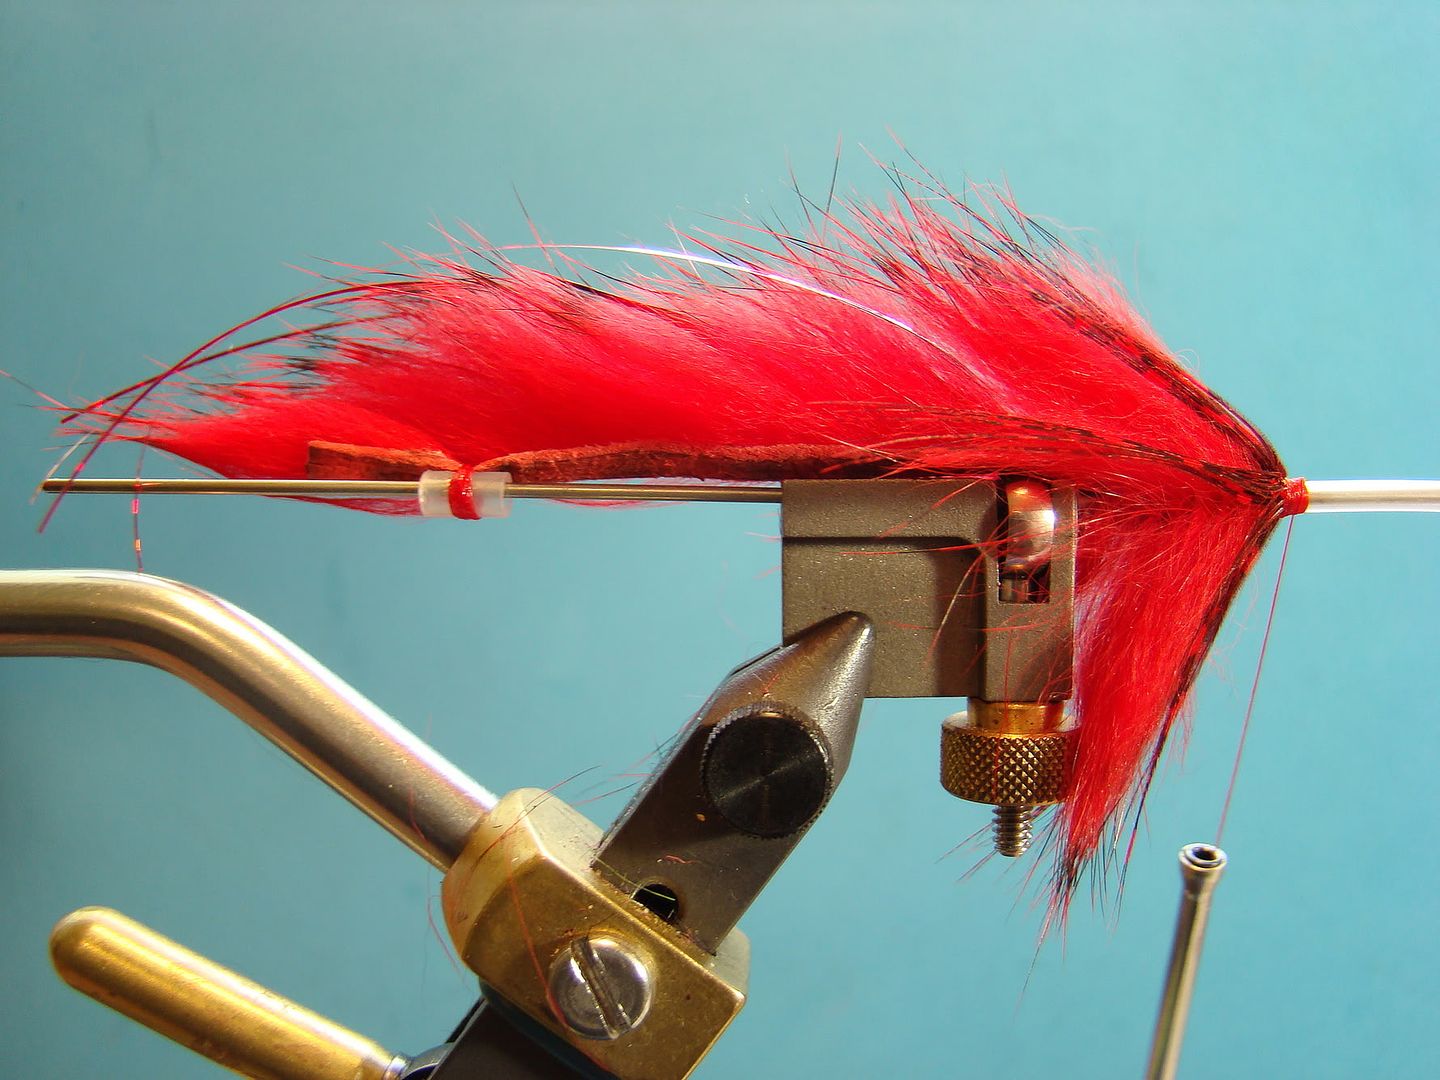
Once the strip is secured, comb hair back.


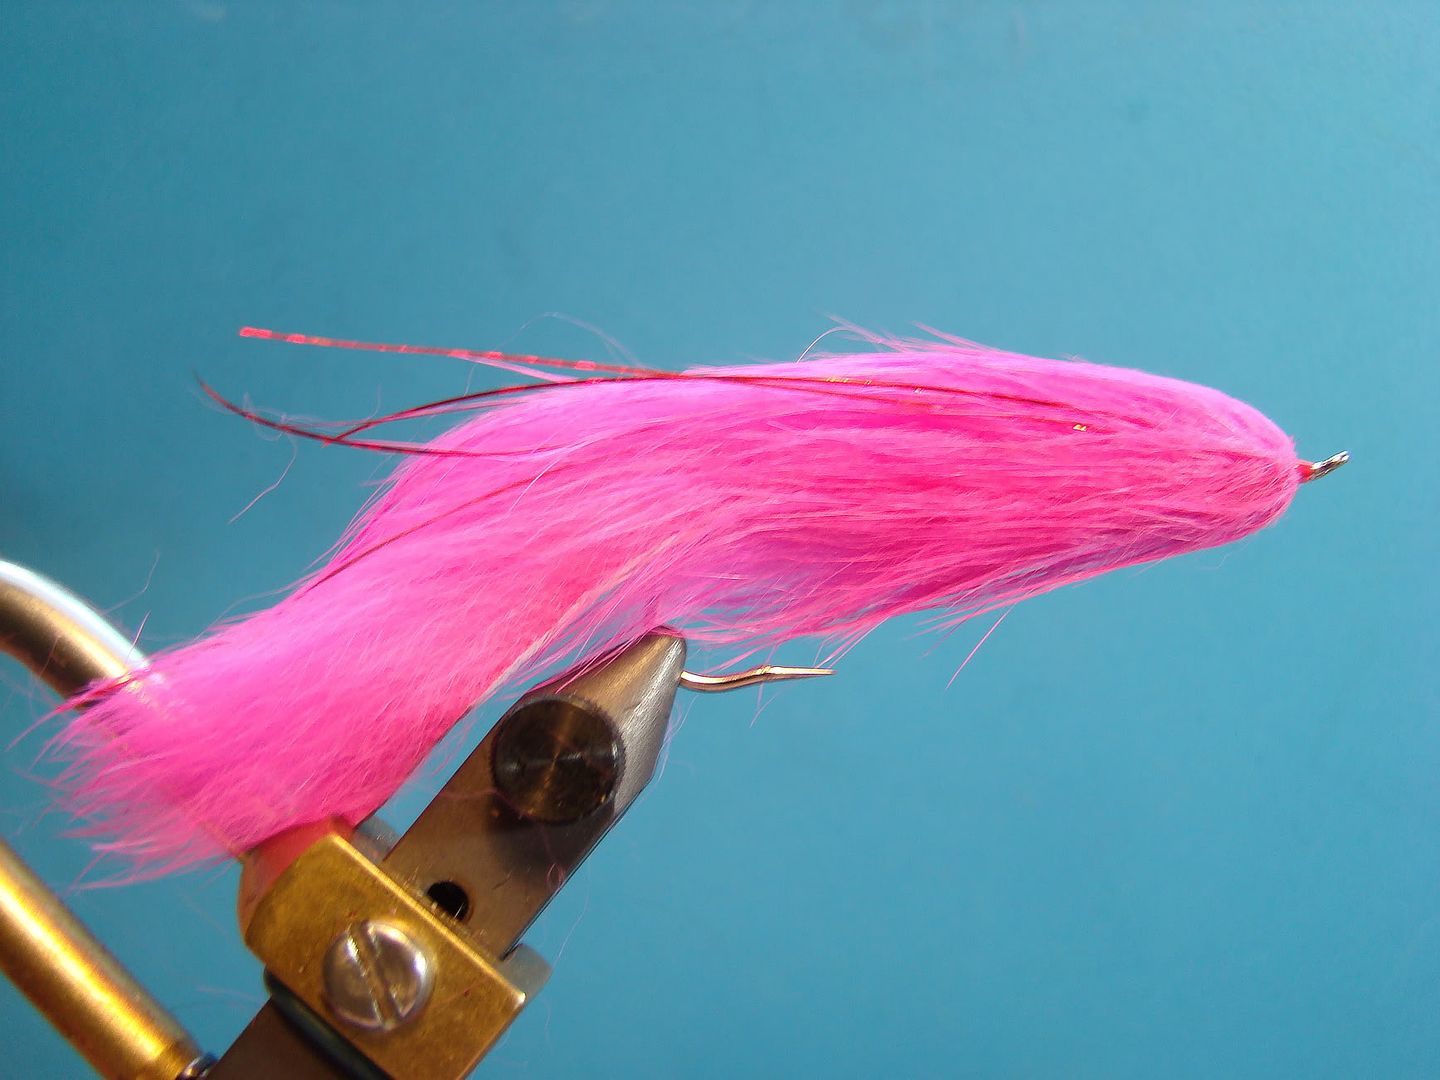
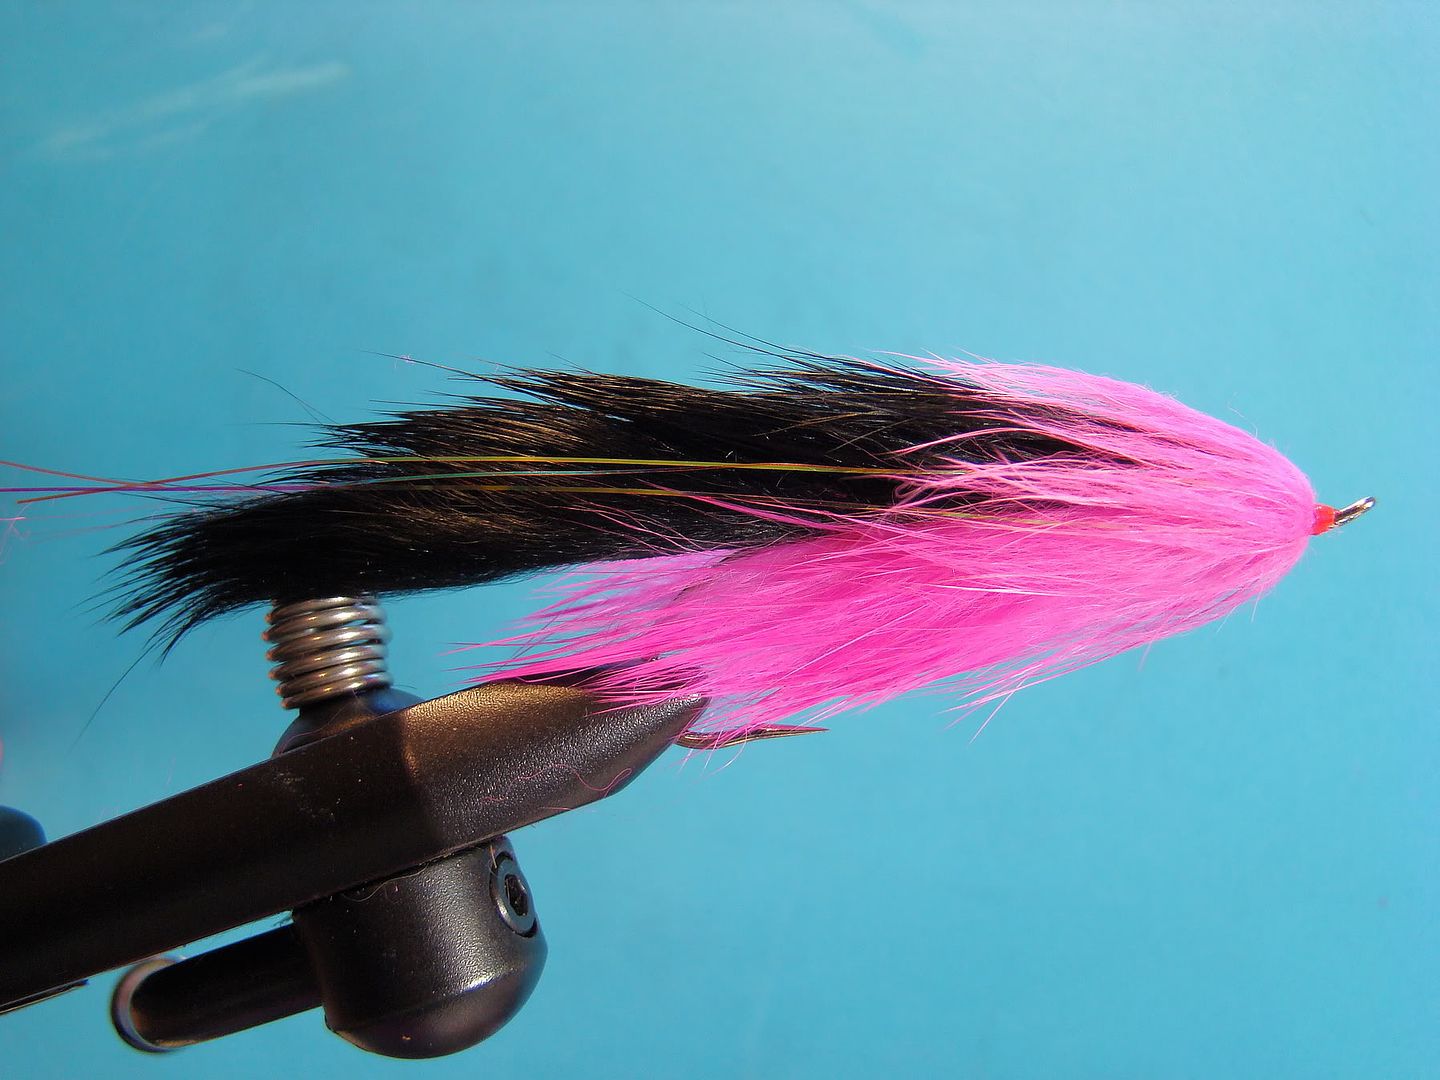
I've added some flash highlights and a collar of rabbit hair.

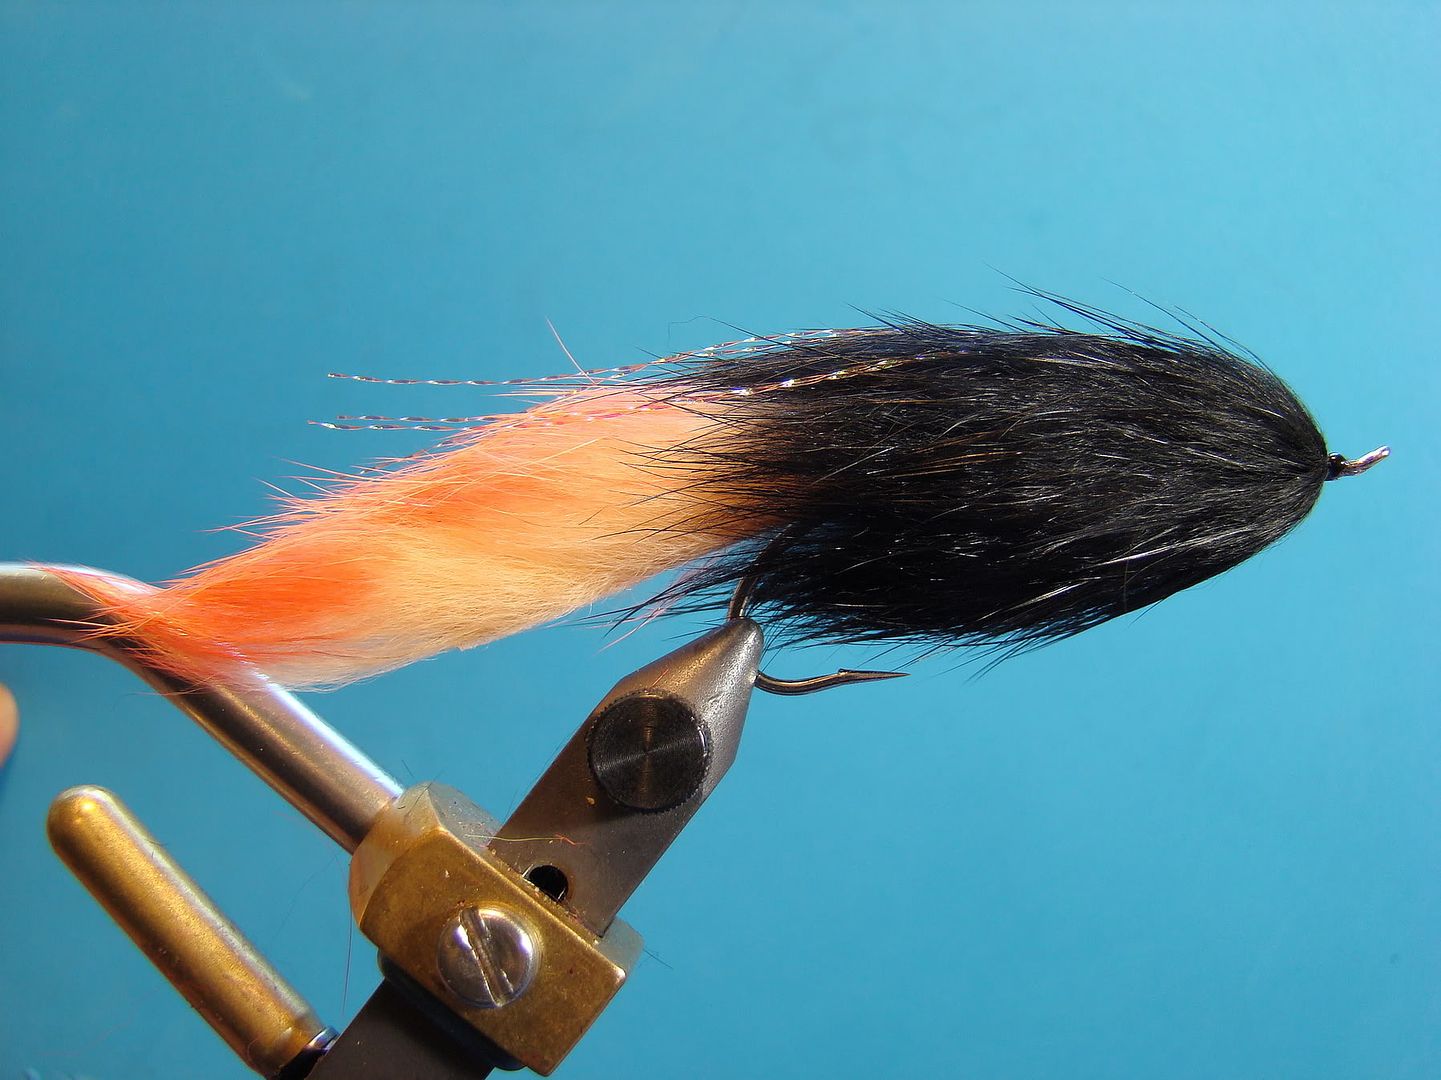
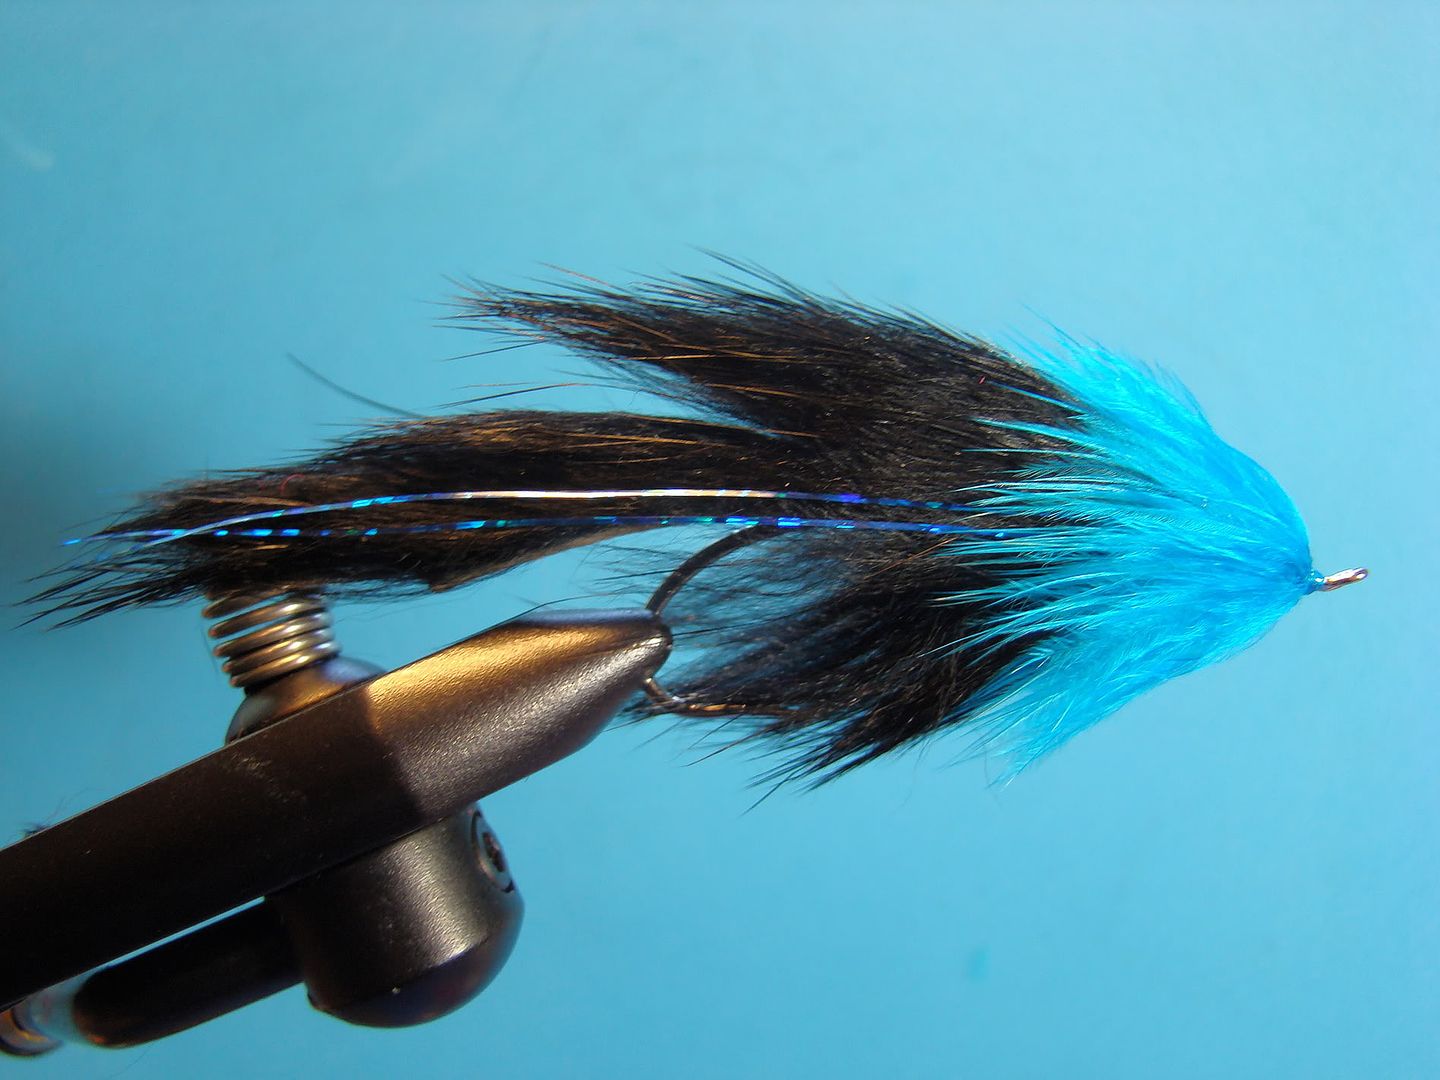
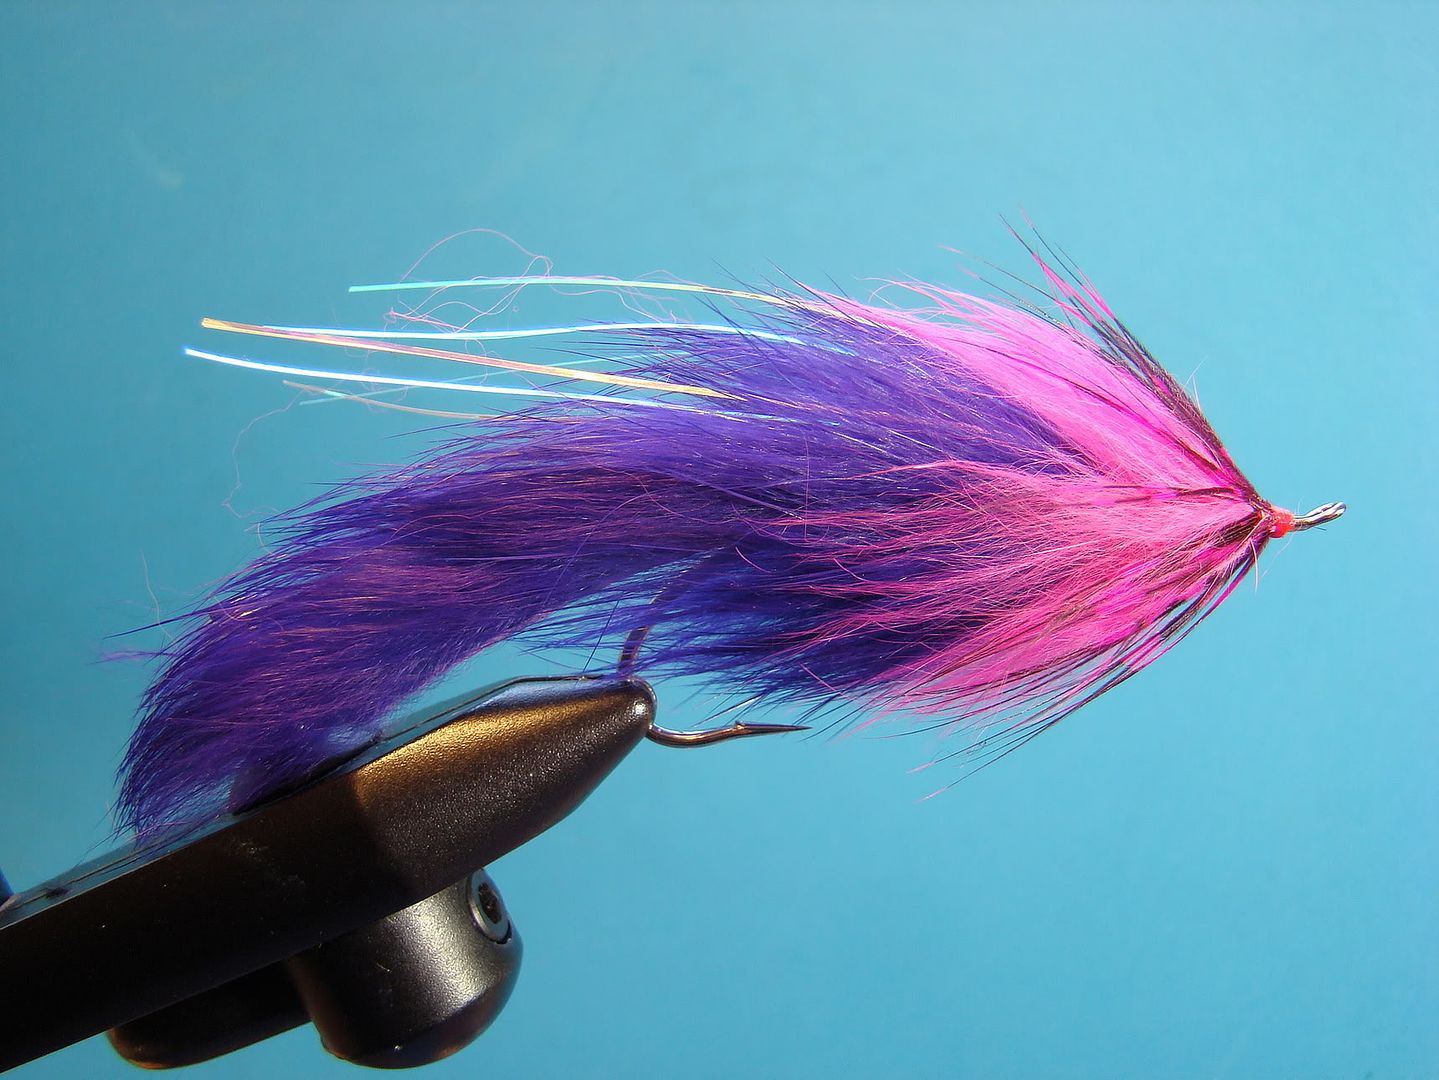
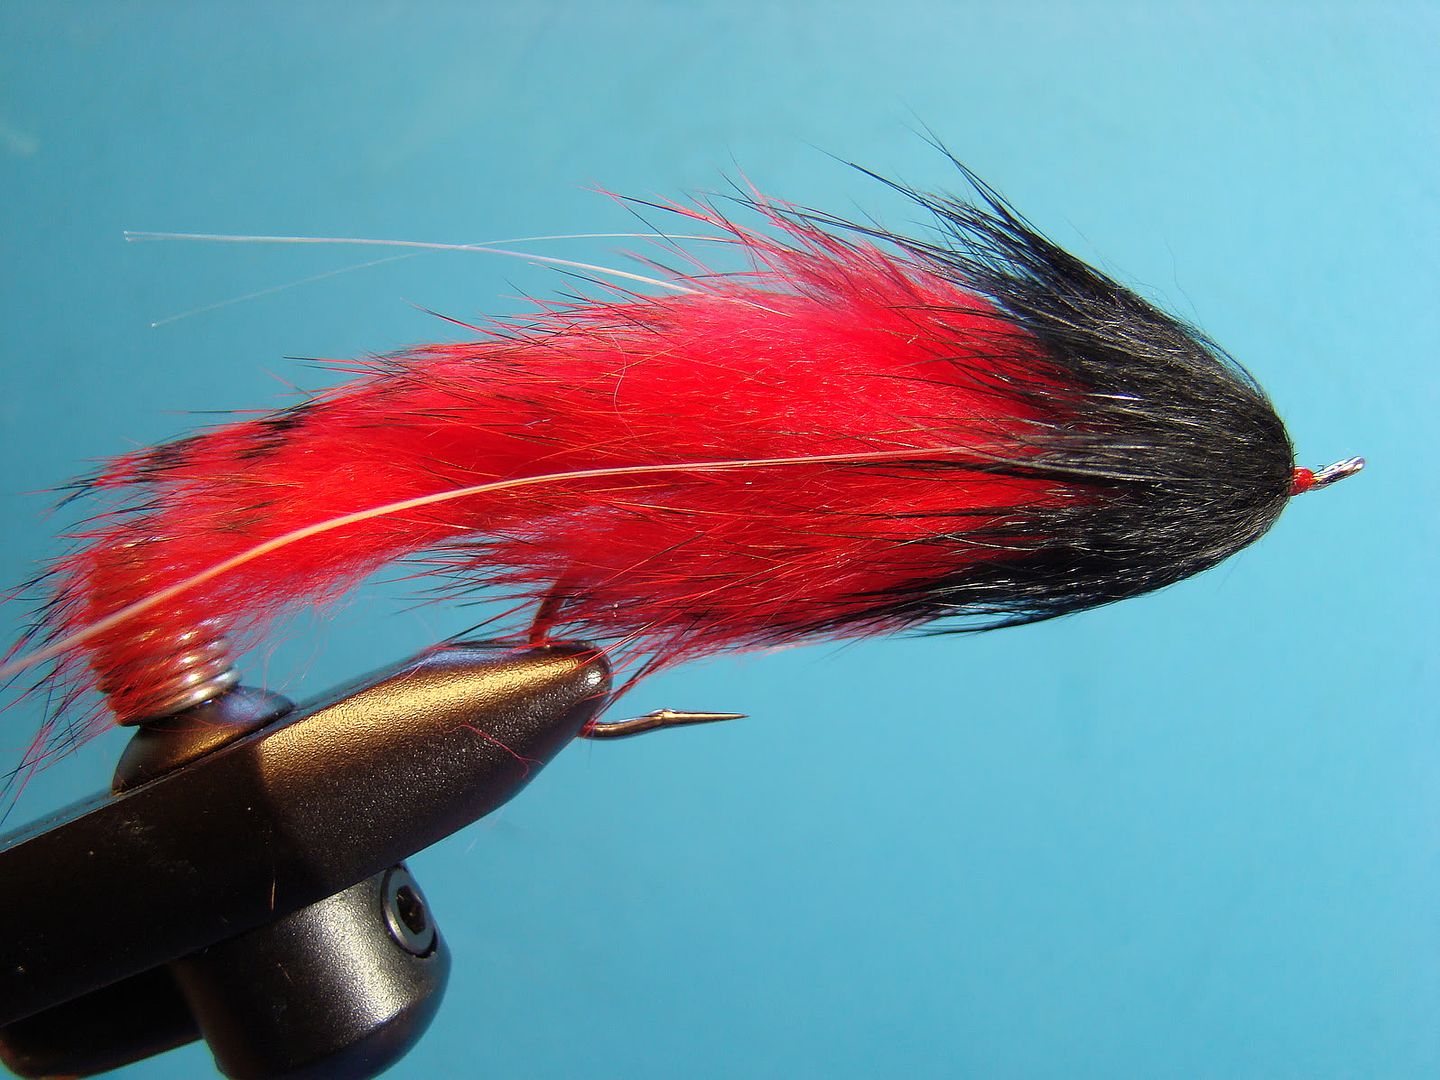
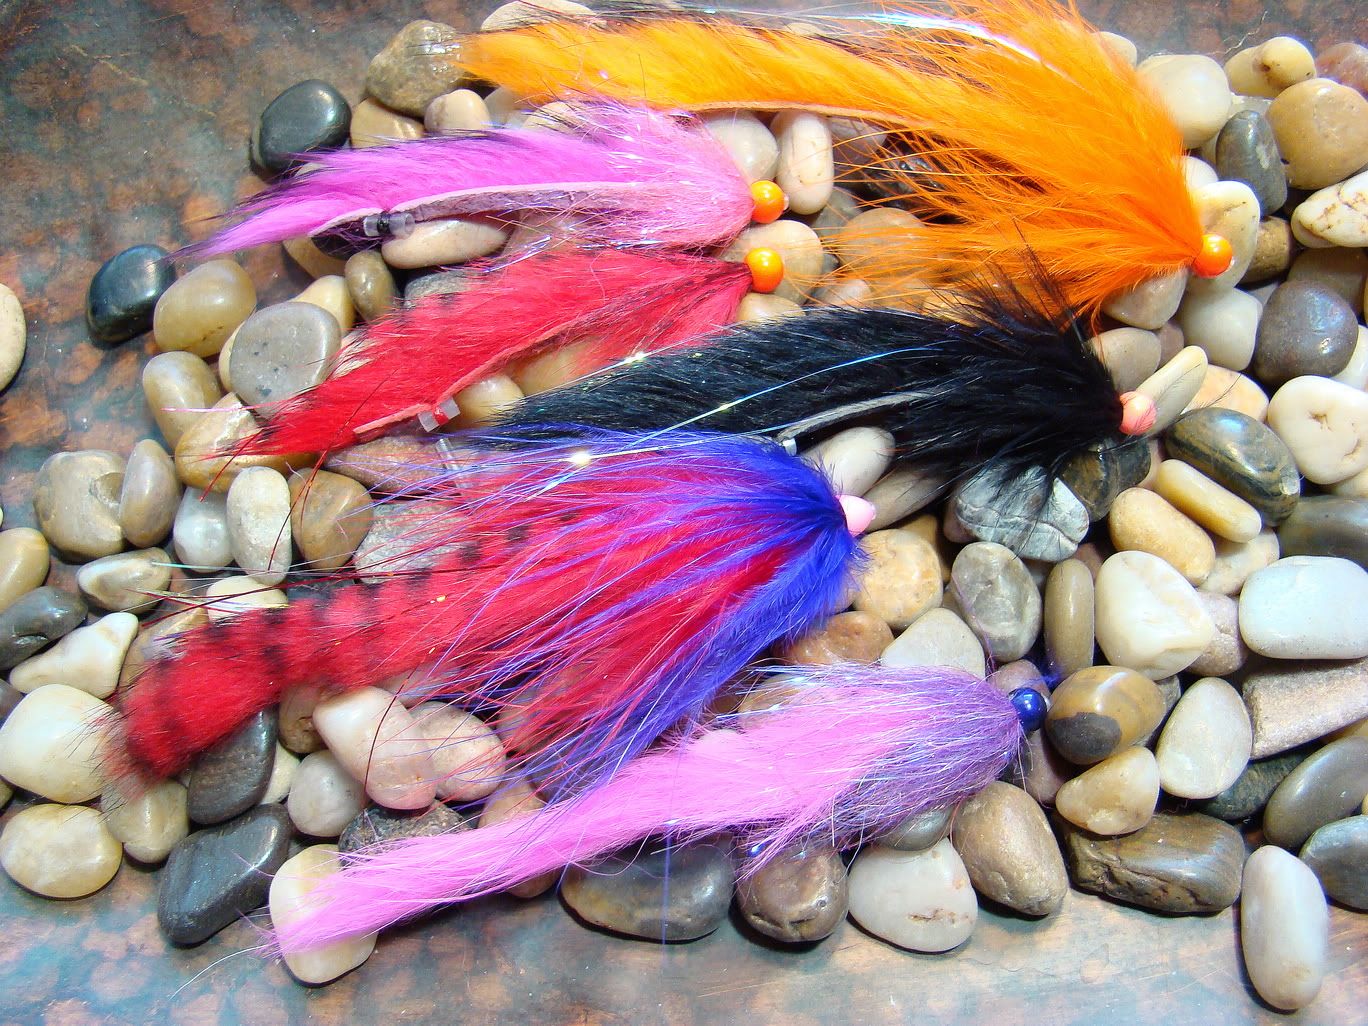
Here's a few additional ideas for you...  These are proven steelhead patterns!

Orange and black

Black and blue - instead of finishing with a collar of rabbit hair, I elected to use a Chinese rooster feather.  I utilized the bottom portion of the feather - half fibers/half fluff.

Purple and pink - I added a pink rabbit collar and hot pink Guinea

Red and black - Black barred red rabbit and black collar.

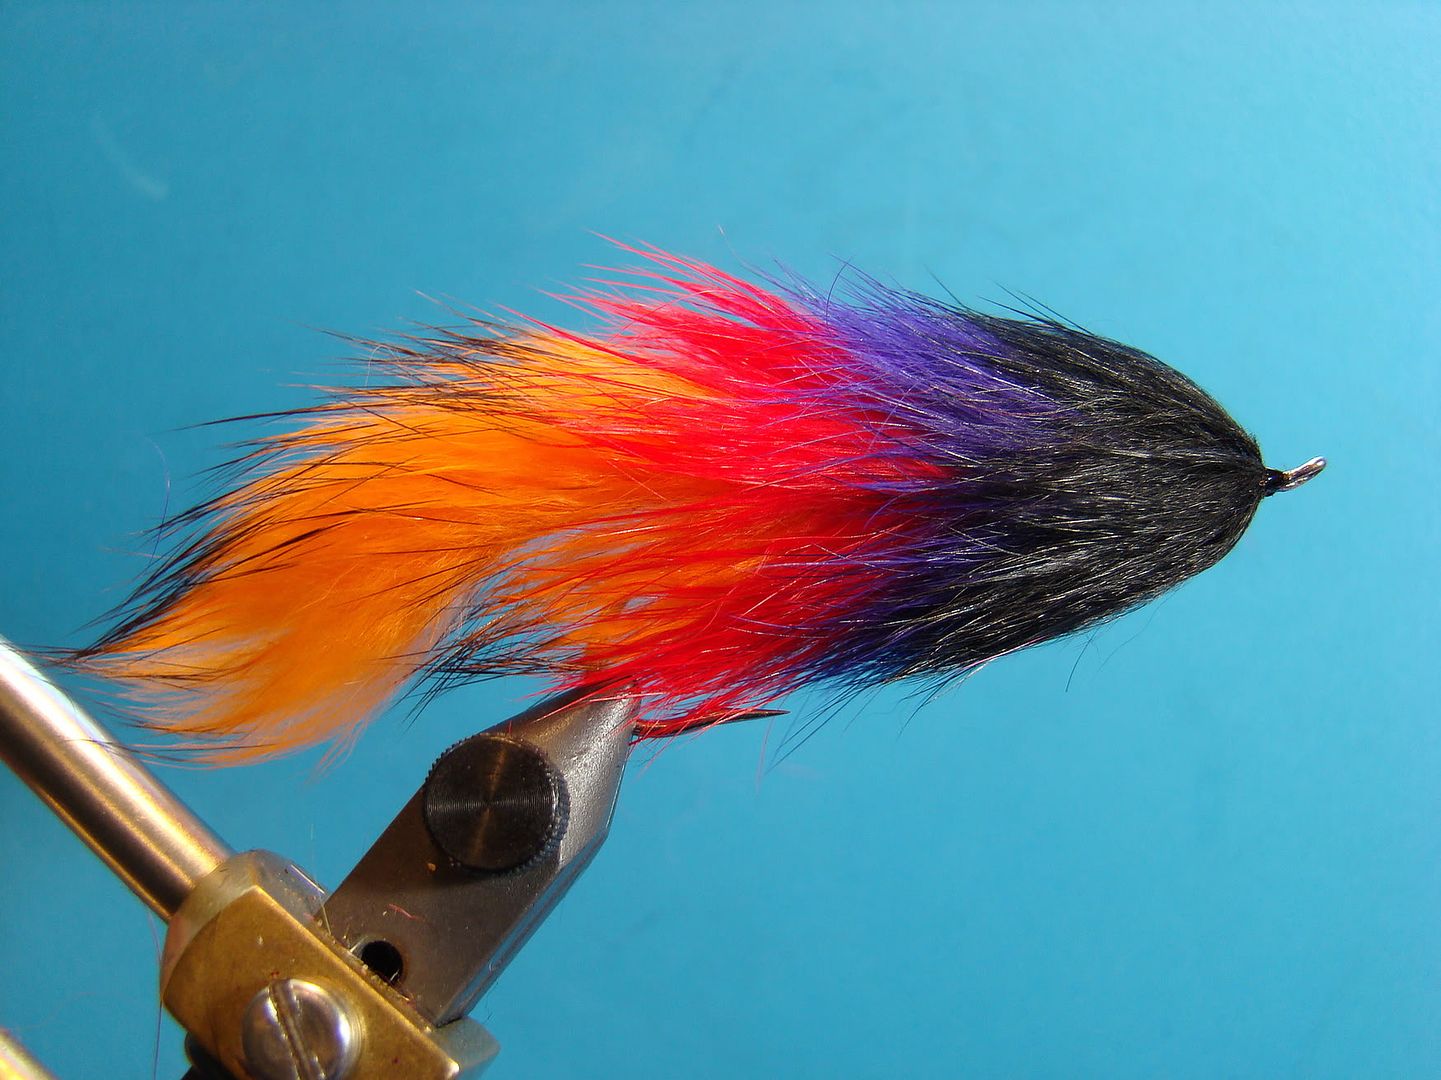
Orange/red/purple/black -  Tie in orange tail.  In four sections I spun rabbit in a dubbing loop- orange red, purple and black.

You probably noticed I didn't write about utilizing cross cut rabbit strips.  I only use them on smaller trout size patterns and prefer to use normal strips for the added bulk (cross cut strips tend to lack a lot of under fur). Besides, the hair can be trained to lay flat with a liberally amount of water, combed, and then dried during and after the tying process.

Have fun at the tying bench.  There's plenty of color combinations and ideas left to explore!  
Wednesday, July 27, 2011

Swinging Flies in Southwest Washington - 27 July 2011

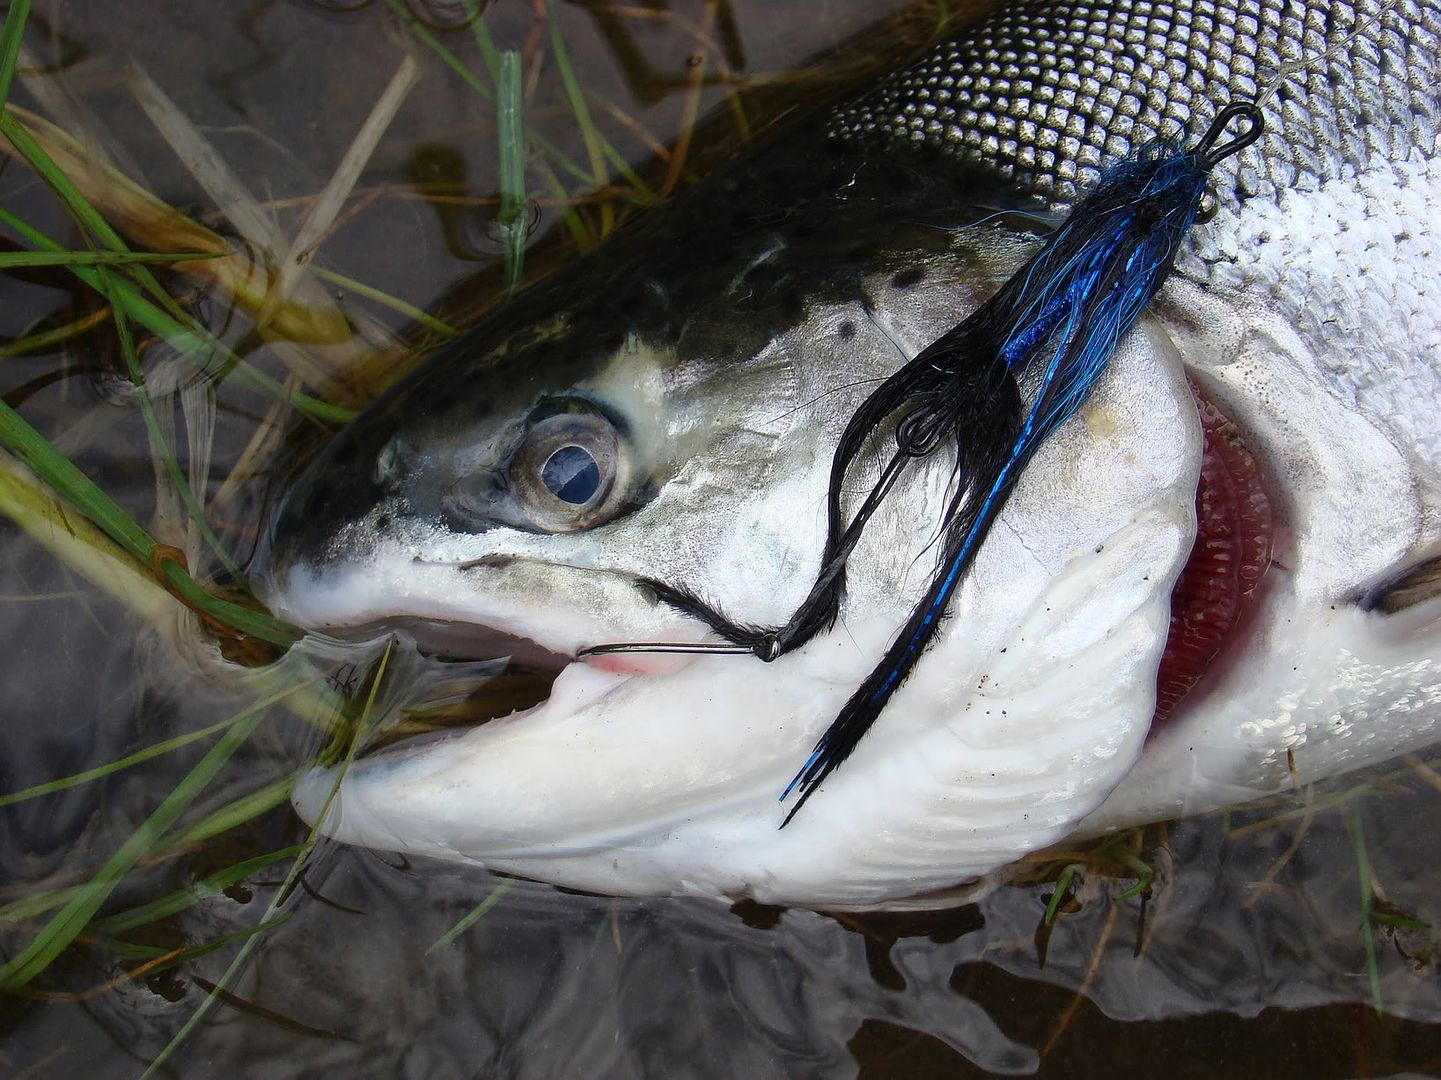
What's a guy to do with a little time off?  Fish!  Alarm set for 3:00AM and on the river by 5:30AM.  Water level perfect for a Skagit head, 7 1/2-feet of T-14 MOW tip....  I didn't get great hook sets on the first two fish, but the third tug of the morning shot 3-feet into the air approximately 90-feet downstream!


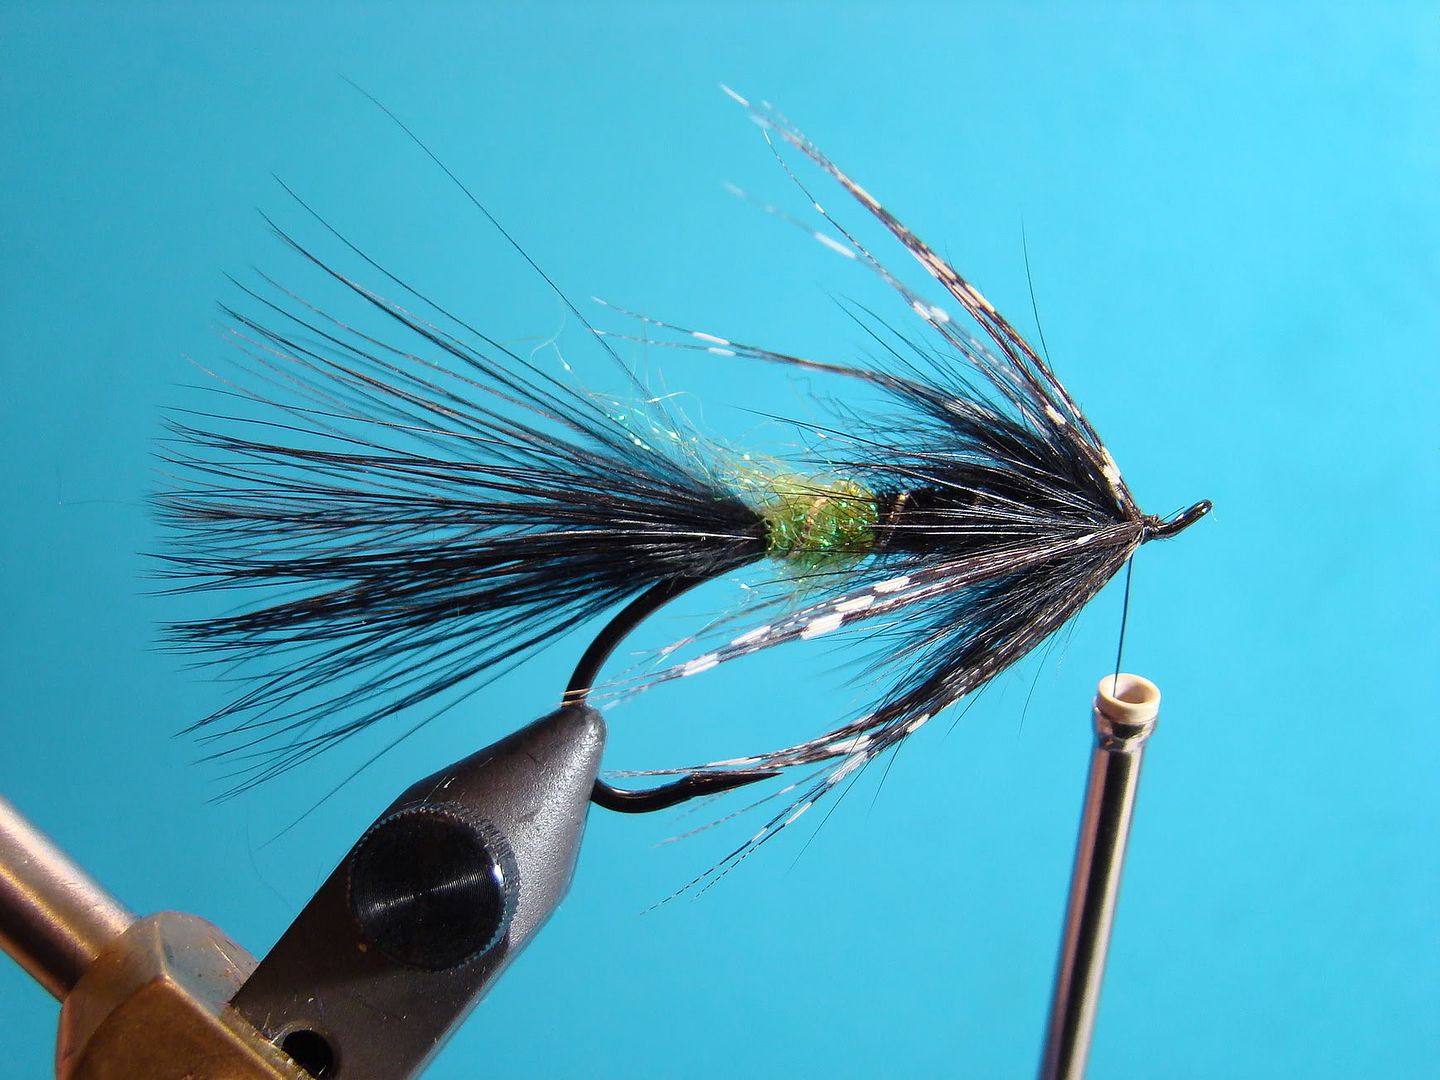
Intruder (black and blue)


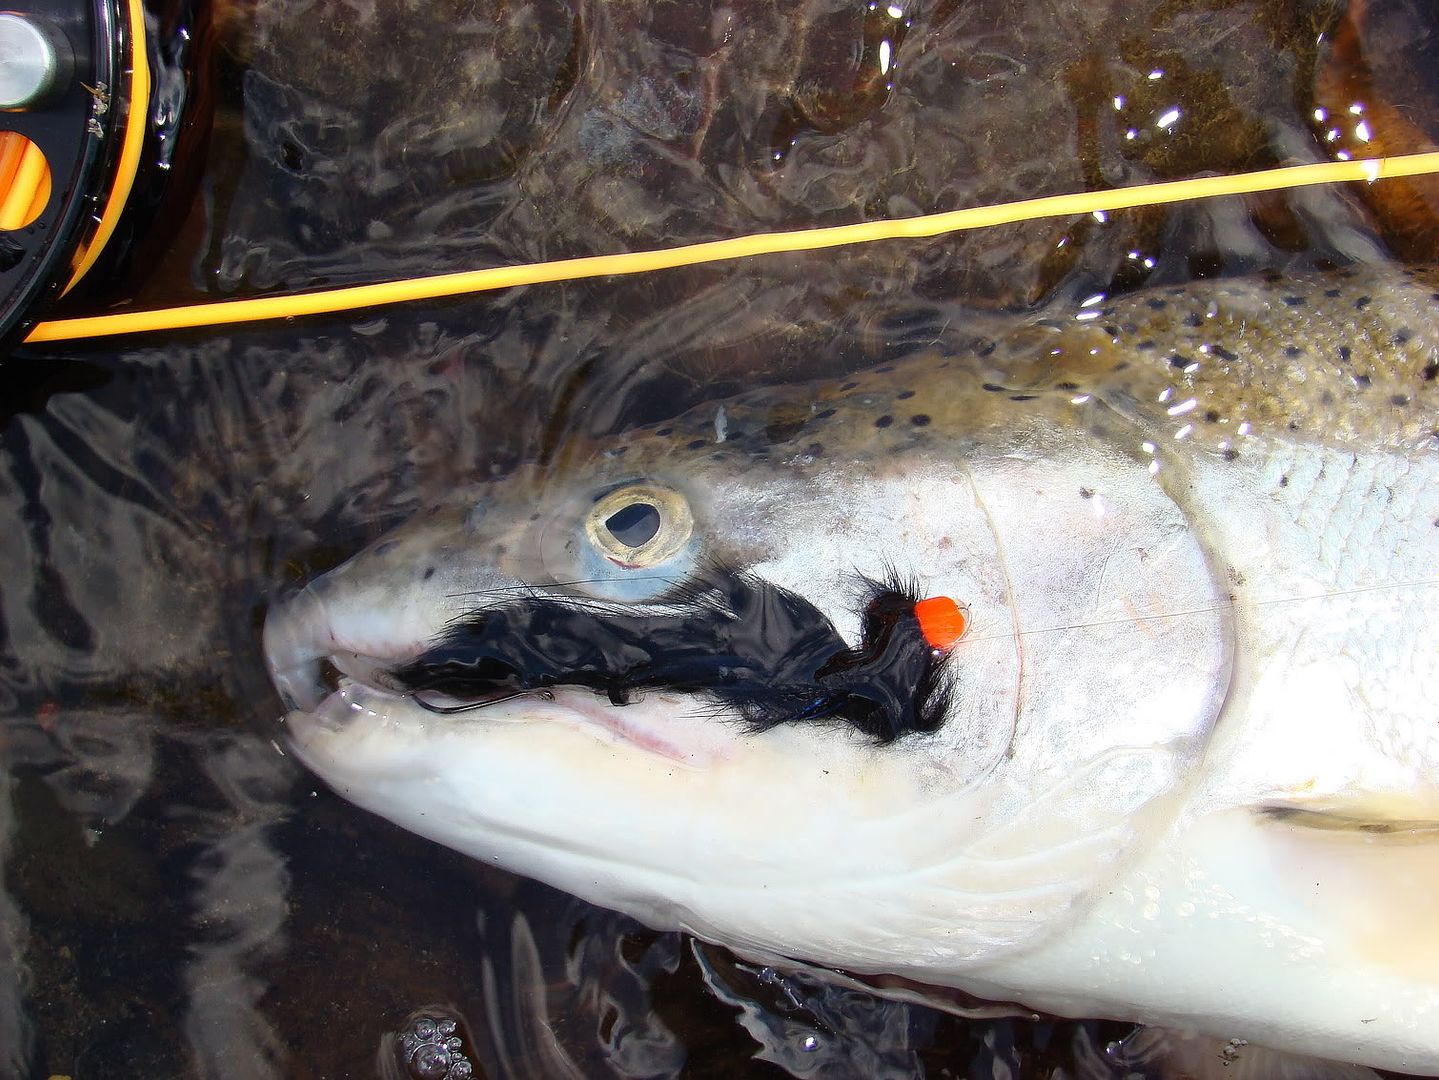
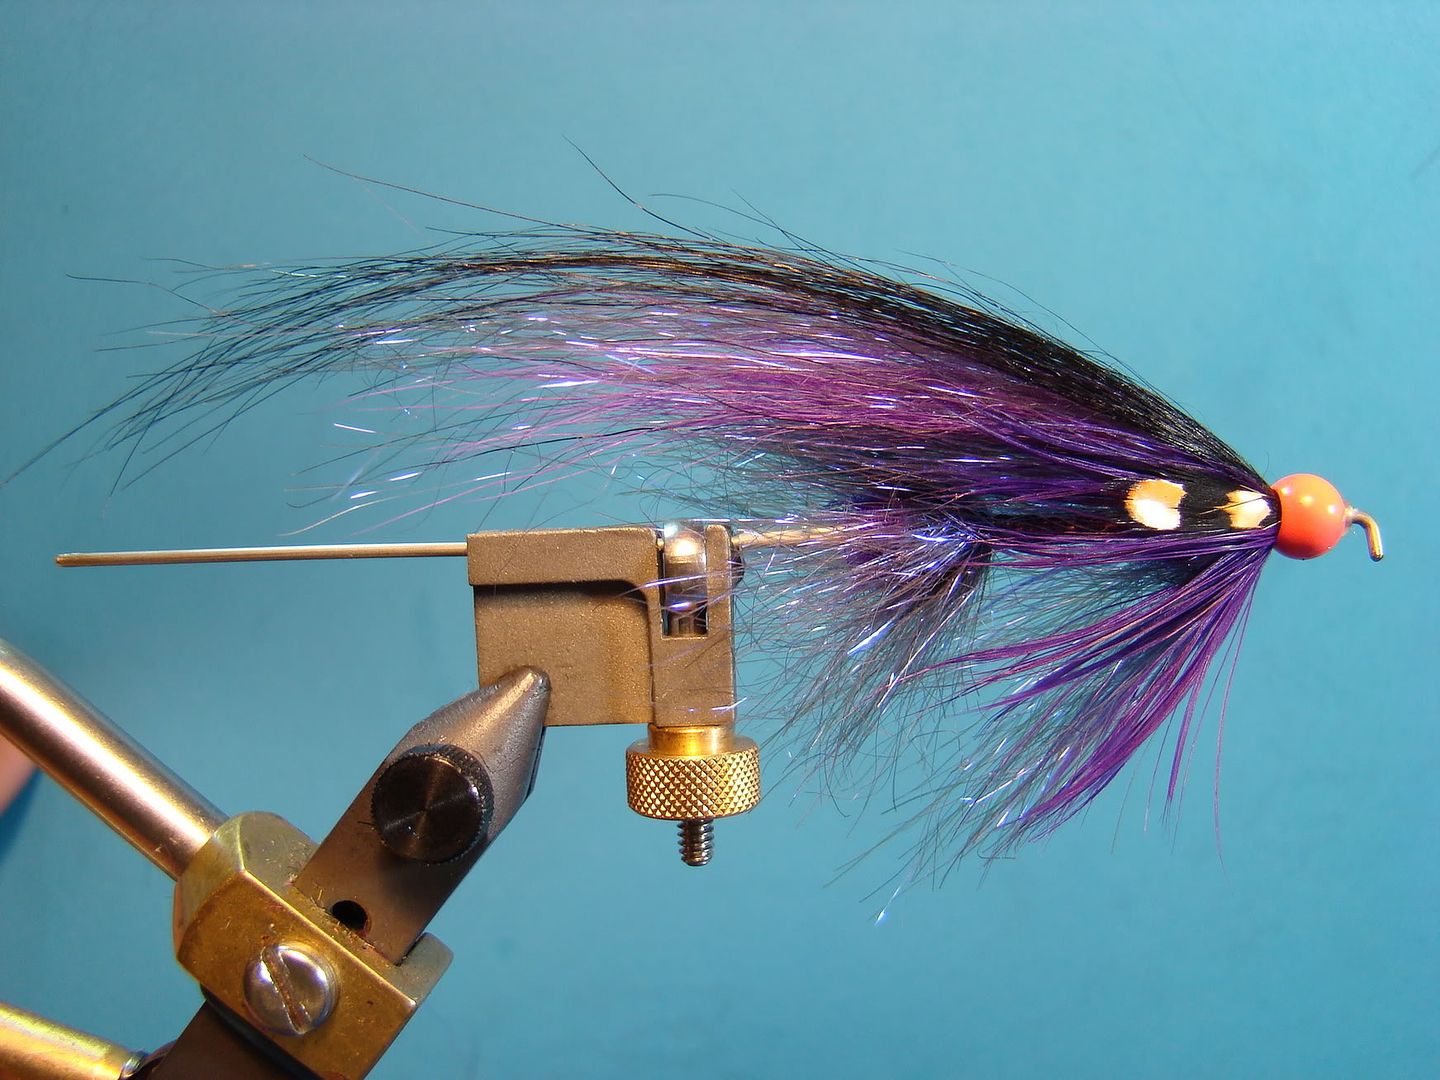
No tugs for the next three hours so I decided to eat a little lunch, sharpen some hooks, and relax a little in the shade.  Changed over to a 3-inch black Silvey's Tandem Tube.  Mid way through the run- SLAM!  One of the best fighting hatchery fish to date!

Silvey's Tandem Tube (black flanked by two strands of blue holographic flash each side, hot red bead)


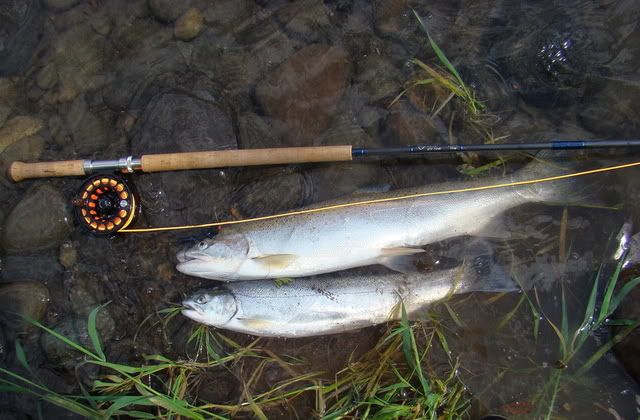
Awesome day in the Pacific Northwest!  Two fish in the cooler and back home in Gig Harbor before rush hour.  

Enjoying a nice cold Lunazul margarita, BBQ is lit off, a little Dungeness crab and fresh steelhead for dinner! Any takers?

Saturday, July 23, 2011

Silvey's Tandem Tube


The original String Leech, sometimes referred to as the Strip Leech, is nothing more than a rabbit strip attached to extra stout cobbler's (showmaker's) thread.  First, the hook is snelled followed by tying a loop to connect the leader at the other end. The length of the thread is dictated by how long of a strip was going to be tied. In order to tie the strip on the thread had to be brought under tension.  Once tension was accomplished Flashabou was tied on first followed by the strip.  That's it!  A super simple, but highly effective fly.  The fly proved to be a knockout, however, there were some issues.  First, how to get the fly to sink.  This was an easy fix.  An angler simply attached a split shot or two to the thread behind the head.  The main issue was lateral separation of the hook from the strip.  Once the fly swung into softer water the hook dropped away from the strip resulting in a lot of missed strikes.  Although tying the hook to the strip proved helpful, many times the hook would foul during the cast. If you ever get a chance to gaze into an old timer's fly box, you might just see a few to this day!


Credit for this awesome steelhead tube fly goes to noted Pacific Northwest guide and talented tier, Brian Silvey.  Brian solved the long time dilemma of the hook dangling below the rabbit strip on the String Leech by attaching a small section of tubing towards the rear of the strip.  I have embedded a video (the best I could find) explaining the reasoning of two different sized tubes as well as showing the rigging of this fly at the end of the tying instructions.


There are numerous positive attributes to this fly:  endless color and material combinations, various sizes it can be tied, very easy to cast, superlative action in the water, and effective hook sets.  


The majority of tandem tubes are tied with schlappen as a collar however, keep in mind you have several options available.  Although I occasionally tie these flies with schlappen, I prefer to use rabbit.  When I want a longer fly I will tie the collar with marabou for a even more robust silhouette.  If you add grizzly saddle to these longer flies tied with marabou they are called Tube Snakes.


Material


Thread:  6/0 color of choice
Tubing:  HMH 1/8" O.D. and 1/16" O.D.
Body:  Rabbit strip color of choice
Collar:  Schlappen, rabbit, or marabou color of choice
Head:  Cone or bead 


Step 1:


Cut a 3/16" piece of 1/8" O.D. tubing and insert on mandrel.  Start thread.

Step 2:


Add a small drop of Super Glue to the top of the tube.  Separate hairs at the tie in position of a precut rabbit strip (I am utilizing a 2 1/4-inch strip for this demonstration.)  Moistening the hair will help tremendously. Secure strip to tube. Ensure you haven't trapped any hairs.


Step 3:


Hand whip finish and apply head cement.  Remove tube from mandrel.


Step 4:


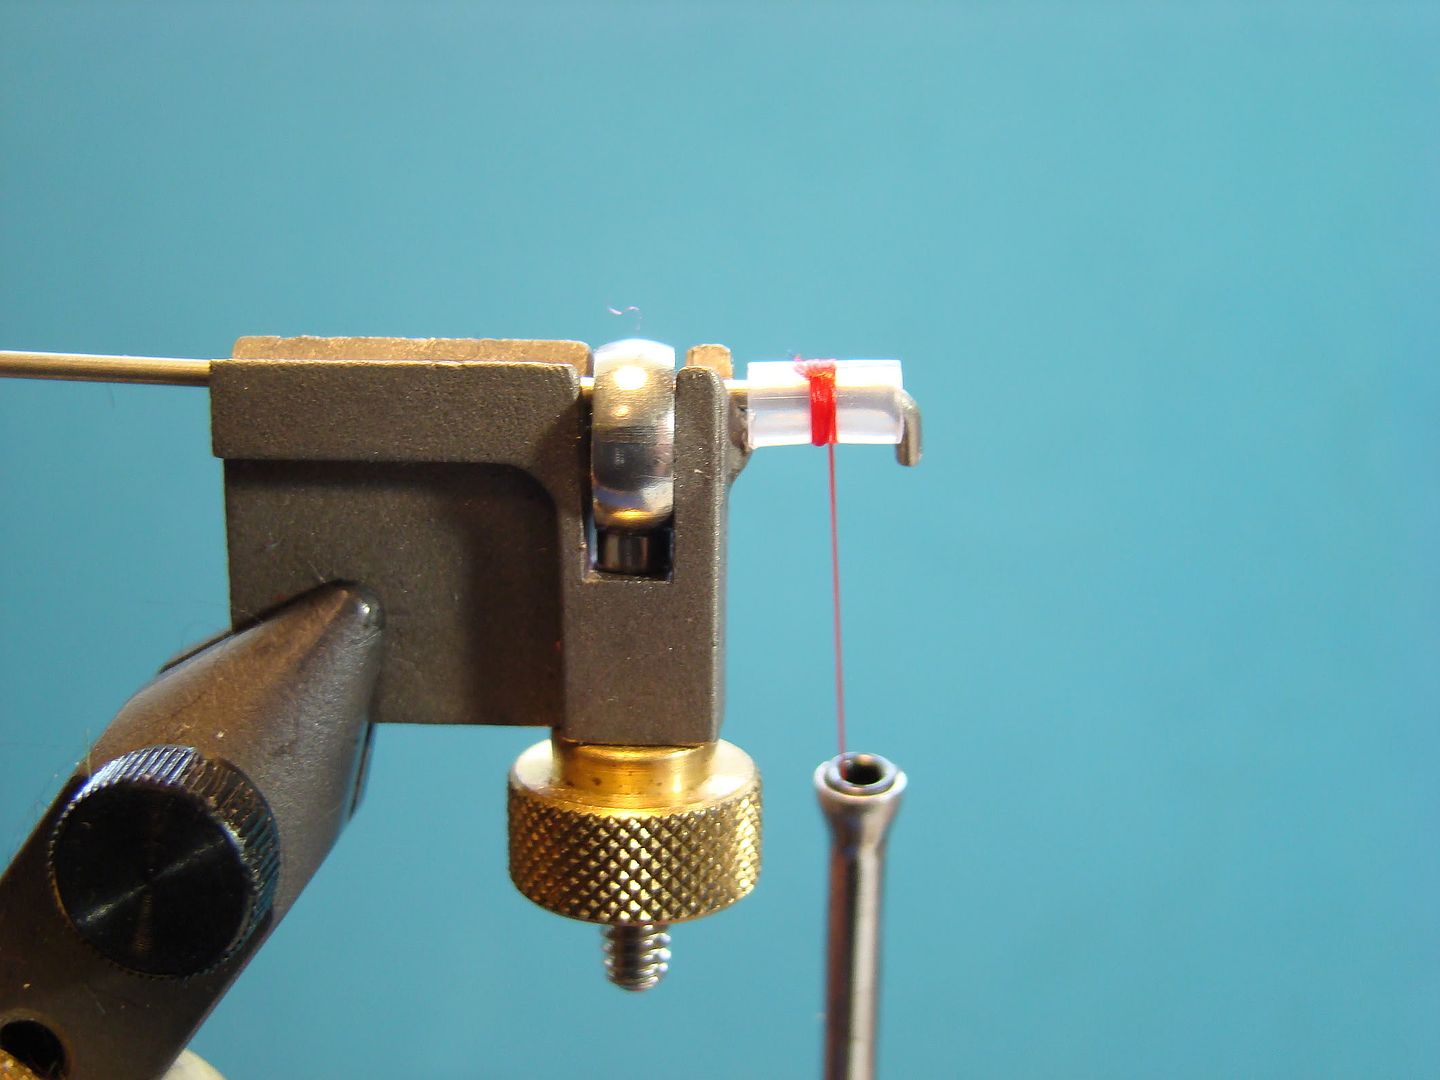
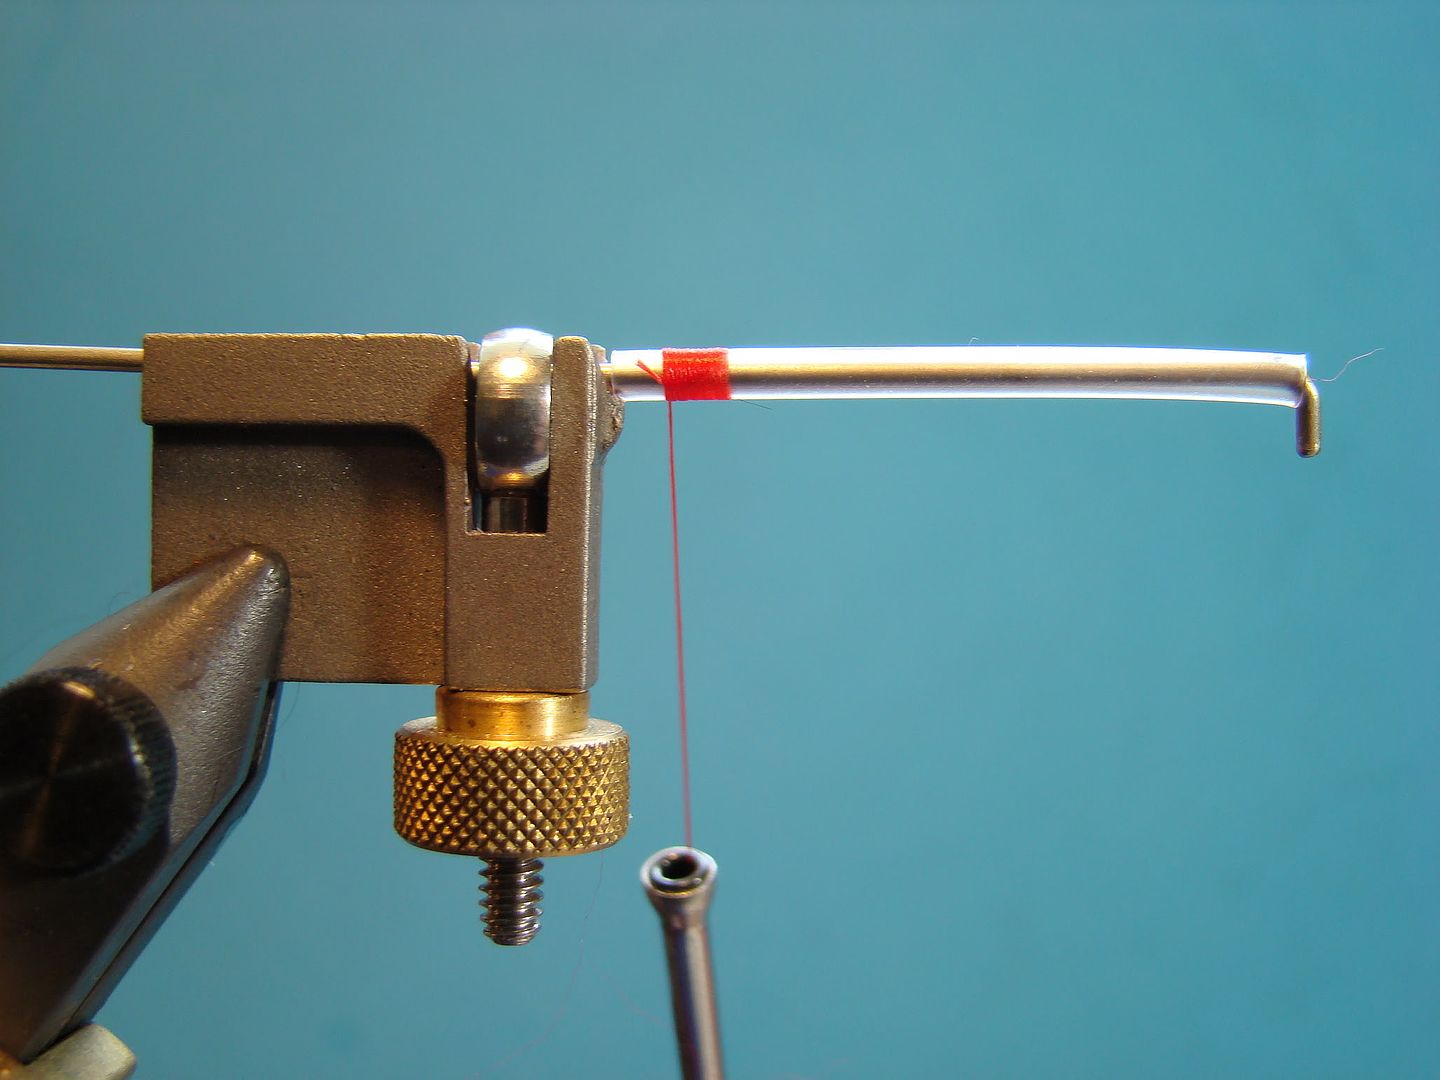
Cut a 1-inch section of 1/16" O.D. tubing and place on mandrel.  Start thread at the read of the tube as pictured.


Step 5:


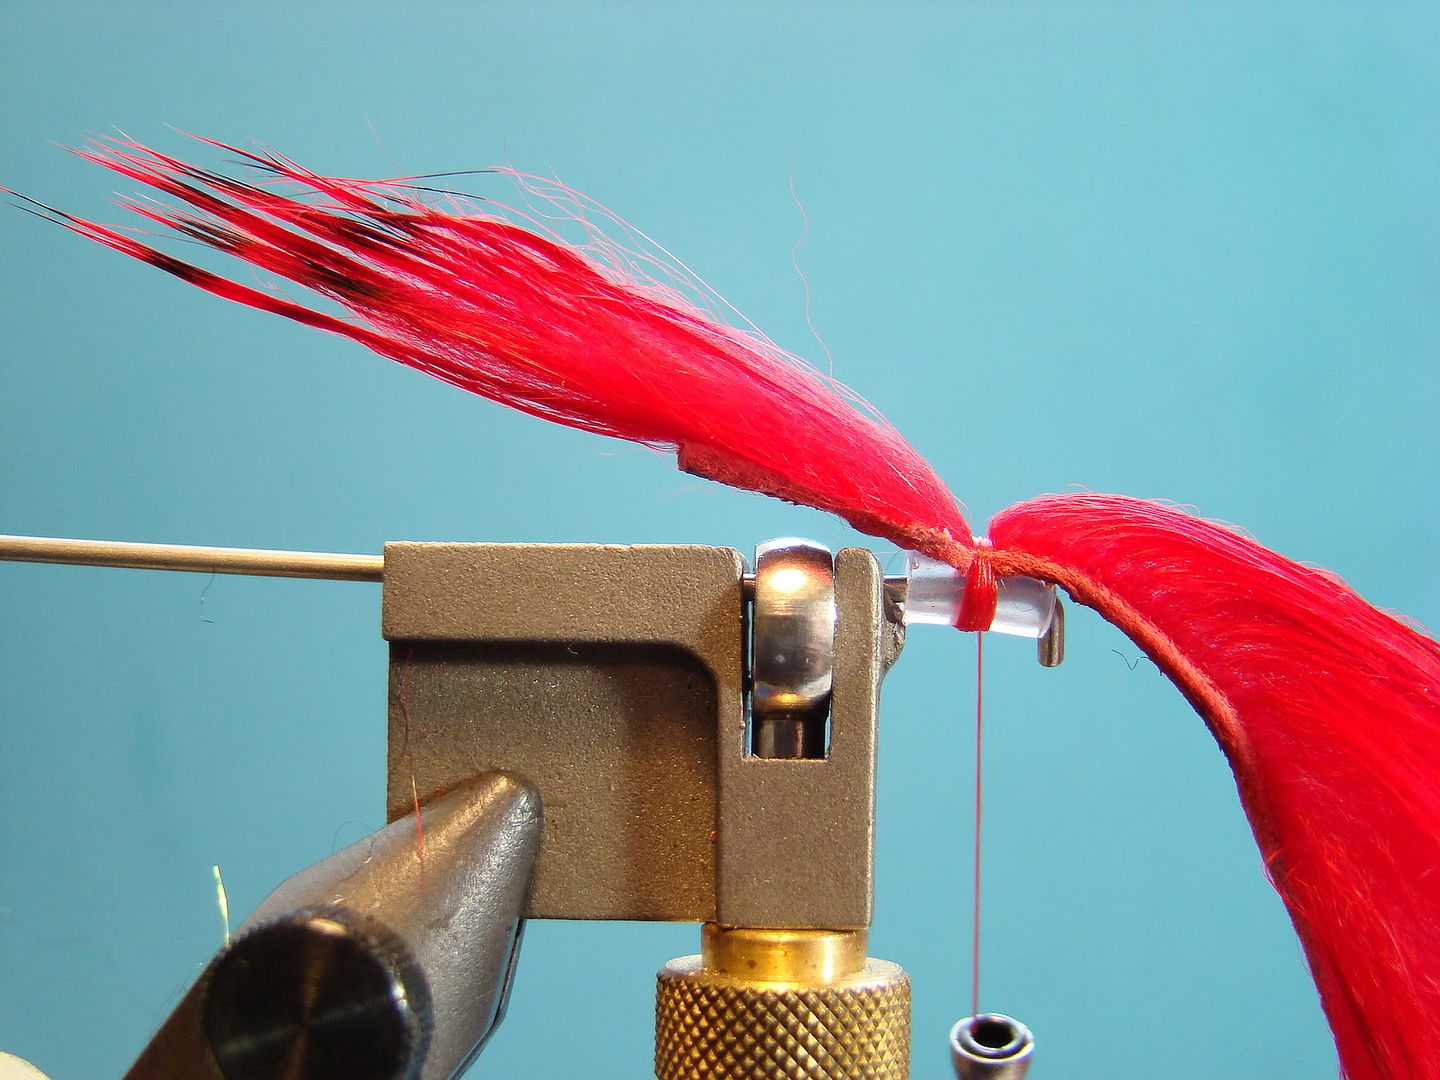
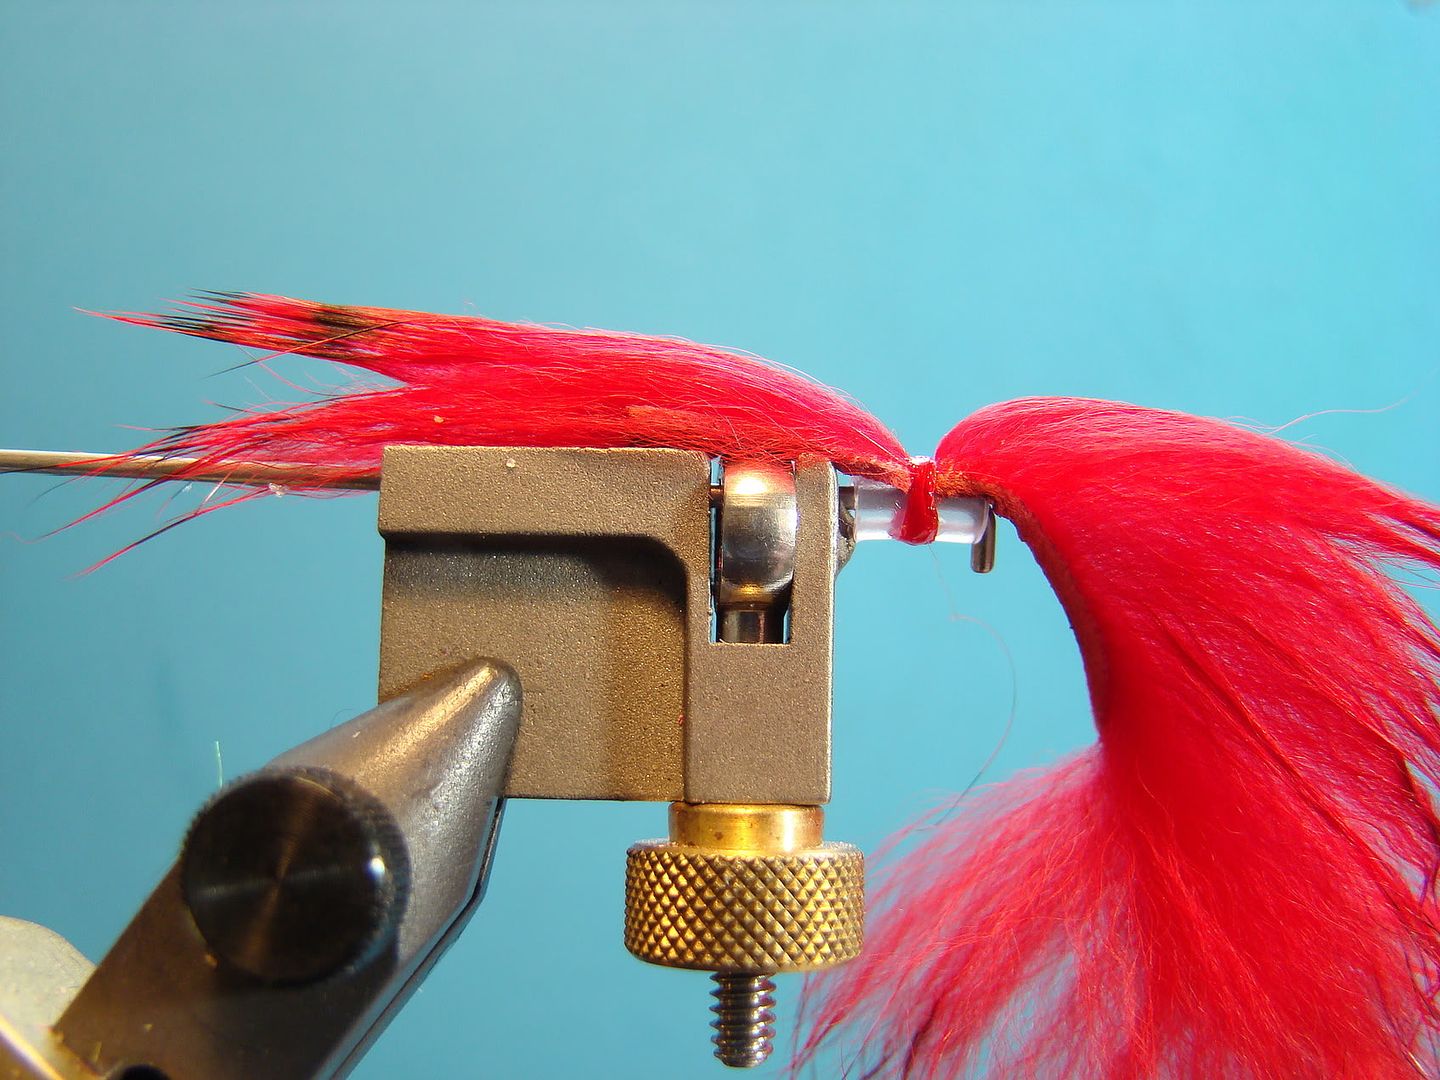
Slide the rear tube back on the rear of the mandrel.  This will keep the rear materials from dropping and/or getting in the way.  Additionally, this helps with keeping the strip centered on the mandrel.  Next, tie in the forward portion of the strip with very tight wraps.  Apply head cement.  Add 3 strands of Flashabou or similar flash material to each side.


Step 6:


Prepare the forward portion of the rabbit strip by cutting in at an angle.  This will ensure a small tie in area and smooth underbody.


Step 7:


Tie in strip by tip and wrap forward.  Each wrap should be directly in front the the previous wraps. Overlapping will suppress the hairs.  The amount of wraps is a personal choice, but 3 to 5 is more than sufficient.  Too many wraps will deaden the fly's actions in the water.  (Pictured is 5 wraps.)  Note: I have moistened the hair to keep it manageable.  Secure strip and trim away excess.


I have elected to add an additional collar of red guinea.


Step 8:


The final step is removing the fly from the mandrel and adding a bead.  Push the bead firmly on to the fly. Cut away excess tubing leave approximately 1/16".  Place the head back on the mandrel from the rear.  The tip of the mandrel should be sticking out just past the end of the tube.  Apply heat from a lighter.  Utilize the coolest part of the flame (blue in color.)  The edge of the tube will roll back locking the bead in place.


Ready to tie and fish one of the deadliest steelhead flies?


I tie and fish various sizes from 2 1/2" to 5" accordingly - smaller sizes in summer and fall, larger sizes in winter and spring or when water conditions dictate.


A small collection of various styles and sizes.


Thursday, July 21, 2011

Bulkley River Samurai


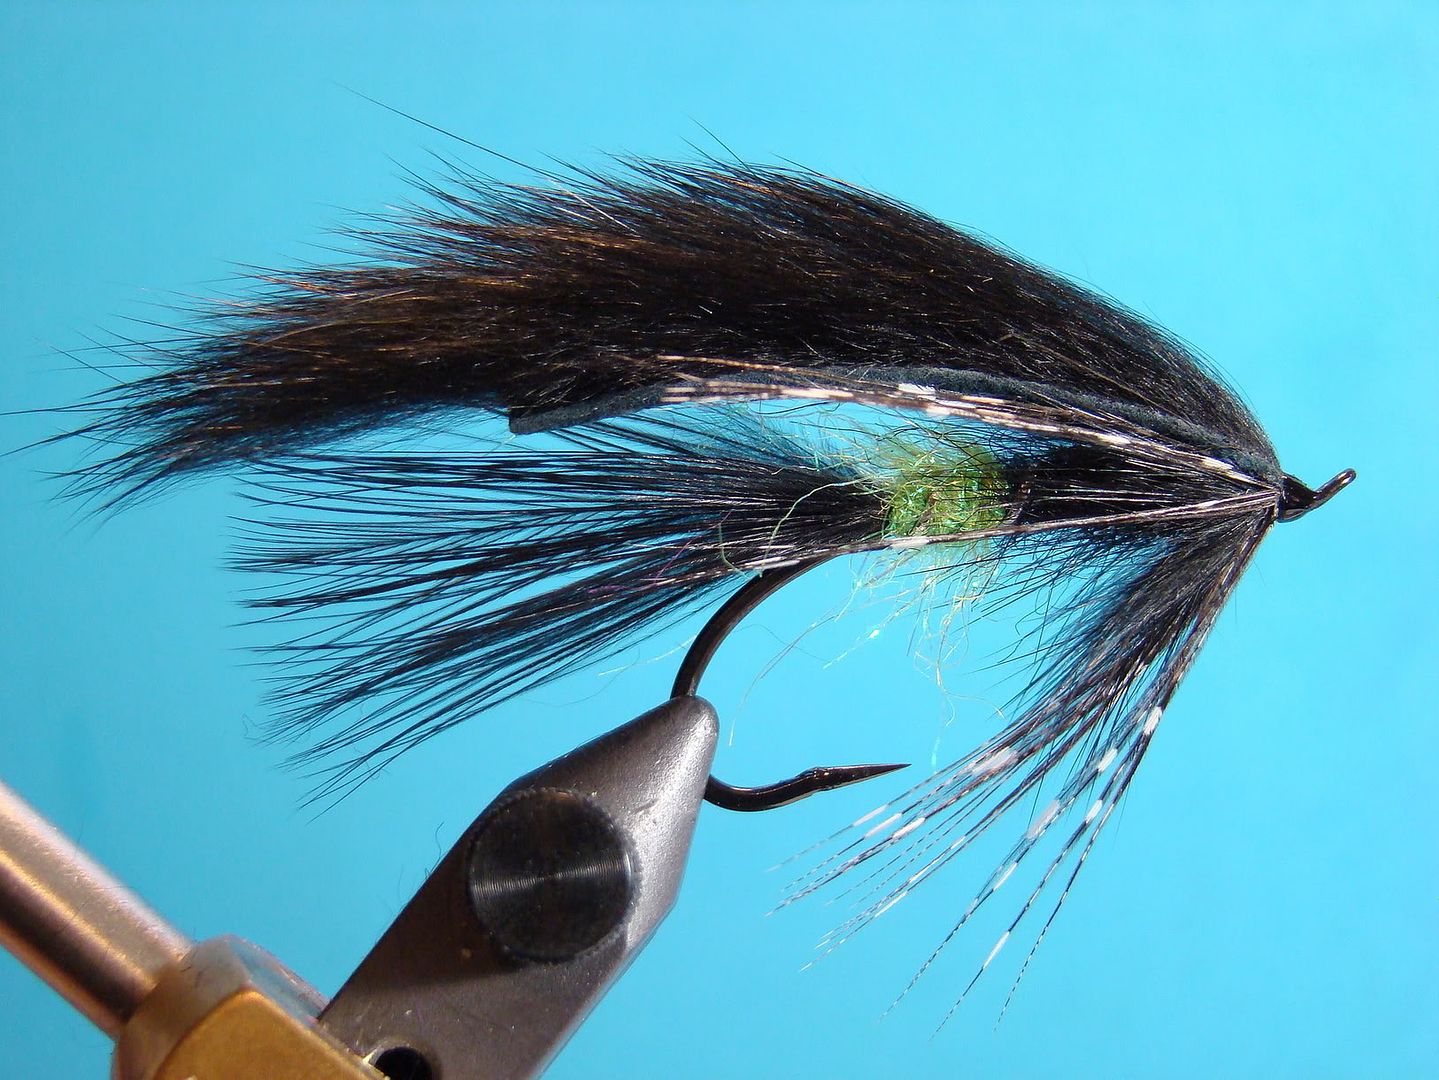
The next fly I am going to tie for the blog is the Bulkley River Samurai, and for good reasons.  First, I place this pattern on my personal "Top 10 List."  Next, I am a little behind on tying a few patterns for the blog, but I have been fishing during my free days and the Bulkley River Samurai has been getting the attention of Mr. Steelhead.  On a slight side note, although the fish have been kind enough to hit, landing them has been an entirely different story..  I am 0 for 3!  Additionally, I am remiss in the fact I should have mentioned this pattern when tying the Steelhead Matuka (you'll notice the similarities).  Lastly, I was asked to tie a fly that could be fished for brown trout.  While the "Samurai" isn't a traditional trout fly, I have had great success fishing this pattern in California and Tasmania (Australia) (thanks to Uncle Sam) for "brownies."   It has also drummed up some mighty impressive catches in the lakes of British Columbia.  (Don't worry anglers... trout flies are coming soon!  Just on a steelhead kick presently.)

Trey Combs, author of Steelhead Fly Fishing (1991), mentions of the Bulkley River Samurai, "I first saw this leech pattern in use on the Kispiox in 1987.  A few anglers and a couple of guides were fishing it and remaining very closed-mouthed about, one of those "secrets" that couldn't last, and didn't. "  "Basically this big silhouette pattern is a Matuka in which the end is not secure, the strip of rabbit waving in the current and giving the fly tremendous action."   

The original "Samurai" was tied as a conventional Woolly Bugger (marabou for the tail, chenille body palmered with hackle) with a rabbit strip tied in over the top that was longer than the tail.  A few strands of Flashabou or Krystal Flash were also added to the tail, and in some cases, additional flash was added under  and/or over the wing.  The only attribute lacking in the original is counter-wrapping the palmered hackle with wire (or heavy thread), which I strongly recommend.  If you can tie a Woolly Bugger, you can certainly tie the "Samurai."  


Because of it's larger silhouette, the "Samurai" is generally classified as a winter pattern.  However, I am finding myself using this pattern in smaller sizes a lot more during the summer months in the early or late evening hours when I need a visible fly.  Let's have a go with my variation which lacks the chenille body and palmered hackle, but adds two unique collars.  

Materials:

Hook:  Alec Jackson Steelhead Iron (size 5 pictured)
Thread:  Color of choice.
Tail:  Marabou - color of choice
Body:  Chenille or dubbing
Rib:  Medium oval silver
Collar:  Rabbit spun in a dubbing loop followed by 2 or 3 turns of guinea.  Spey hackle can be substituted in place of guinea.
Wing:  Rabbit strip

Step 1:

Start thread at the rear of the returning wire loop and wrap back to the hook point.

Step 2:

Tie in marabou.  A common tail length proportion is one body length.  Although this goes against my "rule of thumb" on tail lengths, I generally tie the tail a little longer- one hook length.  Wetting or moistening the marabou makes working with this material much easier.


Step 3:

Tie in the oval tinsel to the backside of the hook shank.


Steps 4 and 5

Dub in a small section of "hot" dubbing (approximately 1/3 of the overall body length). Pictured is chartreuse Ice Dubbing, but other effective colors are fluorescent pink, orange, red, and yellow.  The forward section of the body should be the same color as the tail.  Pictures is black SLF.  (A solid color body can be utilized too.)  Note my stopping point is the same as my initial thread starting point.  This will give me plenty of room to work in the rabbit and guinea collars as well as securing the rabbit strip.


Wind oval tinsel 4 to 6 turns.  Pick out dubbing.

Step 6:

Place rabbit is a dubbing loop.  (please visit the Steelhead Matuka blog page for directions.)  My lengths for this method of tying in collars is usually longer, but with the "Samurai" I want to keep the "hot" section visible.  A good reference would be matching the tips of the guards hairs with the middle of the "hot" section or little shorter. 


Step 7:

Tie in guinea feather by the tip and take 2 or 3 turns.  The length should extend to the end of the hook.  I also remove one side of the fibers.  The addition of both rabbit and guinea not only adds aesthetics to the pattern, but gives more movement in the water plus a little support for the rabbit wing. 


Step 8:

Cut the tie in point of the strip in to a point and secure to hook shank.  (Please visit the Steelhead Matuka blog page for reference.)
The end of the strip should be cut to approximately half a tail length and should be done after the strip is tied in.  This will give the fly a nice proportional look, and when wet, the tail and wing will give a nice tapered appearance.  


If you have tied with rabbit strips you know it can be tough to finish with a nice, neat and small head.  The trick is securing the strip with the smallest portion of the point possible. I take 5 to 7 very tight turns to secure the strip, tying from the hook eye to the rear to cover the hide portion, and then apply a small drop of super glue.  While the glue is drying I'll remove the excess (towards the hook eye) with a razor blade.  Once the glue is dry complete the head with as few as wraps possible.  Finish with a few coats of head cement.


Note:  The addition of the two collars will help support the strip and keep it off the fly's body in the water.  Additionally, when you initially tie in the strip, ensure your wraps are tight and as close as possible to the two collars and guinea feather stem without compressing the fibers.  This will slightly lift the strip maximizing the wing's movement.


Let the imagination flow!  Try the darker colors for dark days and low light conditions (add an hot butt if desired), bright colors for bright days in winter, fluorescent colors for stained or off color water.  Give an all white pattern a shot too.  You might be surprised!


I'll attempt to knock out two more deadly rabbit strip patterns this month before moving on to trout flies in August.

Tuesday, July 12, 2011

A Scandi (Scandinavian) Style Tube Fly For Steelhead


If you haven't had a chance to tie or even fish tube flies I would strongly recommend it.  Tube flies have many advantages over standard flies, too many to cover and explain here, but let's have some fun and tie a beautiful Scandi style steelhead fly that works year around.


Materials

Thread:  6/0 Euro - color of choice
Tubing: I will not list the tubing as there are numerous personal choices as to diameters and styles.
Butt:  Ball of dubbing in material and color of choice.  Pictured is purple SLF.
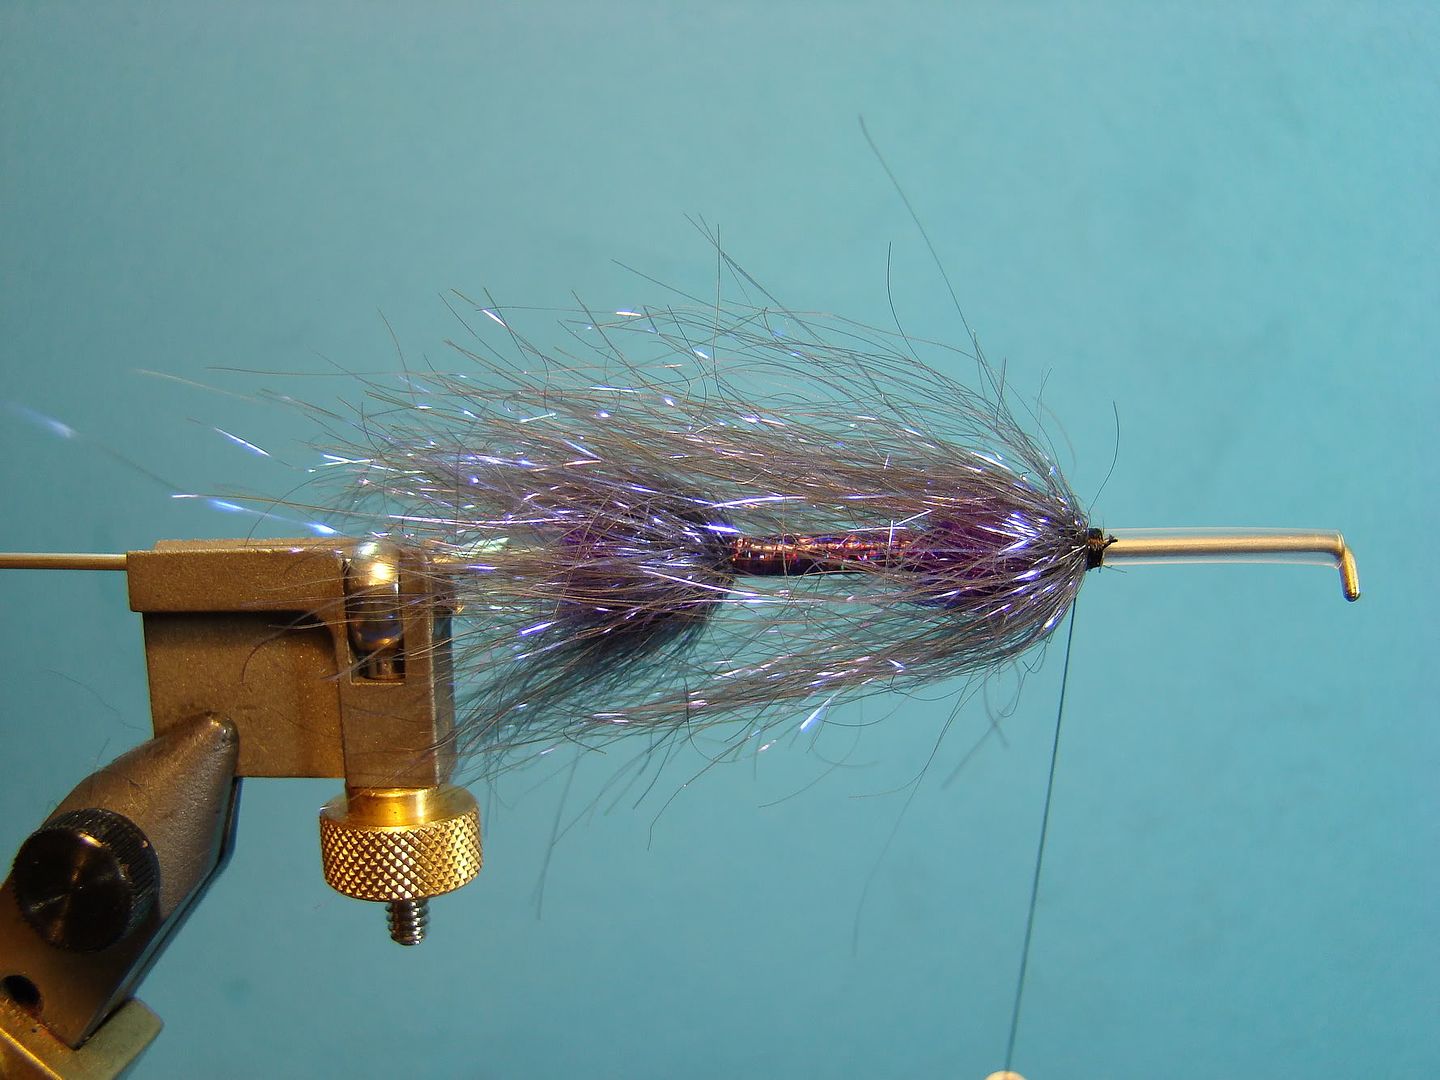
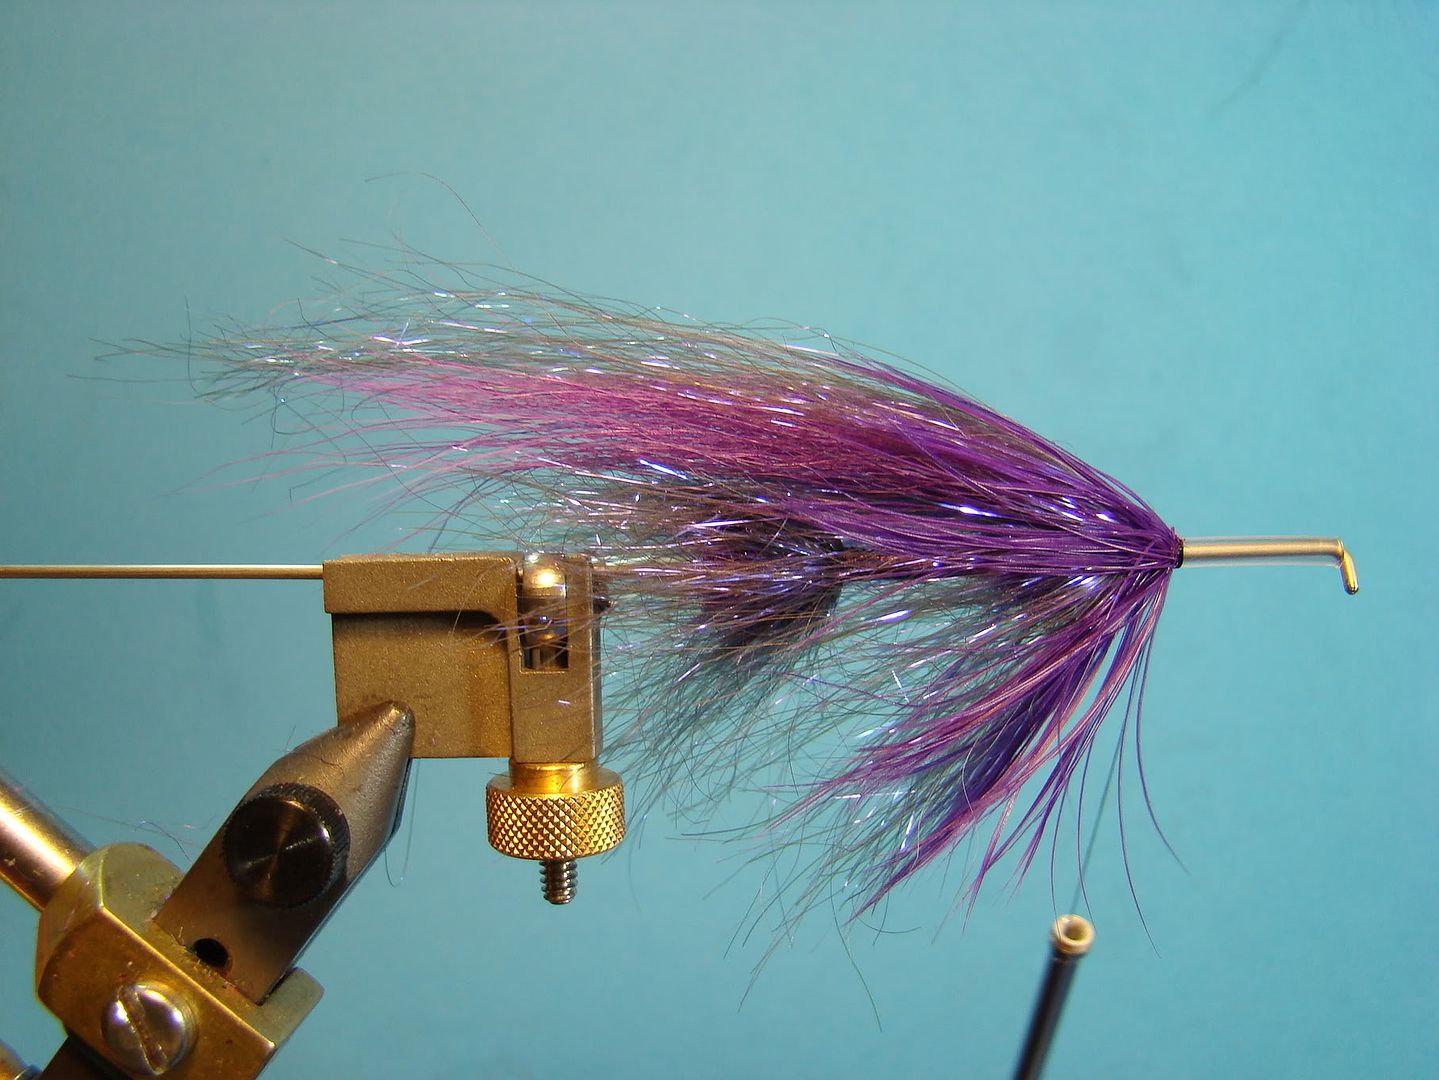
Rear Collar:  Angel Hair spun in a dubbing loop.  Pictured is Electric Purple Angel Hair
Body:  Purple holographic tinsel.
Shoulder:  Ball of dubbing in material and color of choice.  Pictured is purple SLF.
Collar:  Angel Hair spun in a dubbing loop.  Pictured is Electric Purple Angel Hair
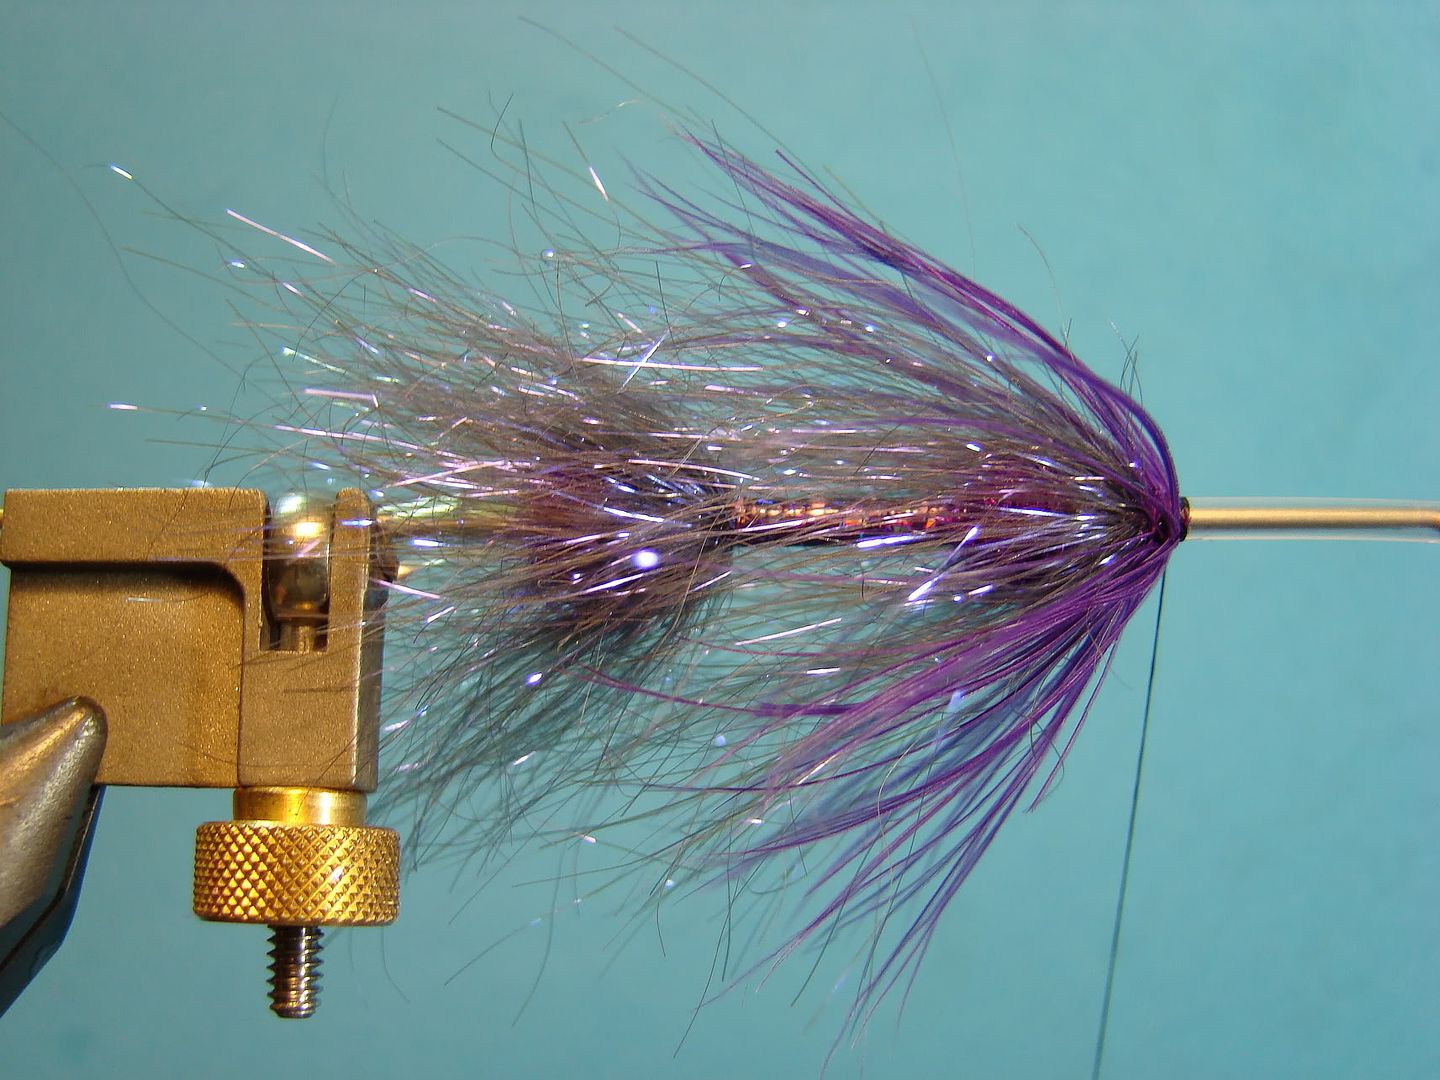
Hackle:  Purple schlappen
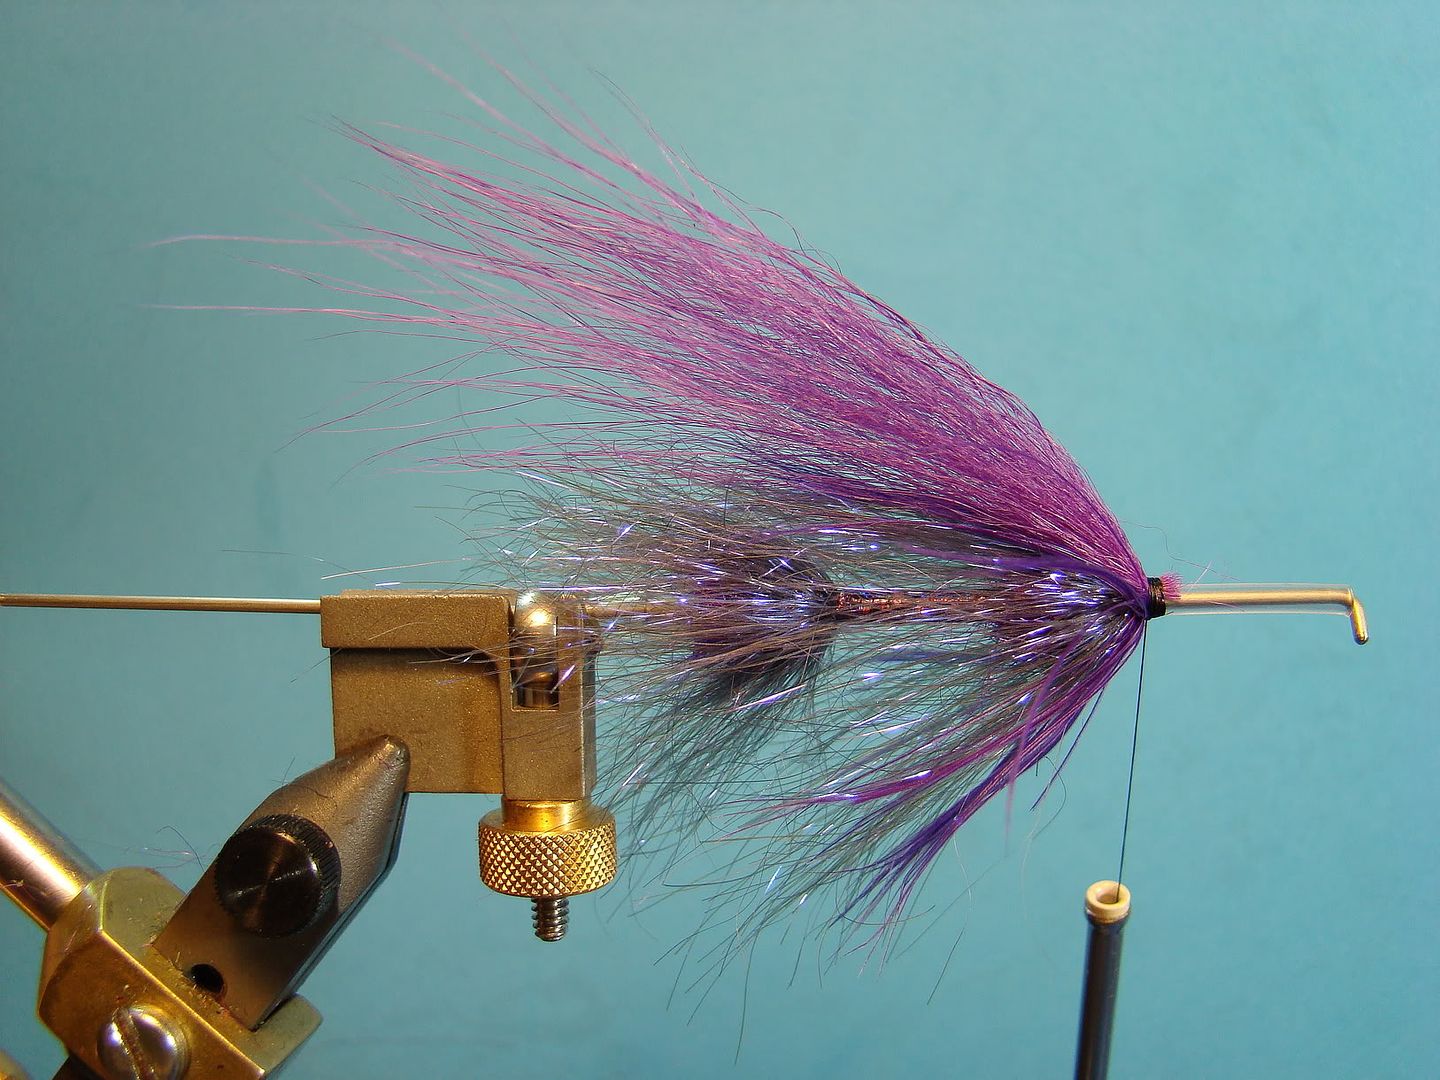
Underwing: Purple arctic fox over which is Electric Purple Angel Hair
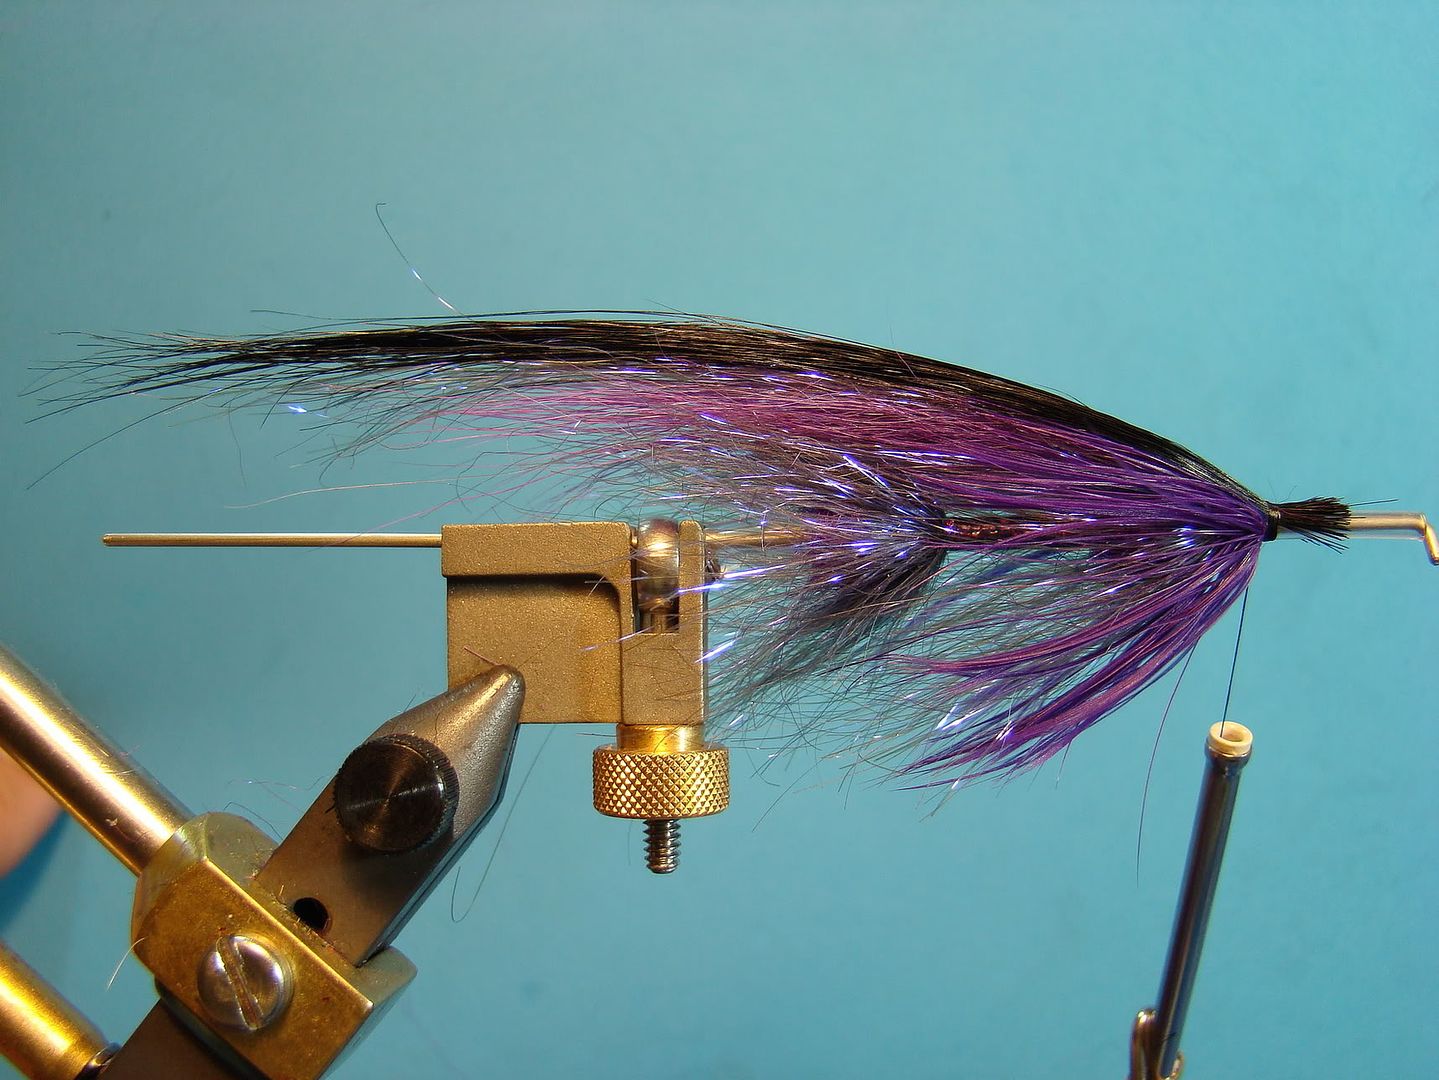
Overwing:  Black Cashmere goat.
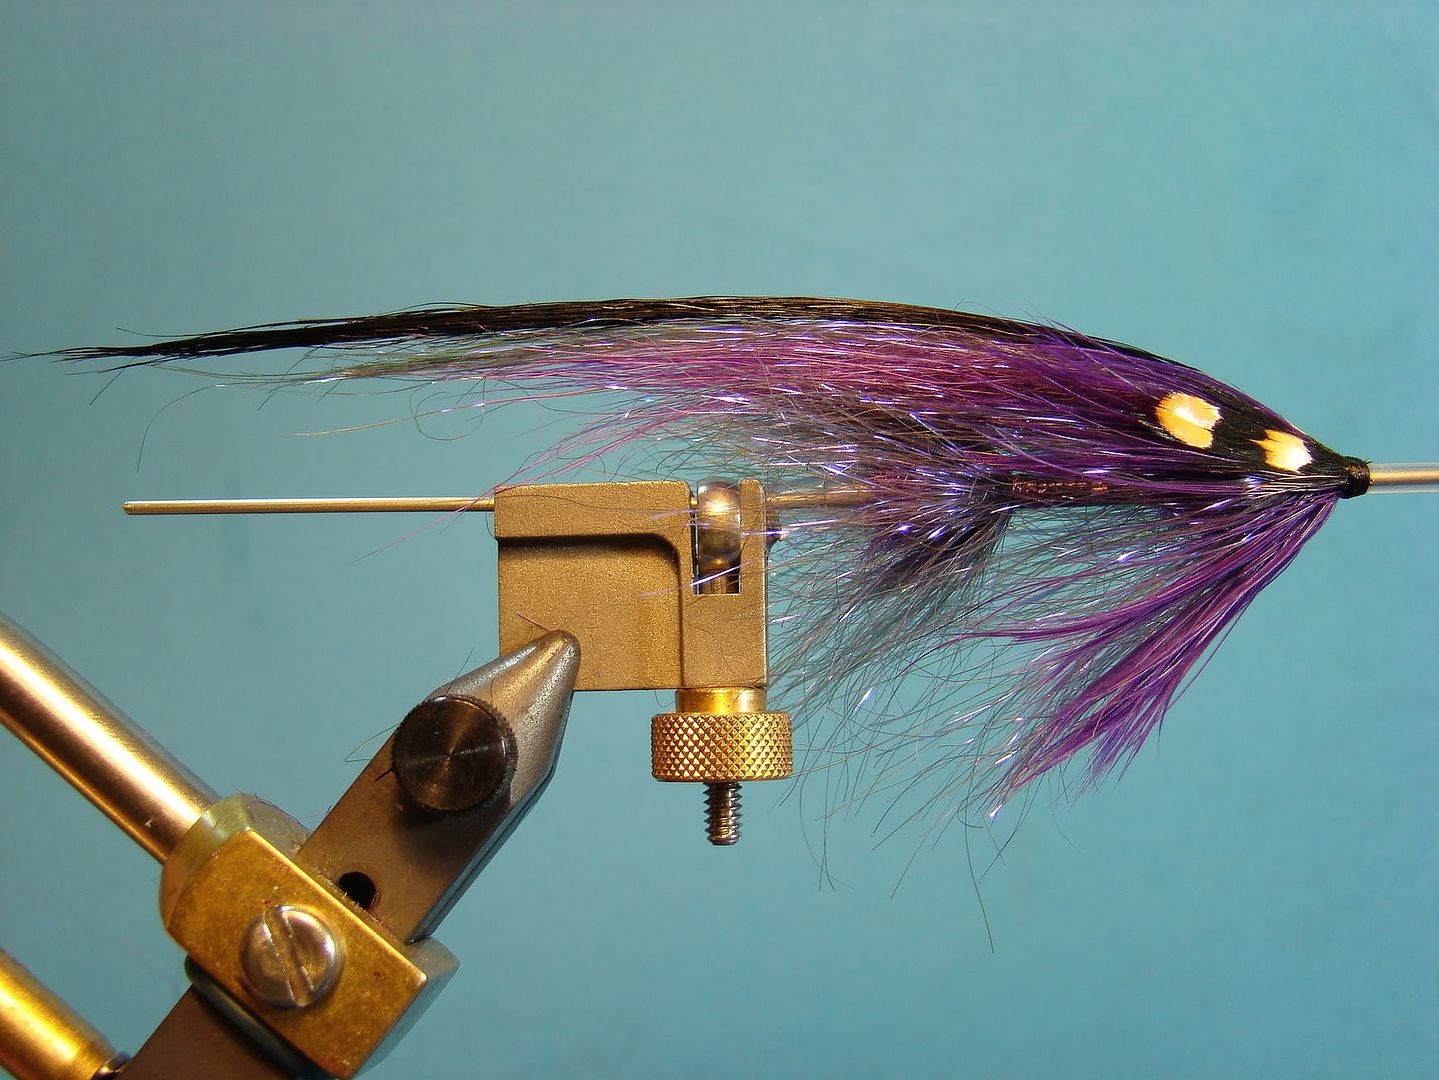
Cheek:  Jungle Cock (optional)
Bead/Cone:  Color/Style of choice (optional)


Step 1:


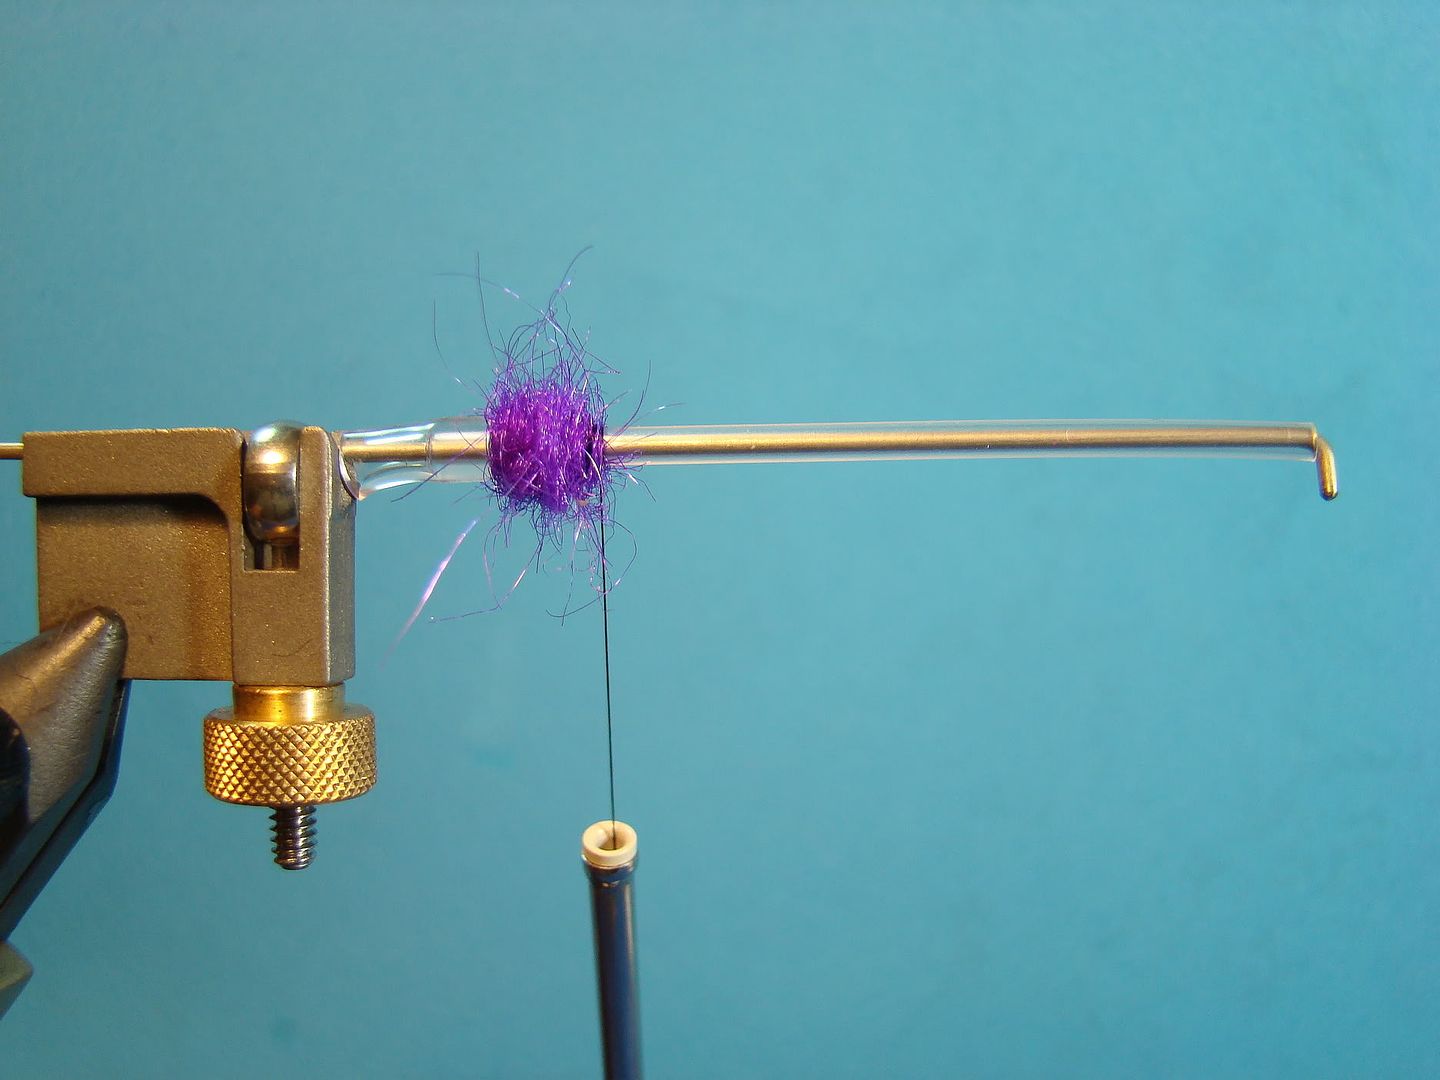
Dub a ball of dubbing at the rear of tube.  Do not cover junction tubing.


Step 2:

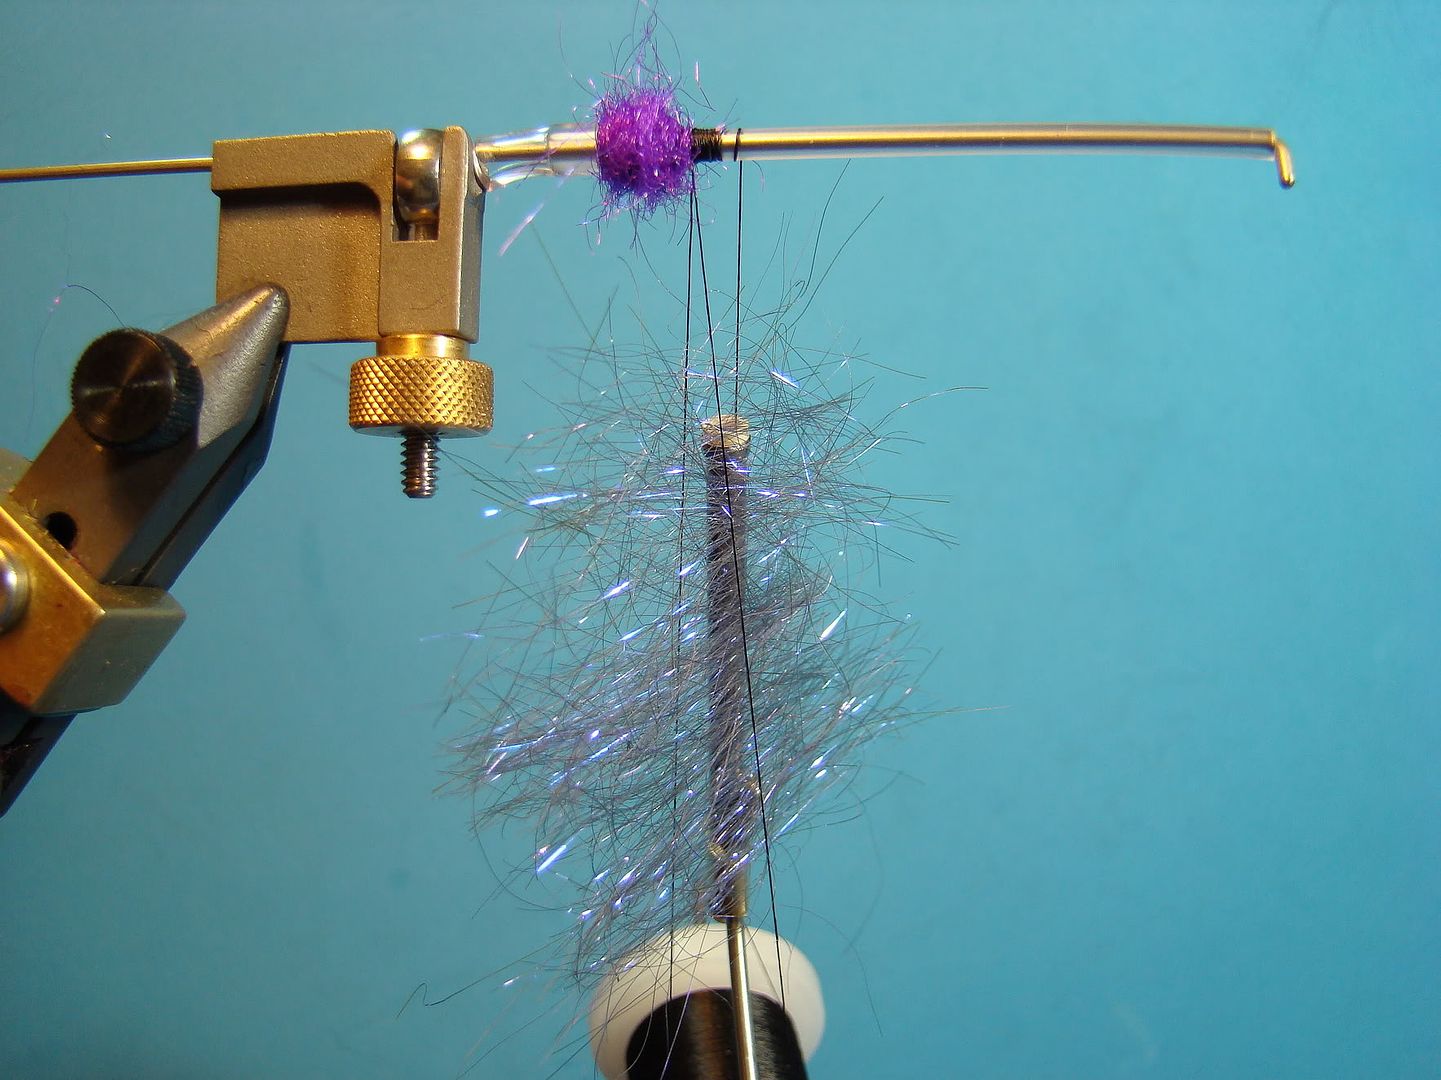
Make a dubbing loop.  Cut Angel Hair in approximately 2-inch lengths and place inside the dubbing loop.


Step 3:


Spin Angel Hair until fibers stand out at a 90-degree angle.  Fold fibers towards the rear and wrap three turns around tube and secure. Wind thread forward about an inch.

Step 4:


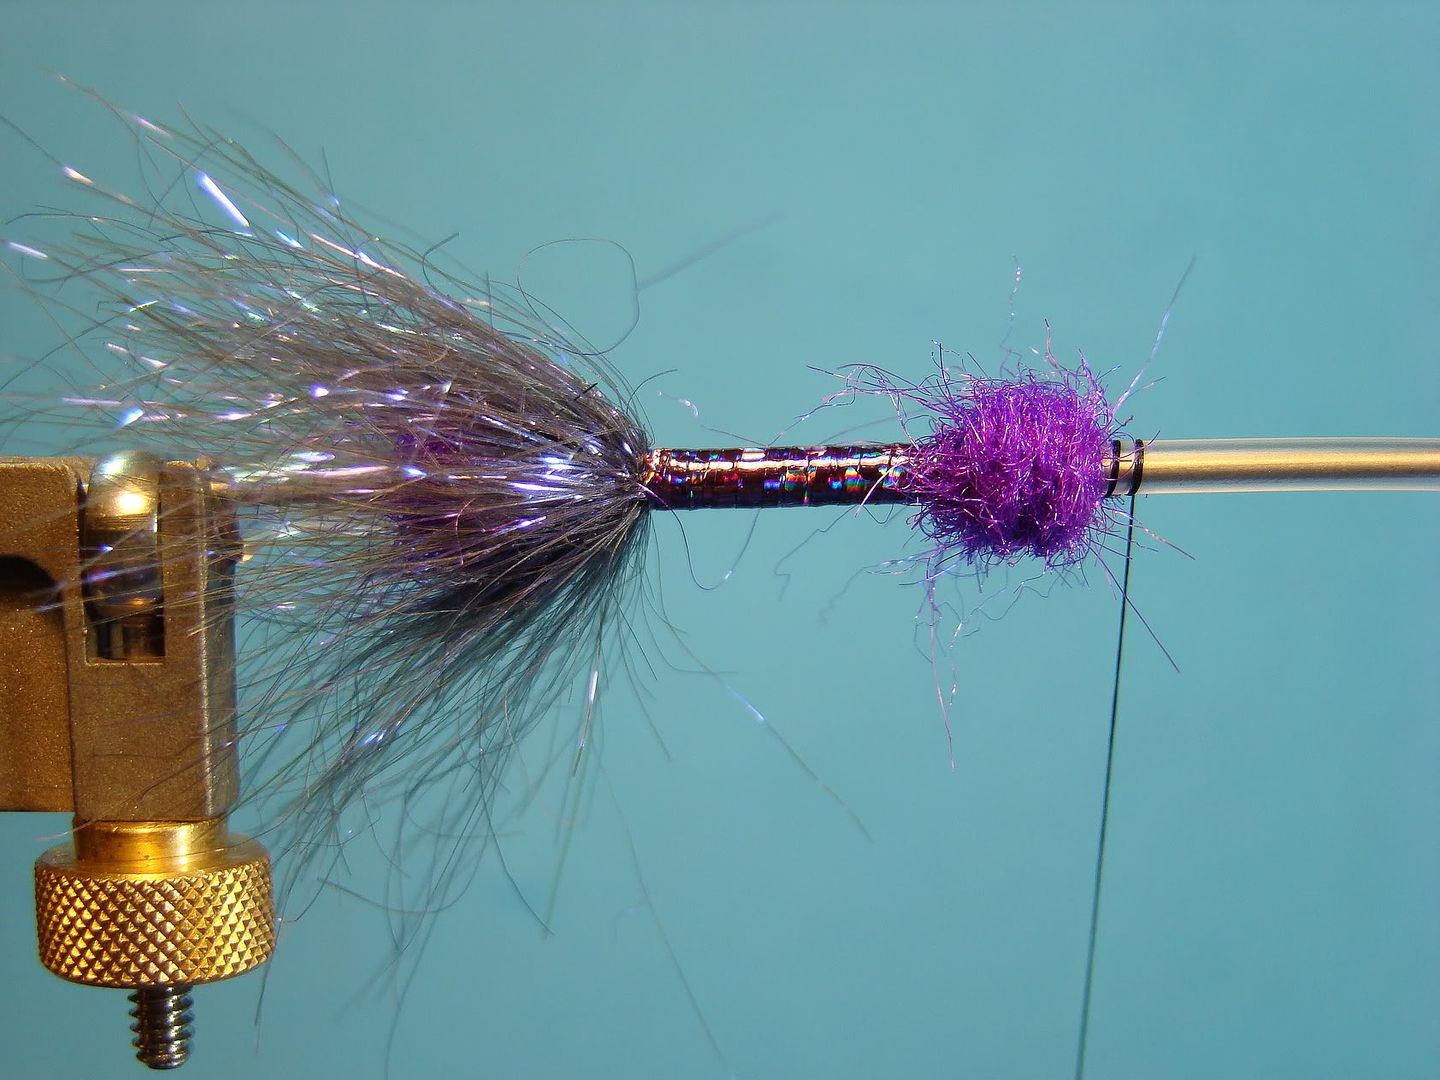
Tie in purple holographic tinsel.  Wind to the rear and forward then secure.  Apply a second ball of dubbing.


Step 5:


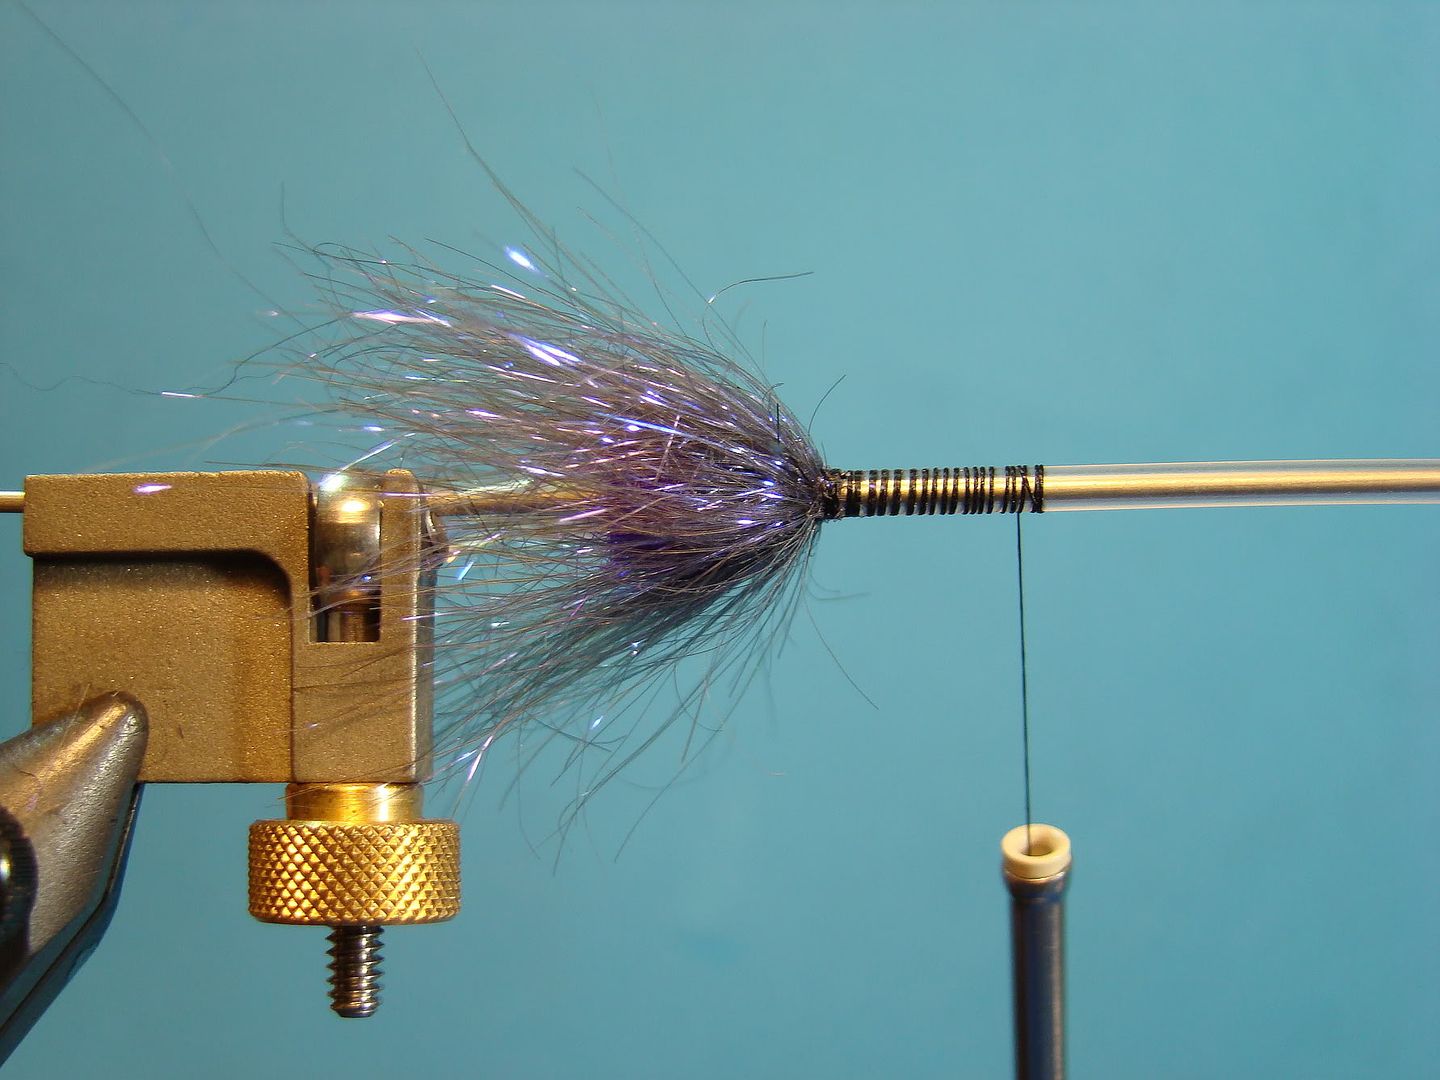
Repeat step 3.  This time the Angel Hair should be cut to approximately 2.75-inches.


Step 6:


Take three turns of schlappen in front of Angel Hair.


Step 7:  


Apply arctic fox as an underwing.  It is important to comb out most of the under fur.  The wing should stand up slightly as pictured.


Step 8:


Apply a few highlights of Angel Hair or similar materials.  Lock into place by tying material at the halfway point and then folding material over the top of wing and then taking a few wraps of thread.

Step 9:


Tie in schlappen and take another three turns.


Step 10:  


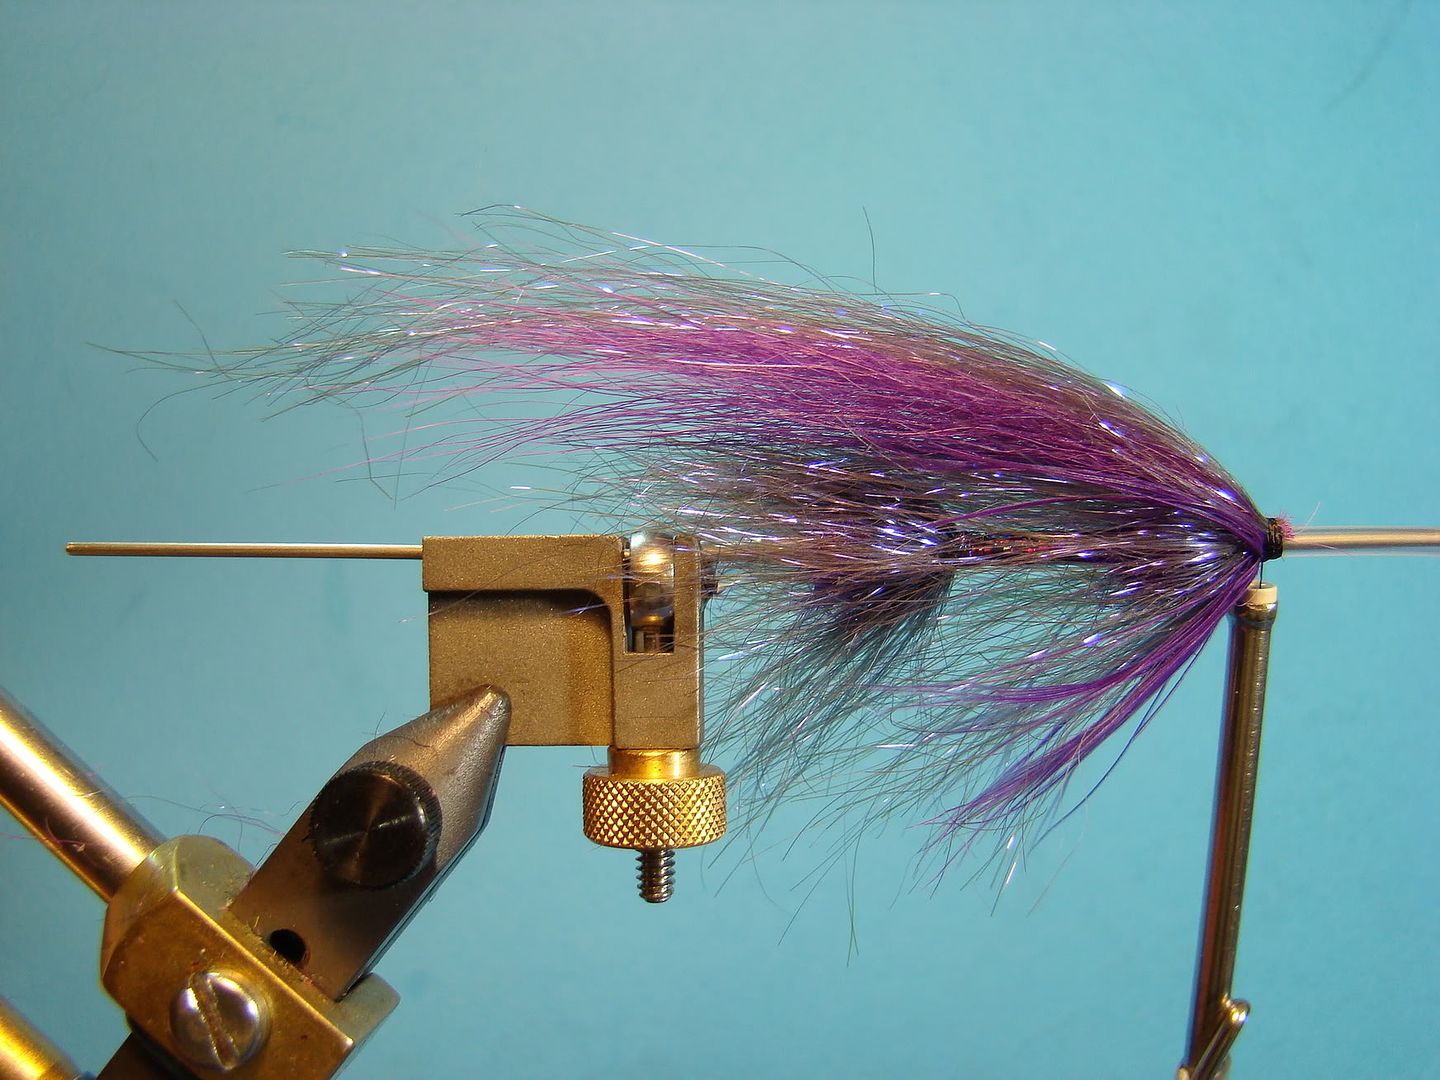
Tie in Cashmere goat.  This hair is awesome!  Very thin, wispy, and moves unlike anything you've seen!  Length of wing is approximately 2-times the body length.


Step 11:


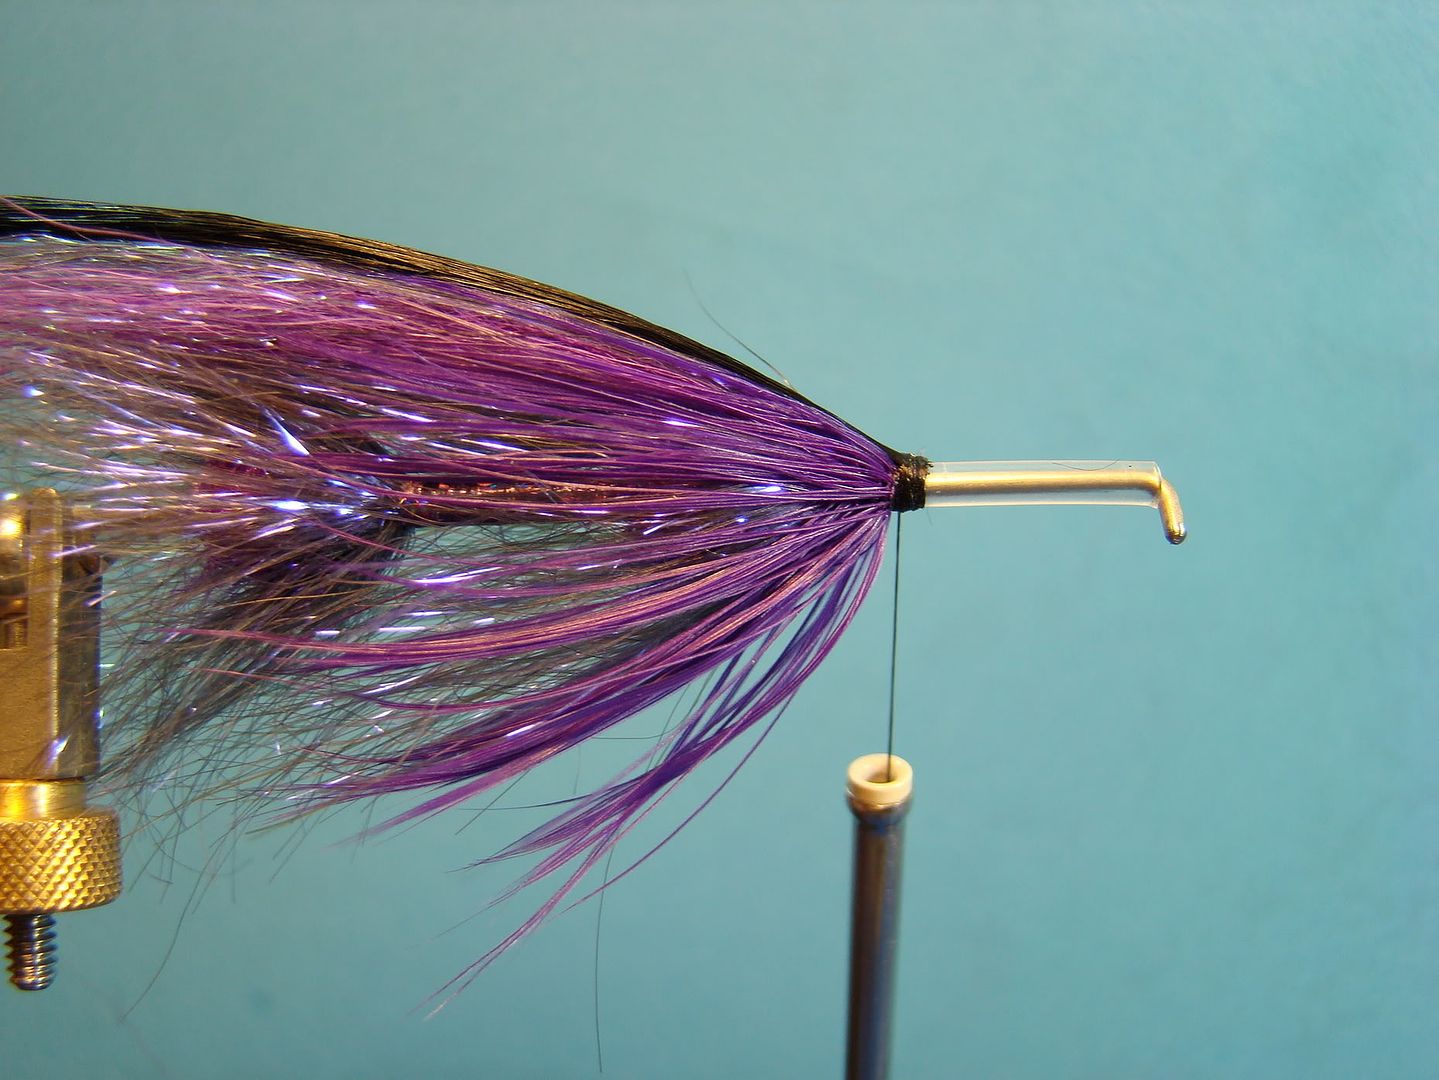
Instead of cutting the ends of the goat hair with scissors, a closer cut should be made with a razor blade.  This will help finishing with a small head.


Step 12:


Jungle cock can be added for the cheeks although not necessary.


In the below pictured I applied head cement and could have cut the tubing short to complete the fly.


Adding a cone or bead is a personal choice.  Most anglers will elect to add a cone.  Once the cone or bead is in place remove fly from the mandrel and take a razor blade cutting back the remaining tubing.  Leave yourself just enough tubing to take a flame and roll the edge back- securing the bead on the tube.  One recommendation I'll pass along is reversing the fly on the mandrel and then applying the flame.  Placing the fly back on the mandrel during this process will prevent the end of tube from collapsing or closing.


Again, this is a year around pattern.  While the fly looks large and bulky it is going to thin down a lot in the water.  (It is 3-inches in length.)  Color combinations are endless.  Try red and copper or blue and copper in the winter.  Pink and purple are tried and true during the summer months as well as the above color combinations.  Have fun practicing tying this highly productive style of fly!