 The term "Demon," referring to fly patterns, is associated with English and Scottish tandem sea trout patterns which were tied on tandem hooks. The original Golden Demon came about from a mixing of New Zealand's British patterns and most likely had a wing of bronze mallard to compliment the orange hackle. It is not known if the original Golden Demon was tied on tandem hooks, but if the legendary Zane Gray wouldn't have brought the Golden Demon from New Zealand to Oregon's Rogue River we might not have had such a wonderful series of patterns to fish. The Golden Demon is just one of three within the popular Demon series that have lasted the test of time. Others include the Black Demon and Cooper Demon with many variations, such as the Black Demon #2, which featured a black floss body ribbed with silver tinsel, and the Deschutes Demon with it's orange hackle fiber tail and collar.
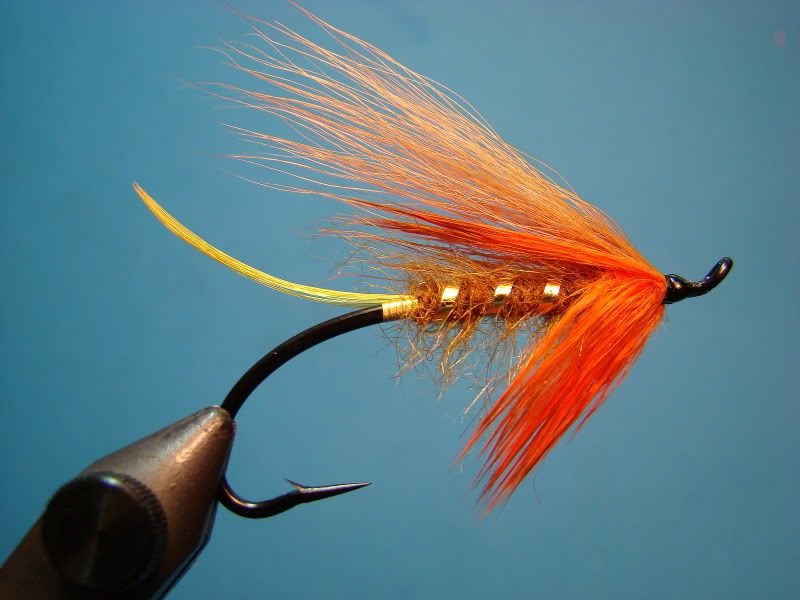
 The Golden Demon, as we've come to know it, was normally tied with a pheasant crest feather for the tail, gold tinsel for the body, orange hackle, and natural brown bucktail for the wing (or bronze mallard). The only real change I note with today's tiers is the wing material. Most of us have subsituted the bucktail with a softer dyed material from various fox tails or squirrel tail. My personal choice for the wing is arctic fox. It possesses wonderful movement in the water and ties compact for small heads to finish flies.
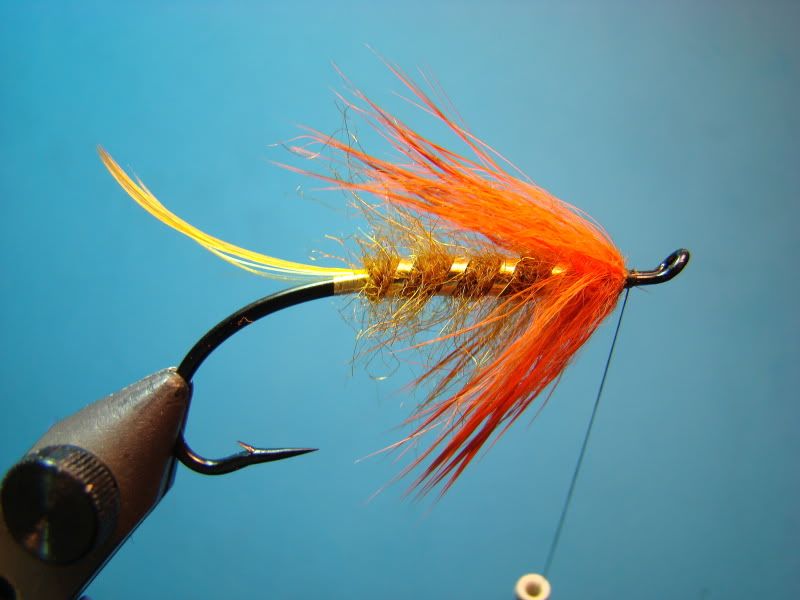
Although I really like the pattern in it's original form, I wanted something a little more "buggy" and somber while retaining the coloration of brown, orange and gold tinsel. To do this, I dubbed over the gold tinsel body with gold SLF.
Materials
Hook: Choice (Pictured is Alec Jacson heavy wire #3)
Tag: Small flat gold Lagartun tinsel
Tail: Golden pheasant crest
Ribbing: Medium flat gold Lagartun
Body: Gold SLF
Hackle/Collar: Orangr rabbit
Wing: Fiery brown arctic fox
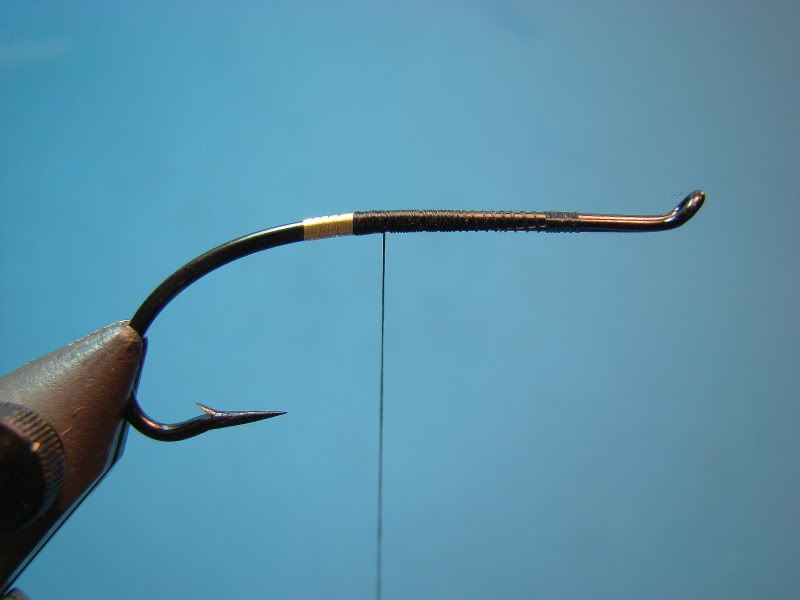
Step 1:
Start threat just behind the eye and wind down shank. Tie in tag material and make 3 to 5 turns down the hook shank and return. The end of the tag should be directly in vertical alignment with the hook point. Secure with flat wraps of thread.
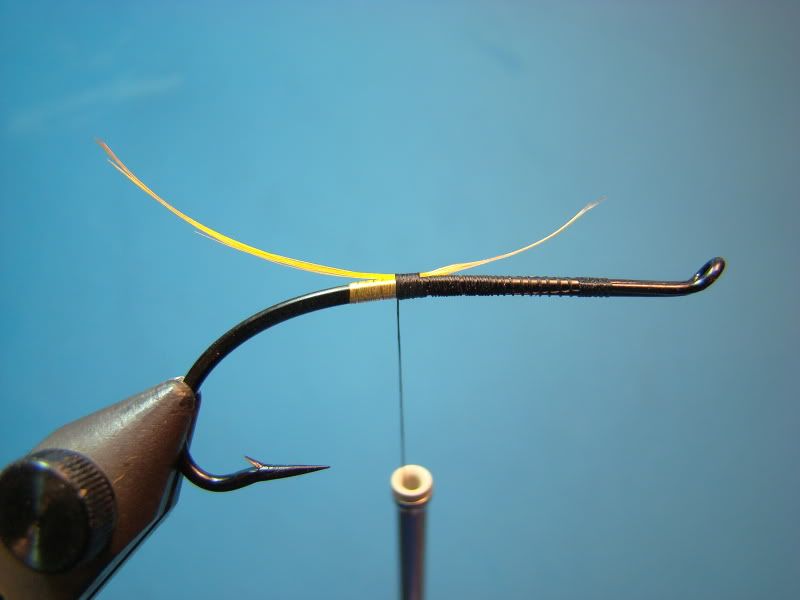
Step 2:
This next step is for my working flies. Display flies required a slightly different approach when tying in pheasant crest; which, I'll cover at a later time.
Remove excess from the bottom of a golden pheasant crest feather. Lightly flatten stem at the tie in point with needle nose pliers. Tie in crest feather with a couple of softer thread wraps. Checking for length and position. If the length is slightly long, you can simply pull the stem gently back towards the eye. Trust me.... this step is going to take some practice, and it requires preparing (soaking) the crest before tying. Unfortunately, not all crests tie in nicely off the skin.
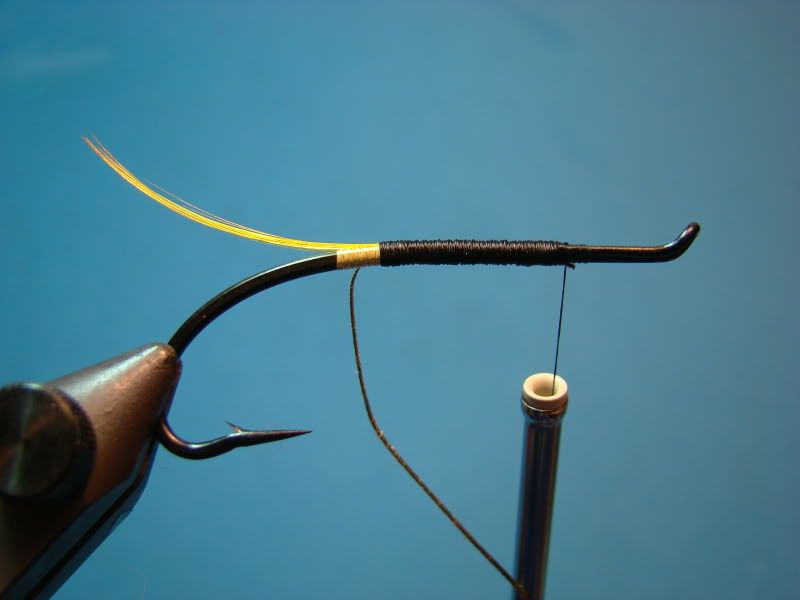
Step 3:
Tie is Ribbing. Tie in position is approximately 5 o-clock on the hook shank.
Step 4:
Apply dubbing to thread. Once dubbing is on the thread, make a dubbing loop by bringing the bobbin over the hook shank. Spin tightly, but over excessively. The thread should be hidden. Wind the dubbing forward. You can pick out dubbing for a "buggy" appearance.
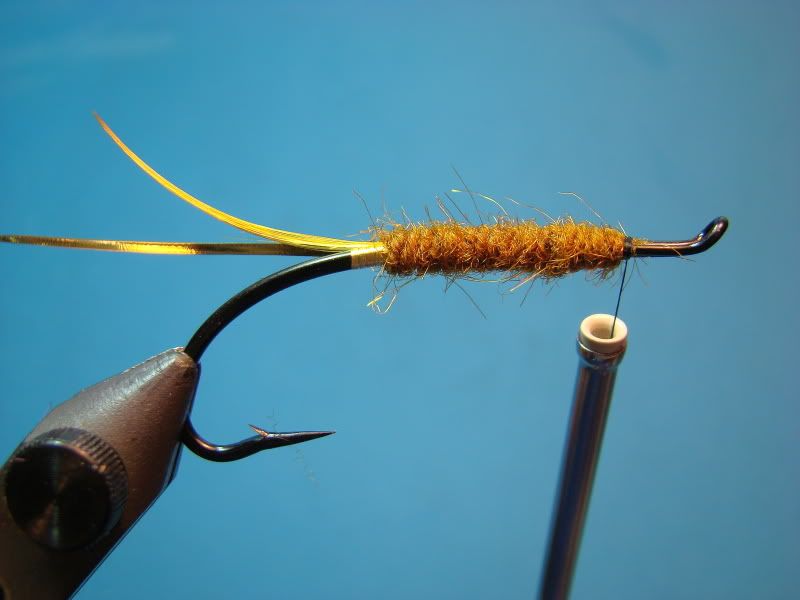
Velcro on a popsicle stick does a great job of "bugging up" dubbing.
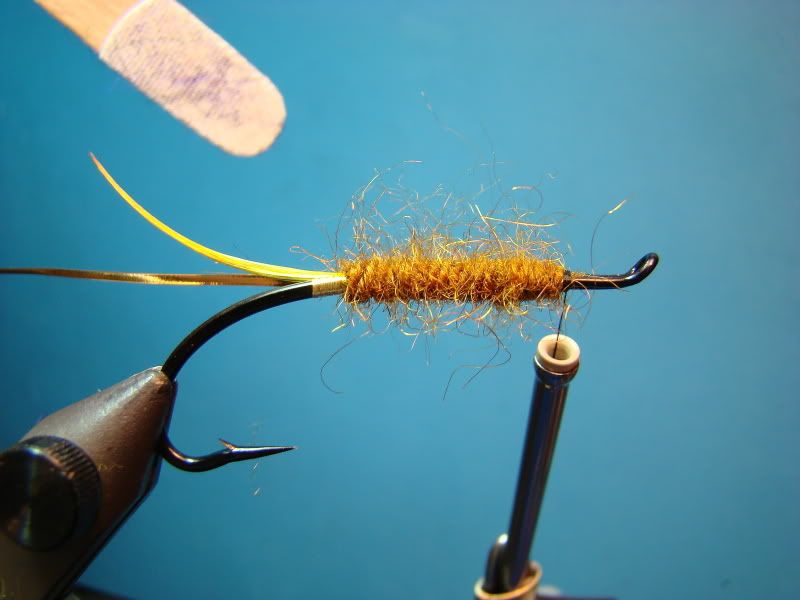
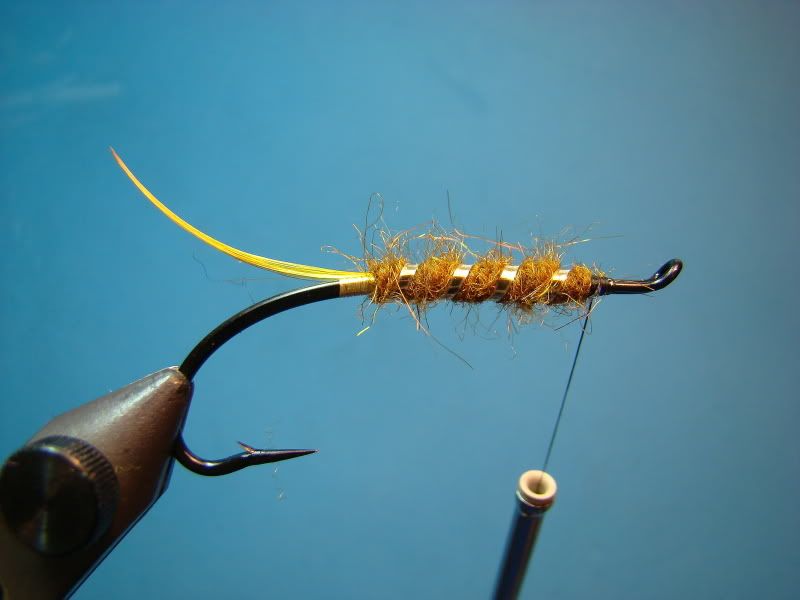
Step 5:
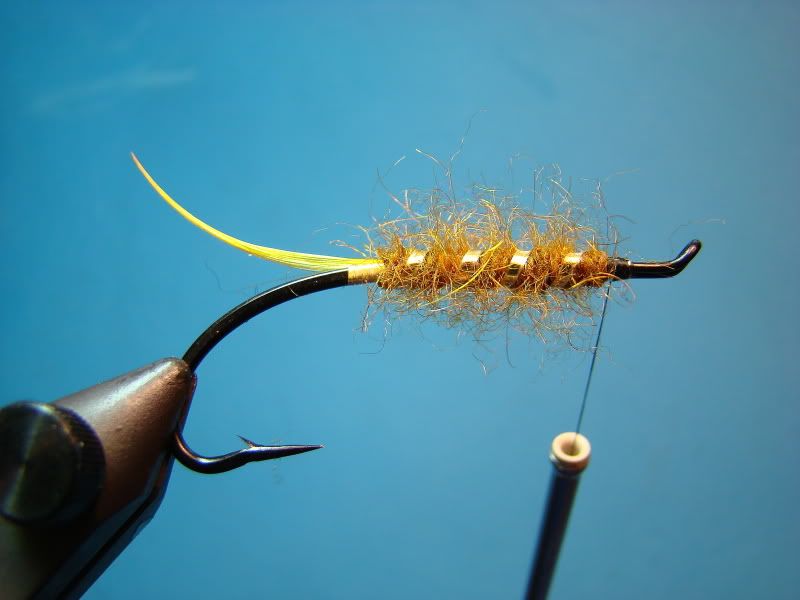
Bring ribbing forward in four or five firm and even incremental turns. Remember, you want to try and bury the ribbing to prevent slipping.
"Bugged" the body again.
Step 6:
Make a dubbing loop and apply a collar of orange rabbit.
Step 7:
Add arctic fox wing. Apply two coats of thin penetrating cement and a final coat of "finisher."
Enjoy!
No comments:
Post a Comment