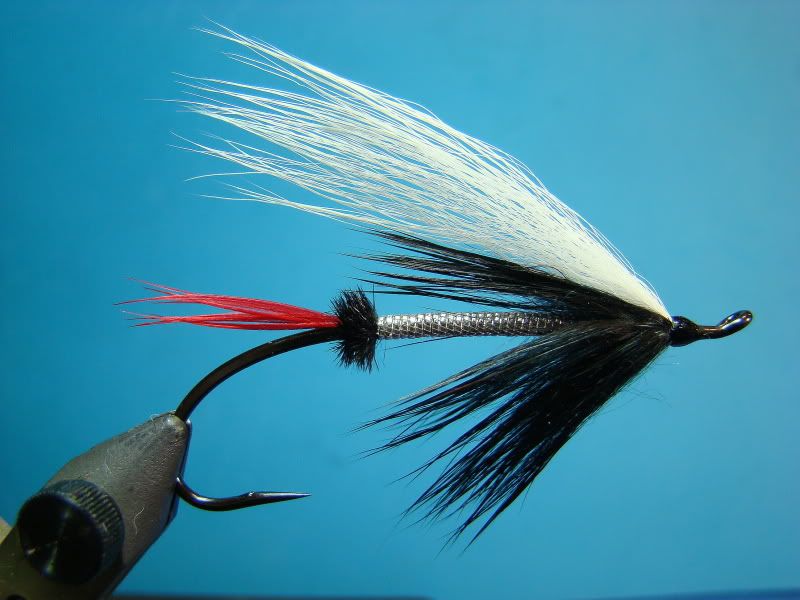
 There are so few flies that have lasted the test of time they fall into the category of "forgotten flies." However, there are perhaps two dozen fly patterns still in use by veteran steelheaders today. One particular fly, the Silver Ant, designed by I.R. "Russ" Tower on Oregon's Rogue River over 80-years ago, remains a staple for many steelheaders that love to swing traditional patterns. If you ever decide to have a fly box full of traditional hair wing flies the Silver Ant has my strongest recommendation for inclusion.
The Silver Ant was traditionally tied on small double hooks with the wings set upright and divided. Today, there are so few Pacific Northwest waters that allow two hooks, I will be tying this pattern on a single. Additionally, I will be substituting the black chenille butt with ostrich, the black hackle with rabbit, and the bucktail wing with arctic fox.
Tying techniques shown are tying an ostrich butt and tying oval tinsel for a body.
Materials
Hook: Choice (Pictured is Alec Jackson 1.5)
Thread: White 140 denier UTC and black 6/0 Euro thread
Tail: Red hackle fibers
Butt: Black ostrich (originally black chenille)
Body: Medium oval silver tinsel (Lagartun)
Hackle: Black rabbit spun in a dubbing loop (Originally black hackle)
Wing: White arctic fox (Originally white bucktail)
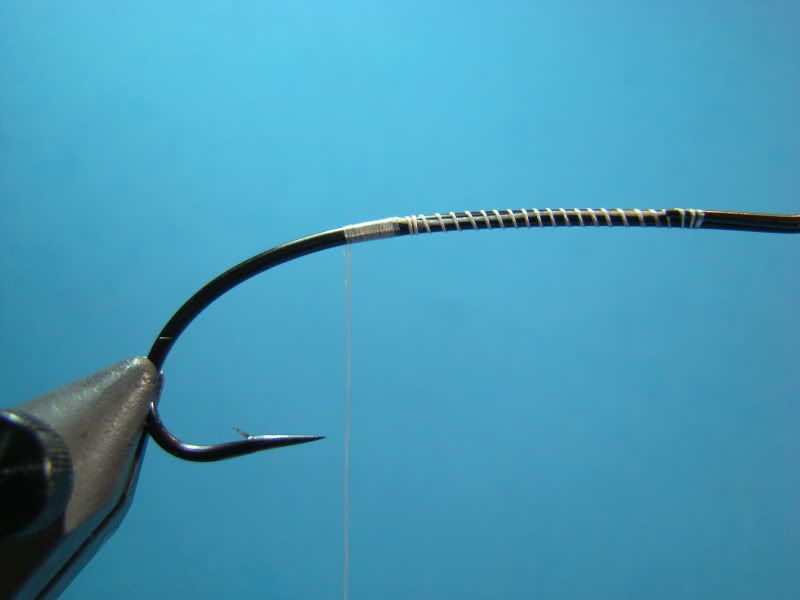
Step 1
Start white thread near the end of the returning wire loop on hook (reference point). As you near the hook point flatten the thread wraps. The last wrap should be inline with the hook point. (The hook and camera is slightly angled in the picture.) The purpose of using the white UTC thread is two-fold. (1) it lays extremely flat for smooth tie in areas and material transitions, and (2) hides the tinsels wraps that are less than perfect. Threads of different colors will show through if the wraps are not close and tight together.
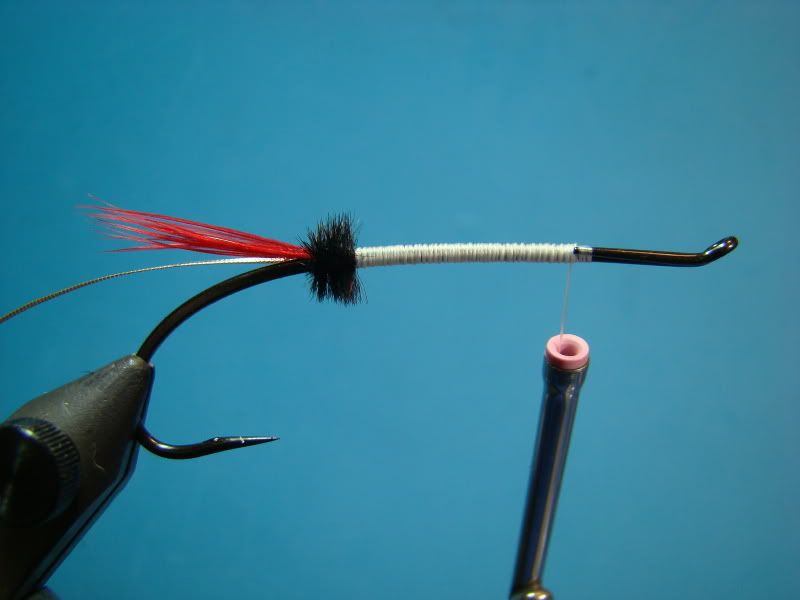
Step 2
Remove a small bunch of red fibers from the stem of a chinese rooster neck. Tie in the fibers with flat wraps of thread. The last securing wrap should be even with the hook point (pictured). The length of the tips should extend just past the hook bend. Note: stroking the tips of the fibers at an angle will align the tips perfectly. When the tips are aligned grasp the tips, gentle pull downward, and the fibers will come off the stem.

Step 3
Select an ostrich herl. The toughest/strongest herl will always be towards the top of the stem. To properly tie in an ostrich herl strip the bottom portion of fibers away from the stem. Tie in as pictured. Using this technique will allow the herl to turn and flatten allowing the fibers to stand straight up after the first turn. Also note there might be a slight curvature to the fibers. If this is the case, tie the herl strip in with the curvature facing the hook bend.

Step 4
Take 5 to 7 close turns of herl and secure with flat thread wraps.

Step 5
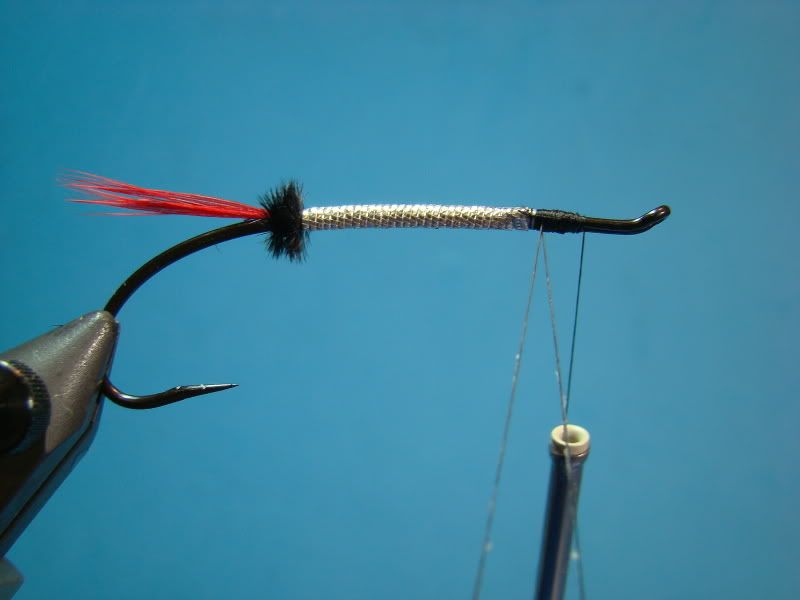
Once herl is trimmed continue wrapping thread foward to the reference point (pictured). Tie in oval silver tinsel at reference point and secure with several tight but even wraps of thread to the herl and back to the starting point.
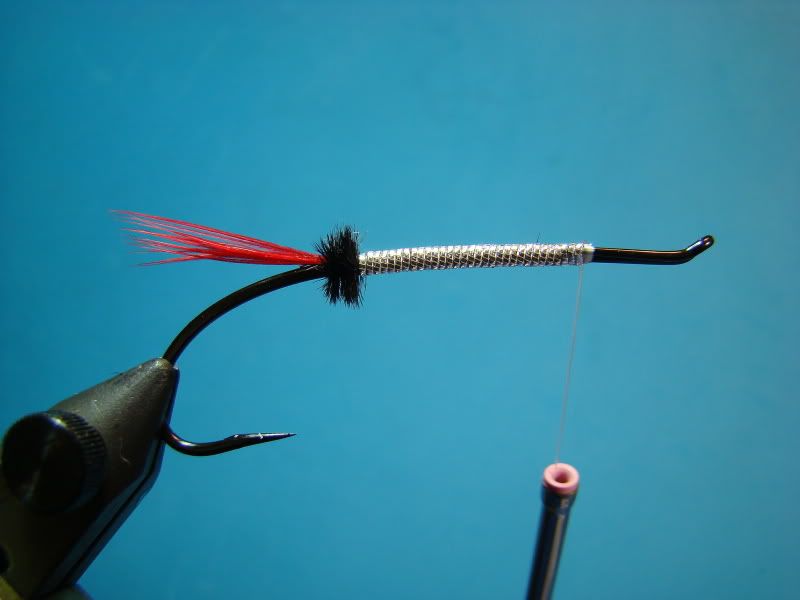
Step 6
Wrap tinsel forward. Wraps should be tight and as close together as possible without over lapping and remain flat without twisting. Secure with tight wraps at reference point.
Step 7
Make dubbing loop and wax the thread heavily.
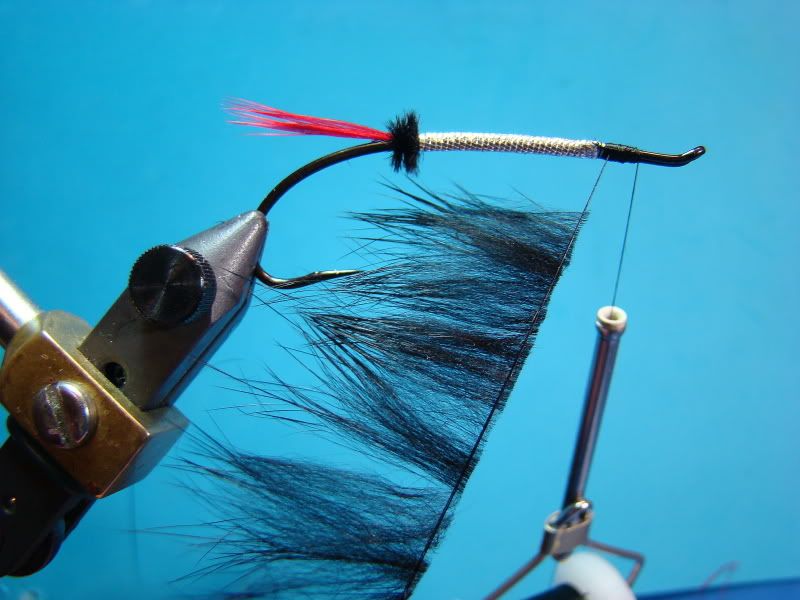
Step 8
Cut rabbit from the hide and place sections in the loop. Length is personal choice, but I like to extend the hair to the ostrich herl. For best results remove some of the underfur before placing in loop and trim butt ends as close as possible to loop before spinning. This will reduce bulk in the thread area.
Step 9
Spin rabbit to a tight chenille-like material. Do not over spin rabbit (telltale sign of over spinning is the thread wanted to double over itself). You may need to pick out any trapped rabbit hairs with a bodkin. Dampen and stroke hair to the rear. Wrap forward with close wraps.

Step 10
If you have applied the right amount of rabbit in the loop you should finish directly at the reference point (the very first step- starting the thread on the returning wire loop). To secure loop take three turns of thread forward and move dubbing twirler towards the bend of the hook then the wrap over the loop end. This will lock the loop in place. Trim thread. This is a good time to brush the rabbit hairs to the rear as it is drying. You may find a few longer or miss placed guard hairs... Simple grab the end and pluck them out. This will give the "hackle" a nice even appearance.

Step 11
Follow the steps for measuring and securing the wing as published with the Green Butt Purple Peril (click here). (If the instruction are confusing I'll post pictures). Here's your finished Silver Ant!
No comments:
Post a Comment