
You'll probably see me write this numerous times.... "Sometimes the most simplest of flies are the most effective." That saying couldn't hold more truth than having to tie a bunch of flies before a last minute trip- something very quick to tie and yet remain a top notch producer. Let's take a look at not only a great summer steelhead fly, but an awesome trout and spiny ray fly on appropriate style and sized hooks- the Beadhead Leech.
Materials:
Hook: Daiichi (Alec Jackson) 3-7 (Pictured nickel plated size 5)
Thread: 3/0 and 6/0
Bead: Hot Bead (3/16") (color of choice)
Tail: Marabou (color of choice) highlighted with Flashabou or Krystal Flash.
Body: Hareline UV Dubbing (color of choice) well picked
Ribbing: Optional
Collar: Rabbit spun in a dubbing loop
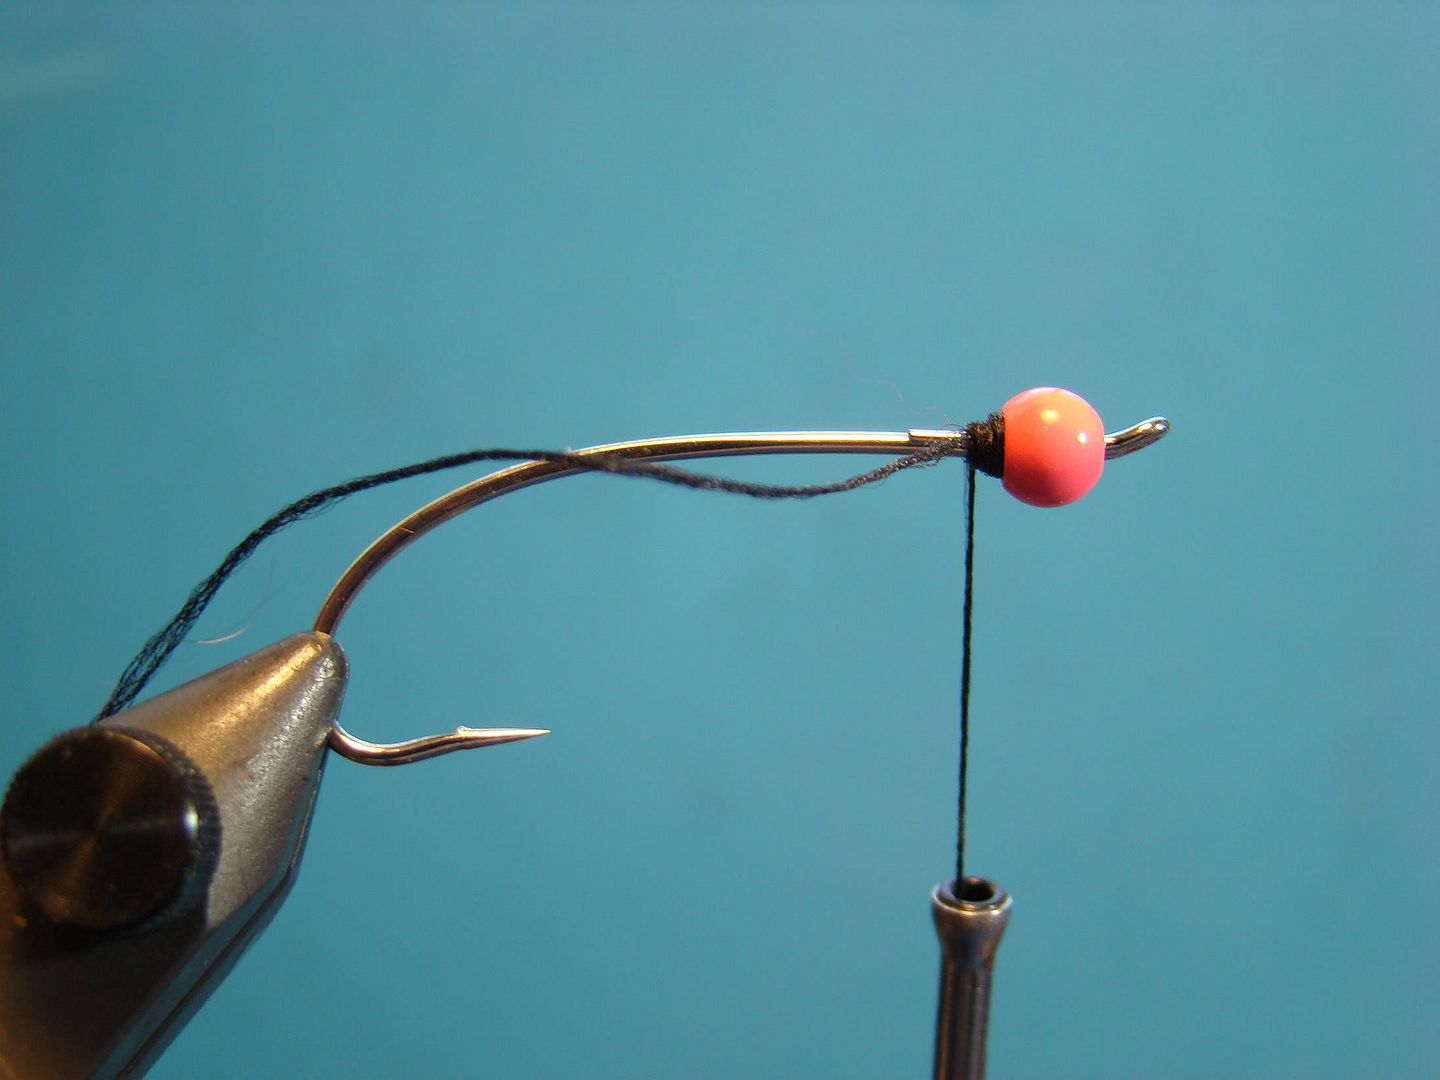
Step 1:
Flatten barb on hook and place bead on hook

Step 2:
Secure the bead. Attach 3/0 thread and build a ball at the rear of bead.
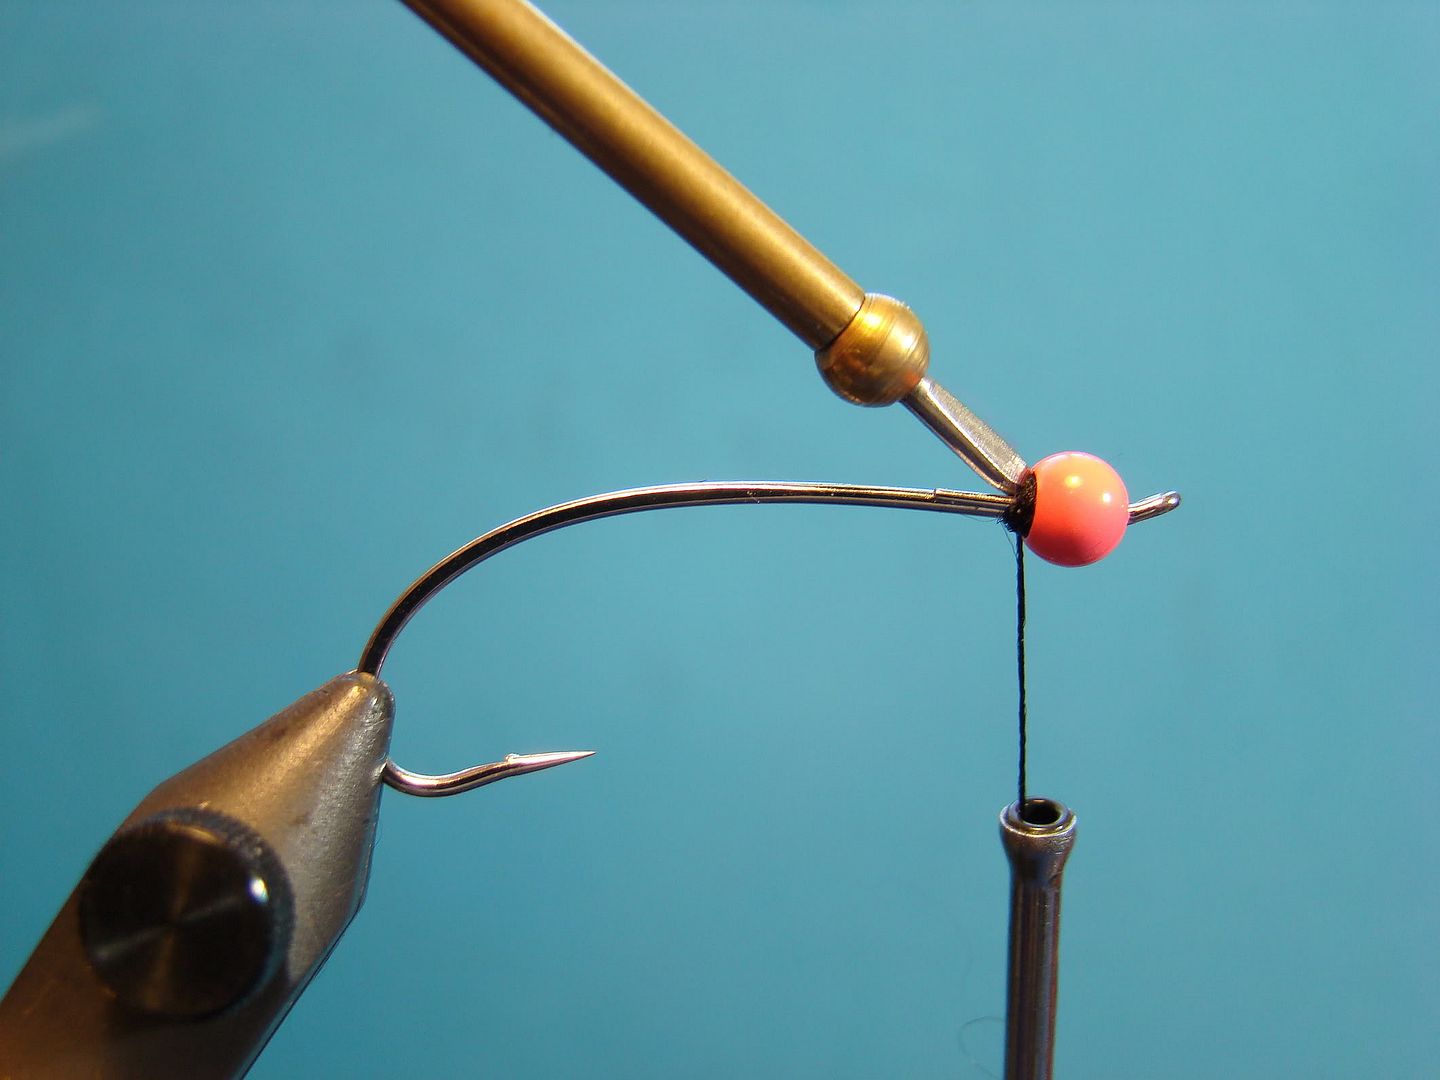
Step 3:
Once the ball of thread is built up apply a drop of Super Glue and push the ball into the rear opening. I prefer to use the bottom of my whip finisher for this process.
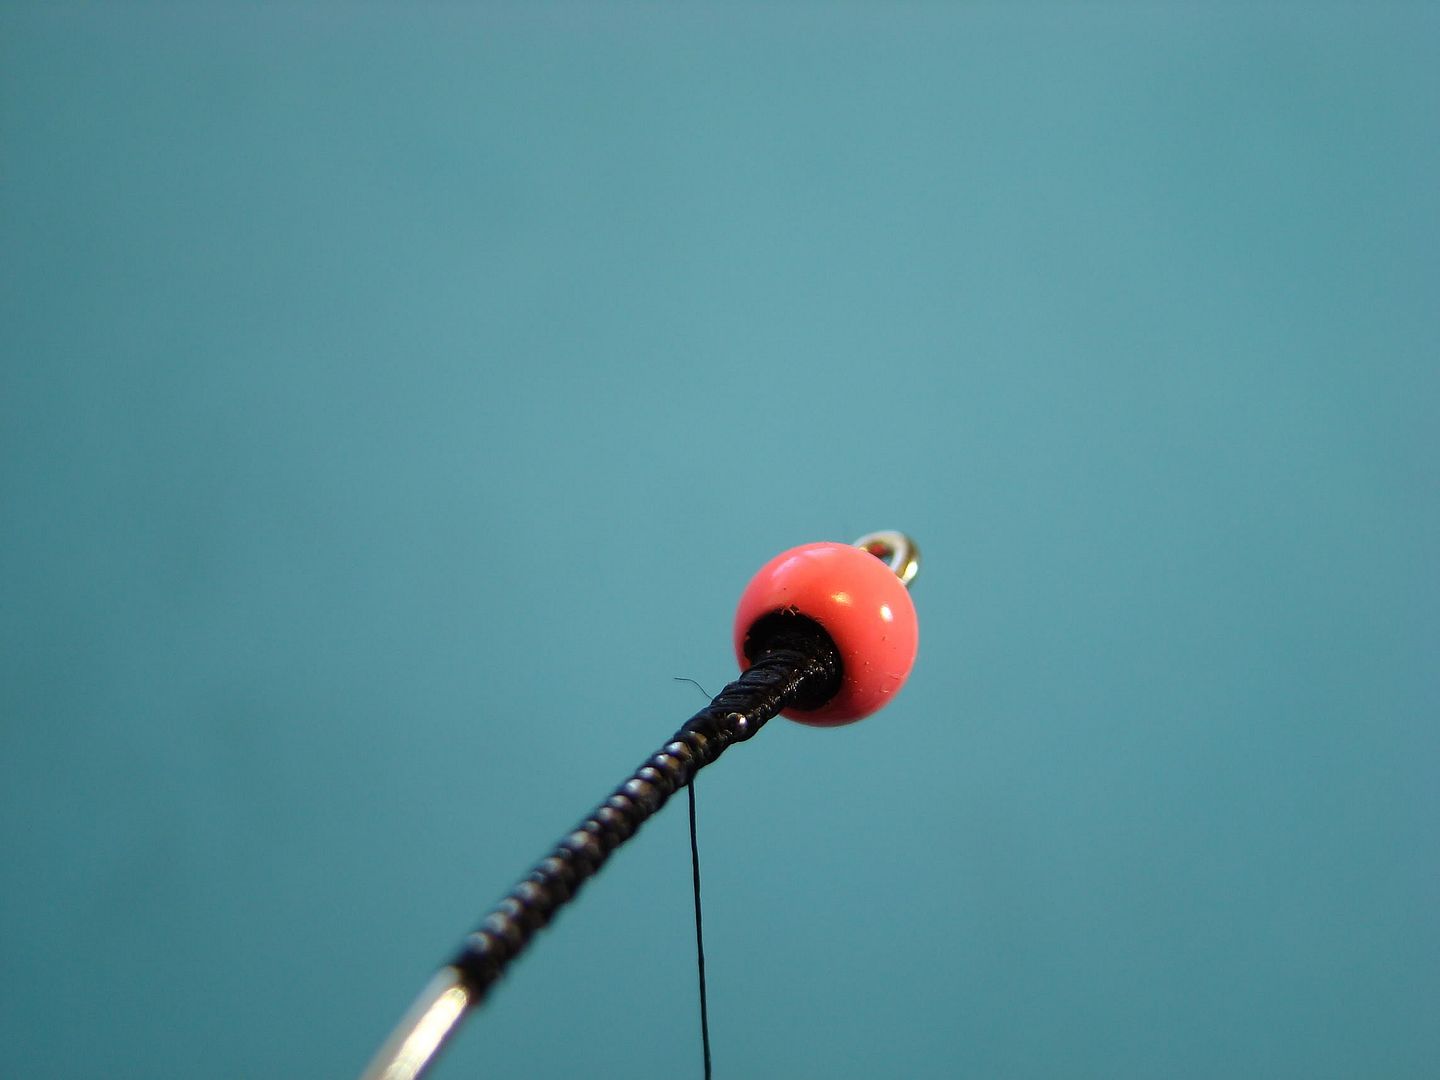
Step 4:
Once the bead is secure, whip finish, cut 3/0 thread, and wind on 6/0 thread. Photo shows ball of thread secured inside the bead.
Step 5:
Tie in marabou tail and highlight with Flashabou, Krystal Flash or similar material. (Pictured is Mirage Flashabou.) Moistening the marabou will help in managing the tie in process and give you an ideal of how much fibers to use. It is better to error on the thinner than thicker side. Too much marabou tends to deaden the desire "wavy" effect in the water. Lastly, don't worry about an uneven thread wraps. This will be hidden under the body.
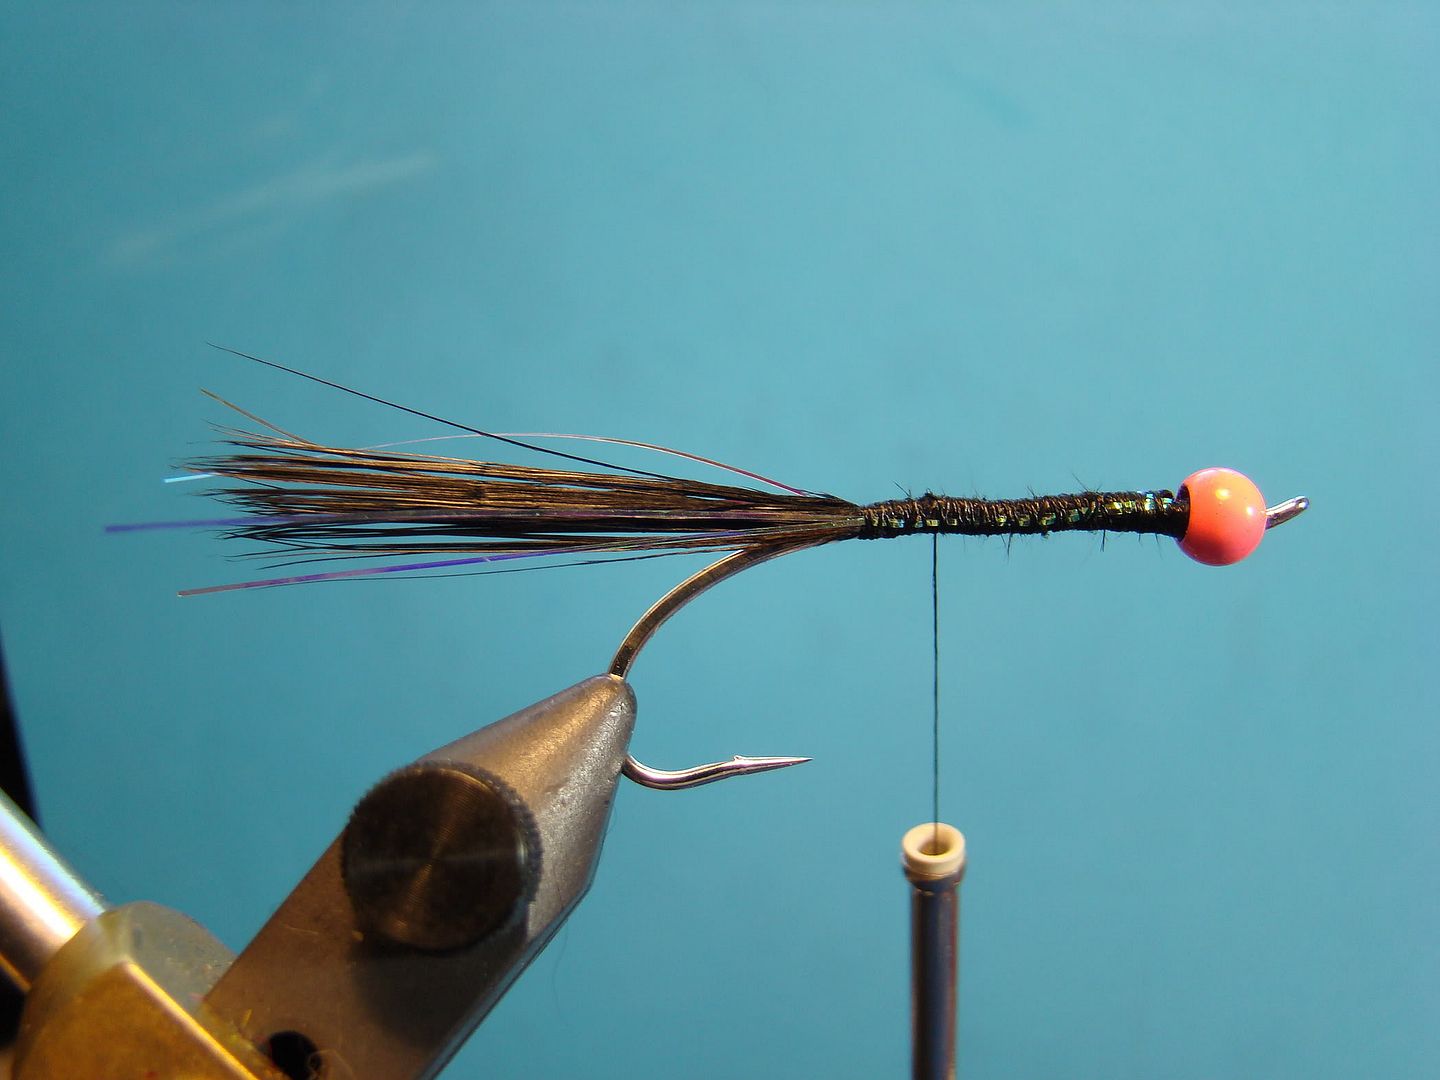
Step 6:
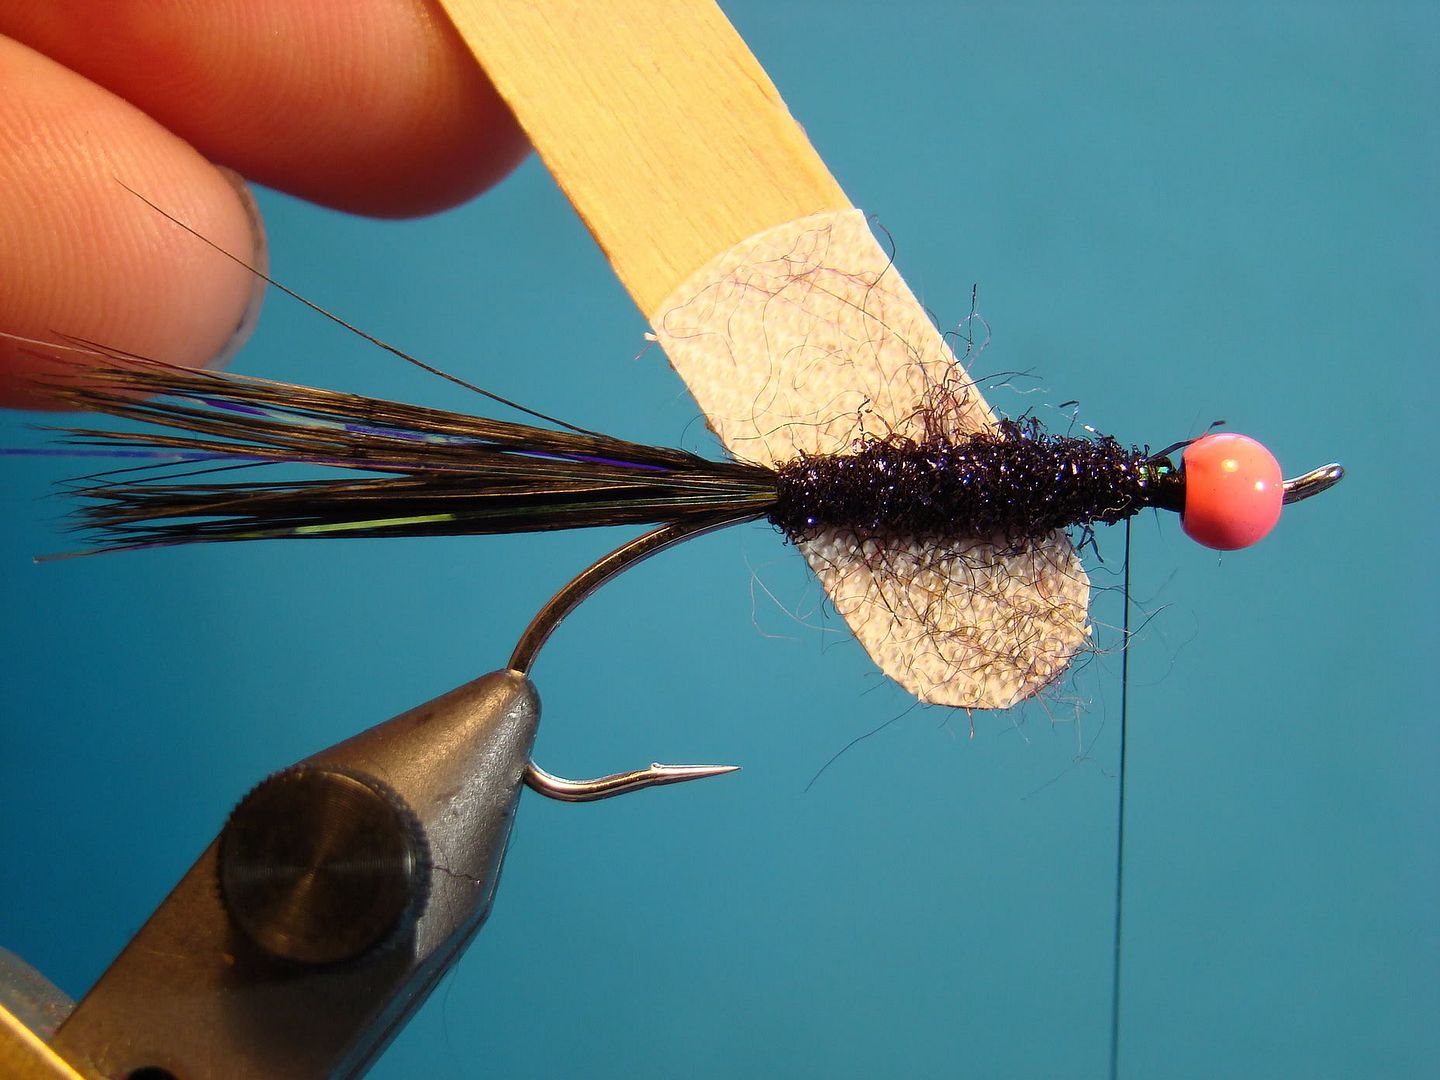
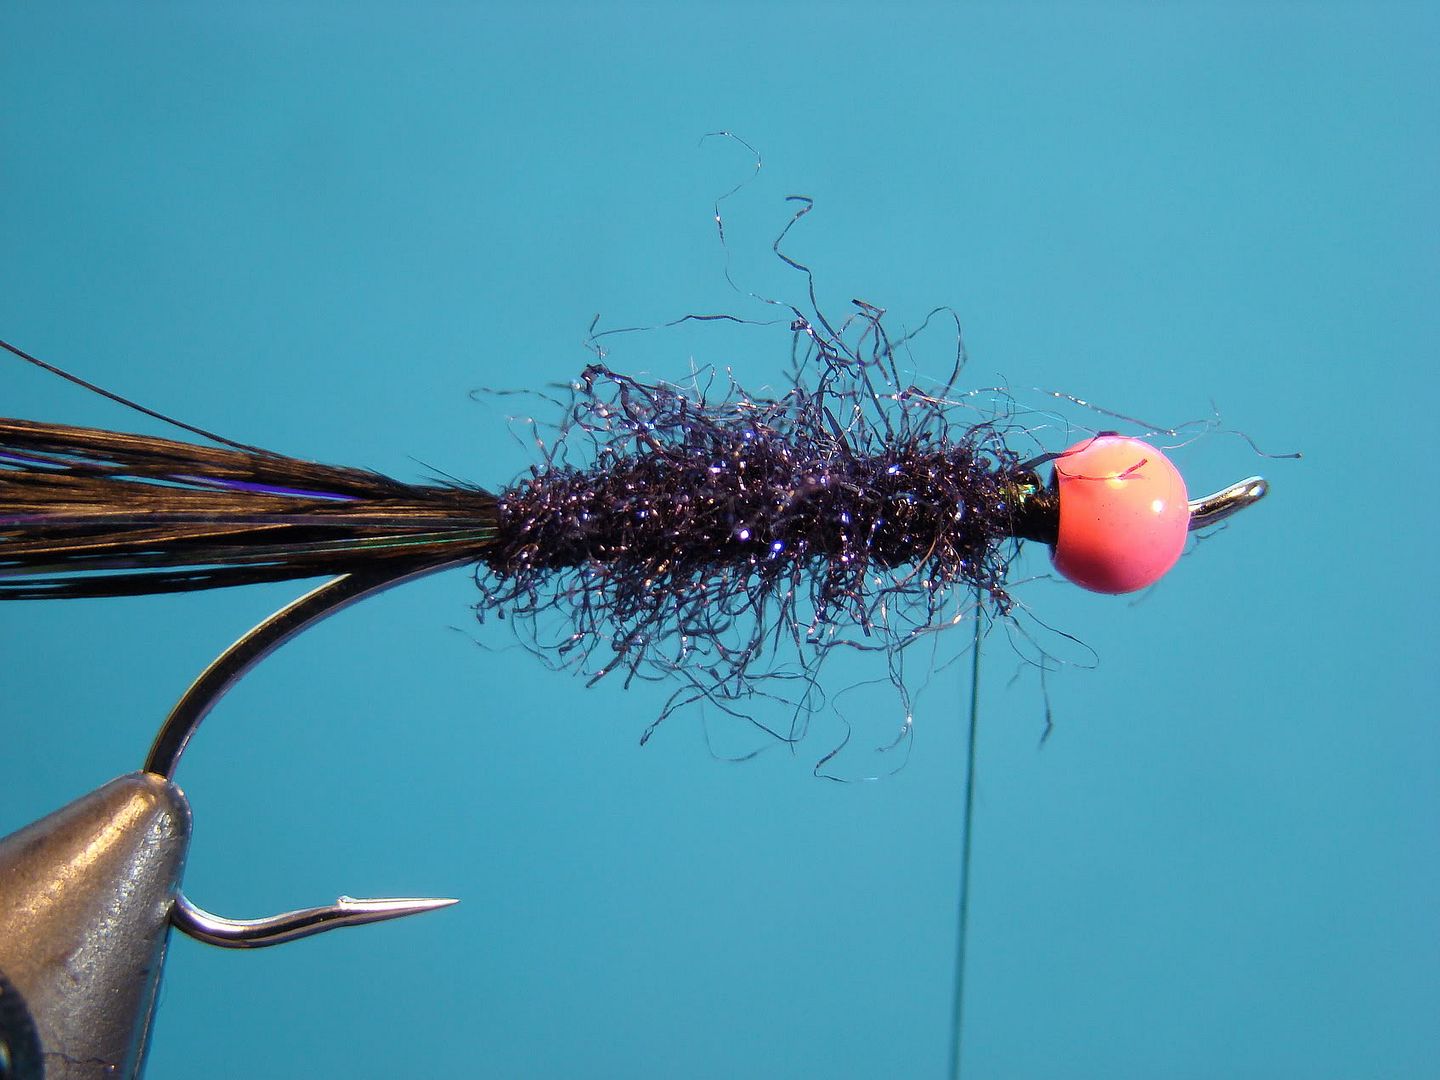
Dub a body of Ice dubbing (or material of choice) leaving a small area behind the bead. (Pictured is Black UV Ice Dubbing)

You can leave the body "as is (pictured above) or take a little extra time to roughen the body. The below picture shows a wooden coffee stirrer with a small patch of Velcro attached used to roughen the body.
Step 7:
Make a dubbing loop and heavily wax the thread loop. Apply rabbit from a whole skin or strip in the loop and spin. Length of collar is a personal choice however, I prefer longer collars. Moisten rabbit and pull hairs towards rear of hook. (Please visit the Steelhead Matuka page for pictures on this technique.)
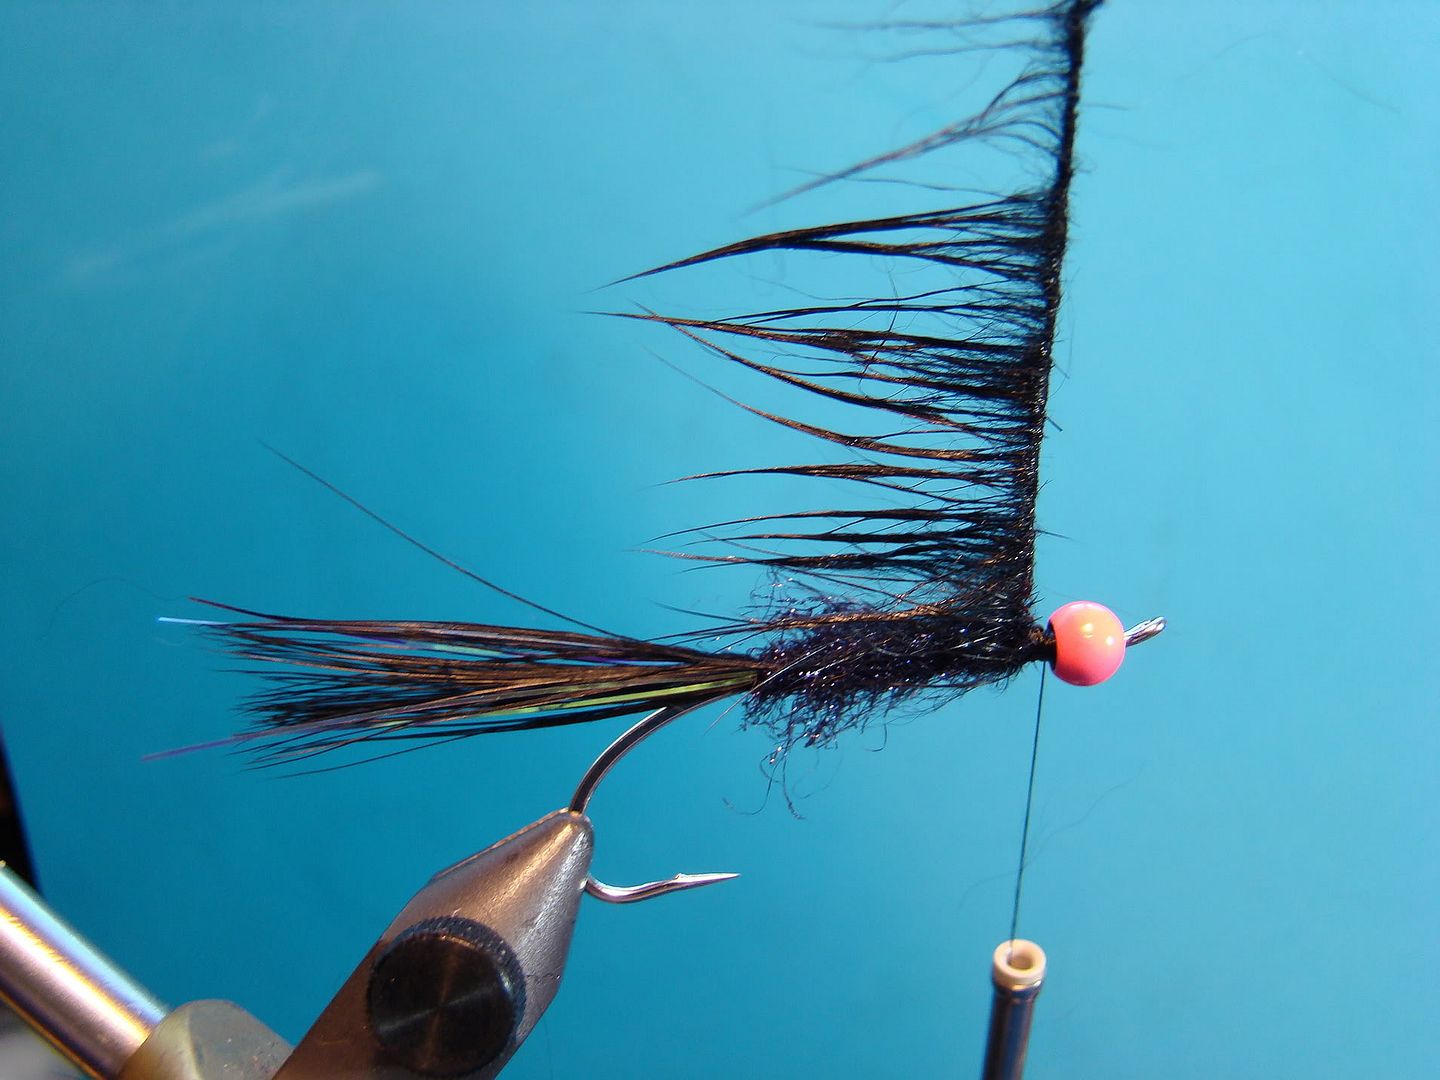
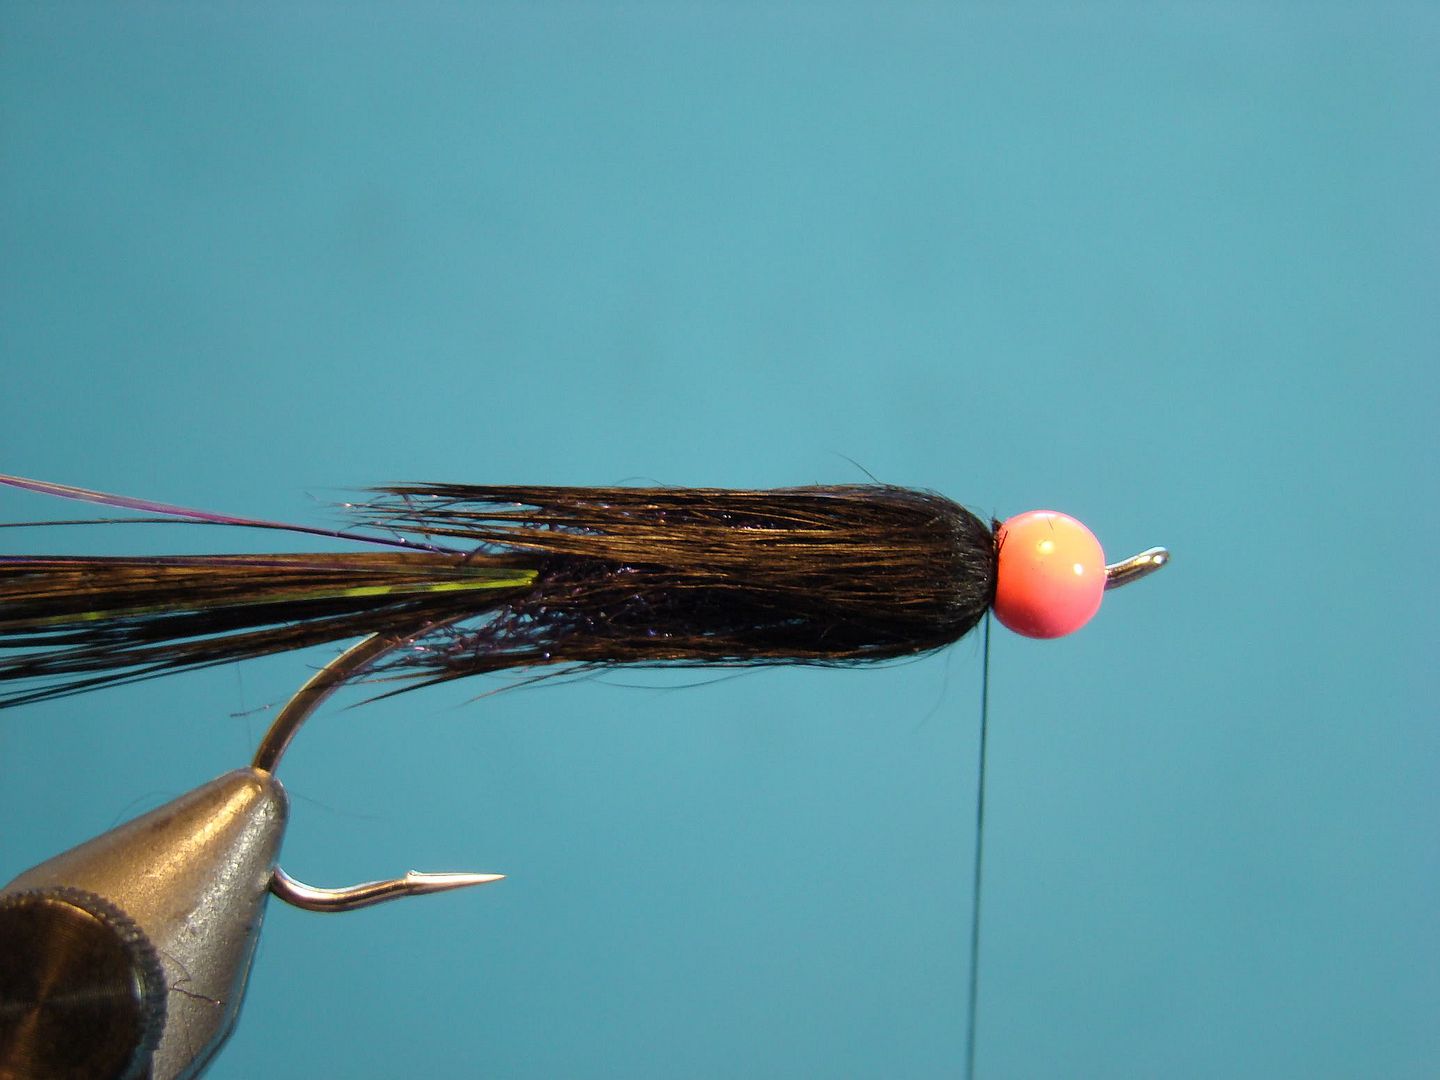
Wrap rabbit forward and secure behind the bead. Note: the collar length is well beyond the body.
Step 8:
Apply a small amount of head cement to thread and whip finish. Since head cement cannot directly be applied in this case, I whip finish twice with 4-turns applying the head cement prior to each time.
No comments:
Post a Comment