 Who's Del Cooper? Beats me. However, I do know the killer purple and red combination of the Del Cooper fly comes from the late Mike Kennedy. Unlike many of Kennedy's flies, there is very little information on the Del Cooper to share. Perhaps due to the pattern having a very small following throughout the years or a nearly identical pattern - Surgeon General - gained favor with it flourescent hackle and guinea throat. I can only assume at this point it's popularity was reached in the late 1960's to mid 1970's prior to the Surgeon General. Today, I have no problem tying this fly on to the end of my leader. In fact it is yet another of my Top 10 flies I wouldn't want to be without. I've enjoyed tremendous winter and summer success on the Cowlitz and Wynoochie Rivers with this pattern.
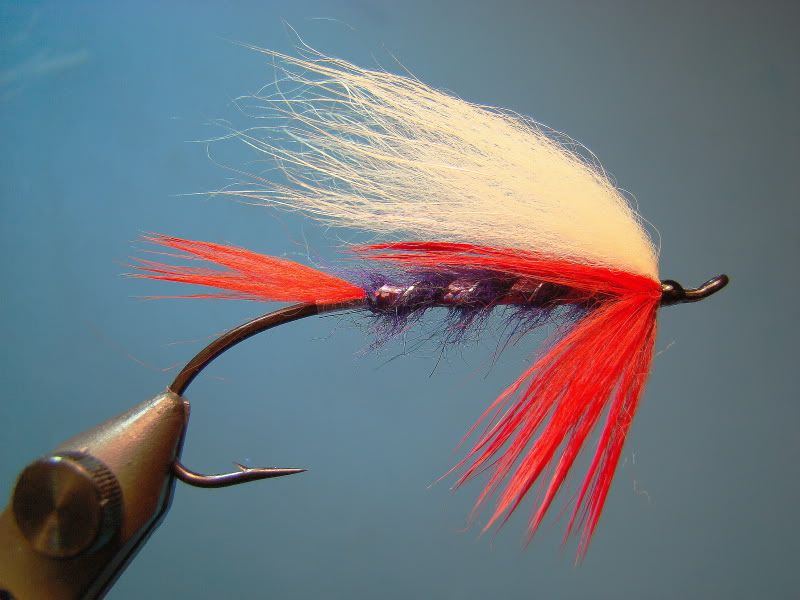
 Like many of the steelhead flies I tie this one is bastardized this one too. There are several materials a tyer could replace at any given step (as you'll see). Yet I feel as long as the tail and hackle is red (or fl. red), the body is purple, and the wing is white- it's a Del Cooper.
Materials:
Hook: Choice (Alec Jackson is pictured)
Thread: 6/0 Euro black
Tag: Flat silver tinsel (Lagartun)
Tail: Flourescent red rabbit with guard hairs (Originally red hackle fibers)
Body: Custom blend - 60-percent midnight blue arctic fox underfur 40-percent deep purple Antron (Absolutely gorgeous) (Original body is purple wool)
Rib: Purple holographic mylar and silver oval tinsel (Original called for narrow silver tinsel)
Hackle: (Collar in this case) Flourescent red rabbit spun in a dubbing loop (Originally red hackle fibers
Wing: Finn raccoon underfur with smaller guard hairs (Originally white bucktail)
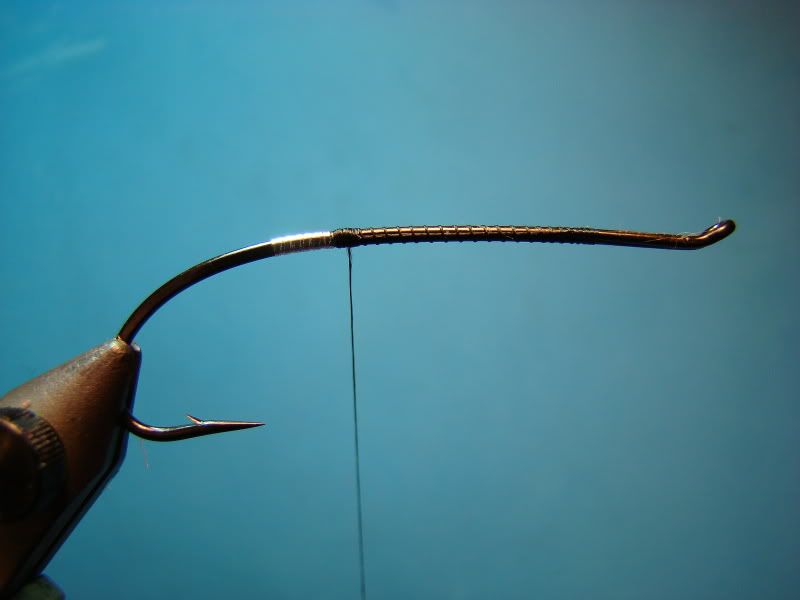
Step 1:
Start thread just behind the eye and secure returning loop. Tie in small flat silver tinsel and wrap tag.
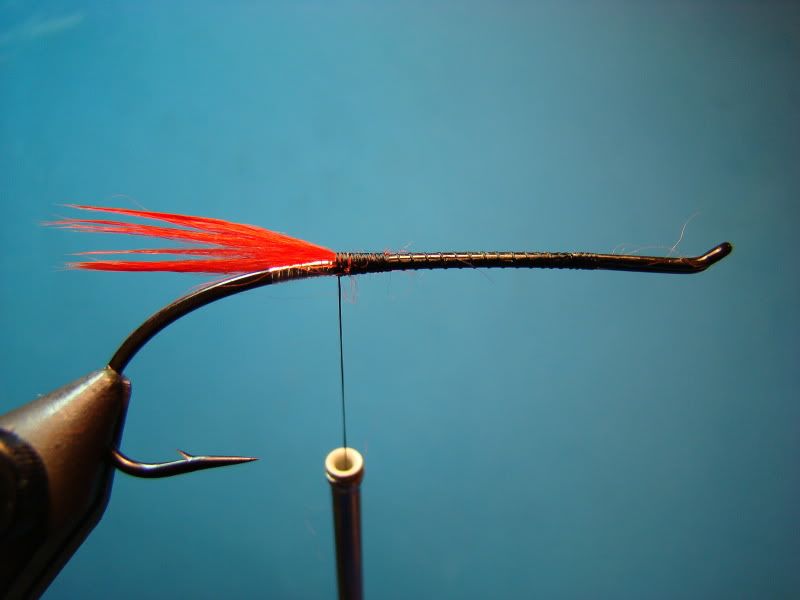
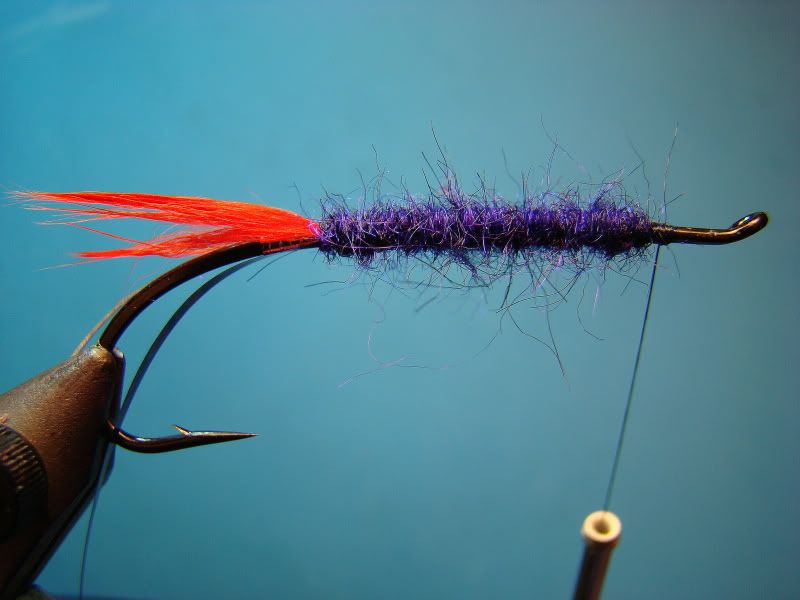
Step 2:
Cut a small amount of rabbit from a hide or strip. Remove some of the underfur to reduce bulk. Tie the rabbit directly on top of the shank. The tips should extend slightly past the hook bend.
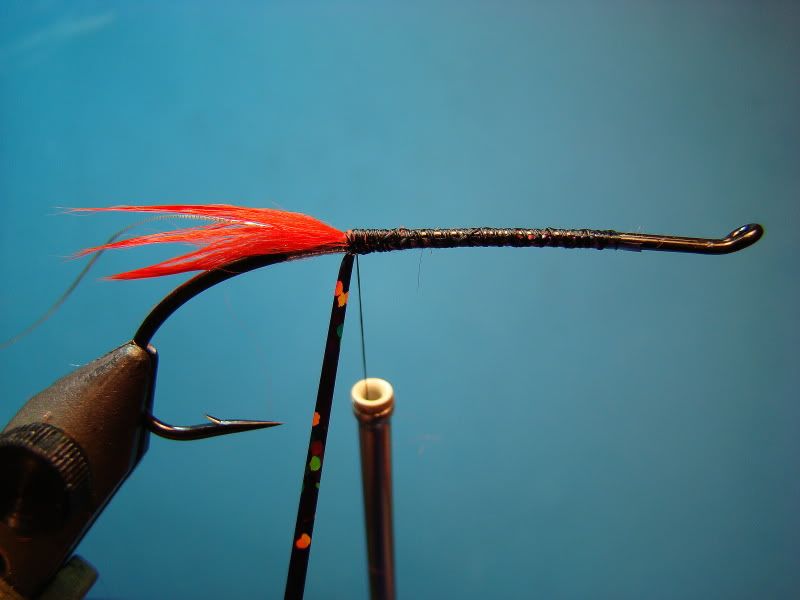
Step 3:
Tie purple holographic tinsel underneath the hook shank and then tie small oval silver tinsel to the far side of the hook shank.
Step 4:
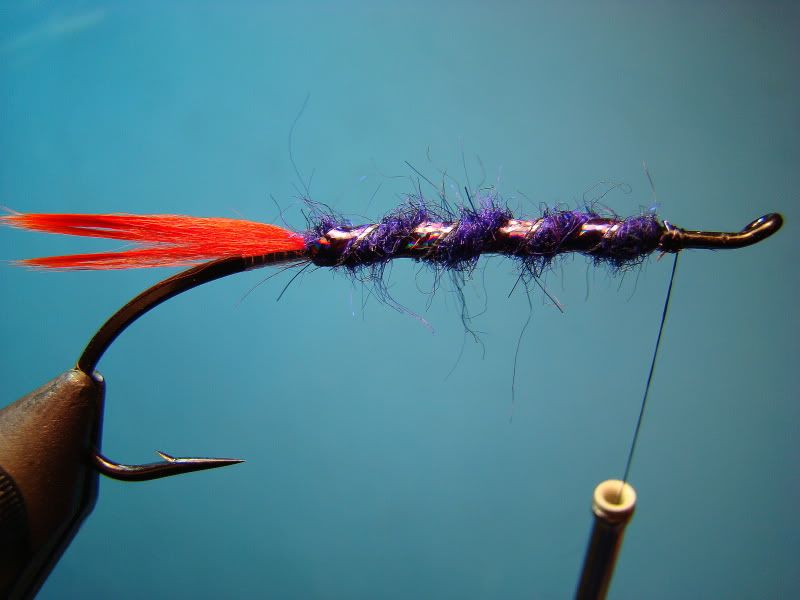
Step 5:
Firmly wrap the purple holographic tinsel forward first followed by the small oval tinsel. The oval tinsel should be wrapped immediately in front of the mylar without any spacing. (It is hard to do, but if the body was dubbed in smooth, close and even increments, without a lot of overlapping, the tinsels with lay perfect! Takes some practice!) Tip: Always use good firm wraps when using tinsels. Mylars are a little diffiuclt to master because of the tendency to stretch, but good metal tinsels can be really cranked down on. The trick is not to bury the tinsels in the dubbing - they should be solidly visible - rather secure enough to prevent slipping.
Step 6:
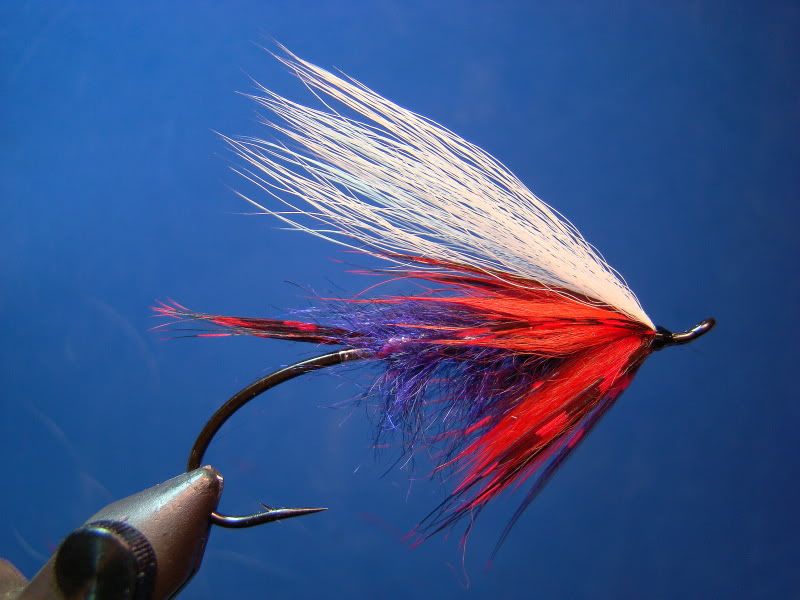
Spin a dubbing loop of flourescent red rabbit. Again, remove some of the underfur to prevent too much bulk. Three turns is generally plenty- depending on the quality of hair or amount of underfur. (Rabbit collars always appear to make the fly looked overdressed, but when the hair is wet, it slims down like marabou. If the fly looks bulky streamside you can always do some discreet plunking or trimming.

Step 7:
Tie in finn raccoon under fur and secure with minimal wraps. Apply two coats of very thin head cement and one coat of "finisher."
A different look. Red guinea for the tail and also added in at the collar. Arctic fox for the wing. I also dubbed a very shaggy body for winter fishing.
Enjoy!
No comments:
Post a Comment