To start the New Year out let's wind the clock back to the late 1930's when Ken McCloud first tied the Purple Peril. Had it not been for an shipping mistake from Herter's, the premier sportsman's catalogue in those days, the Purple Peril may not have even been designed. Apparently, Ken asked his son George to order claret tying materials for Montreal patterns. When the mail arrived the materials were purple- not the claret as ordered. Ken decided to tie the flies with purple.. The Purple Peril was born.
The Purple Peril is perhaps one the most underrated flies, but a pattern you'll find in the fly box of the hardcore steelheader. In it's heyday it was probably fished a lot during summer through fall however, anytime water conditions are clear to slightly colored this pattern will be effective- including the winter months.
There are at least three dozen variations of the Purple Peril I have seen. I personally carry five different variations- three with different colored butt sections for various light and water conditions, a "Plain Jane" (original- no colored butt section), and a spey version.
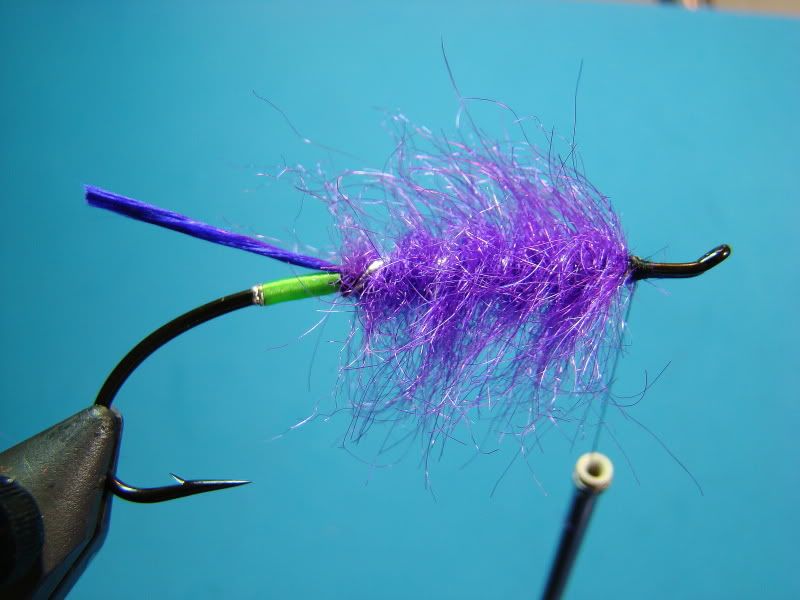
Let's take a look at a Green Butt Purple Peril. A couple of techniques to gain from this pattern are tying in oval tinsel for a tip and floss tags. I also including a neat little dubbing packaging trick.
Materials
Hook: Choice (pictured is Alec Jackson 1.5)
Thread: White 140 Denier and Black 6/0 Euro
Tip: Small oval silver tinsel (I use Lagartun)
Tag (Butt): Flourescent green floss
Tail: Purple Floss (Original called for hackle fibers)
Body: Purple floss, wool, or dubbing (I am using purple SLF dubbing)
Rib: Medium oval silver tinsel (Lagartun)
Hackle: Purple guinea hen (Original called for purple hackle)
Wing: Fiery brown arctic fox (Original called for natural brown bucktail
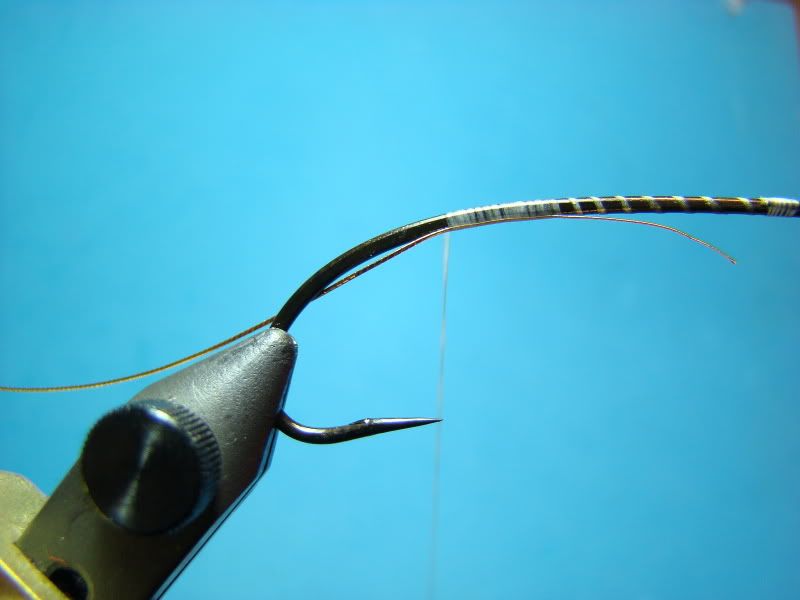
Step 1
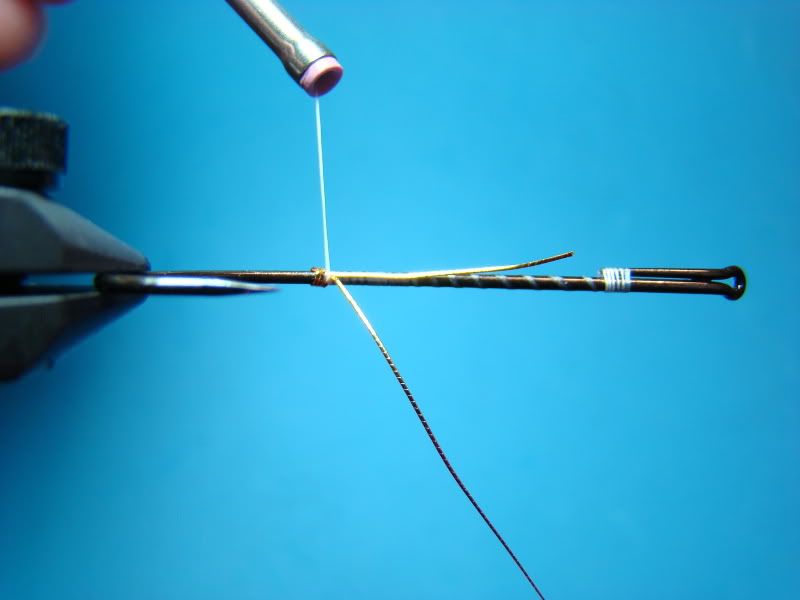
Start white UTC 140 thread on return wire loop (my starting point on the return wire loop will be referred to as a "reference point." This "reference point" is used as a guide to show starting and stopping points during different steps of the tying phase to keep the eye area free of materials). Wind to the rear stopping approximately 3/8-inch from hook point. Once thread has left the return wire loop ensure thread winds flat as pictured. Winding the thread flat at this point will set up for a smooth tie in of the tip and smooth underbody for the floss tag. The purpose of the white thread is to allow the flourescent green floss to stand out when wet.

Using oval tinsel for a tip creates a small lip/barrier. Unlike flat tinsel, oval tinsel will keep the floss from sliding down the hook shank.
Tie in small oval silver tinsel directly under the shank yet slightly off center- moreso towards you. Keep the thread wraps flat.
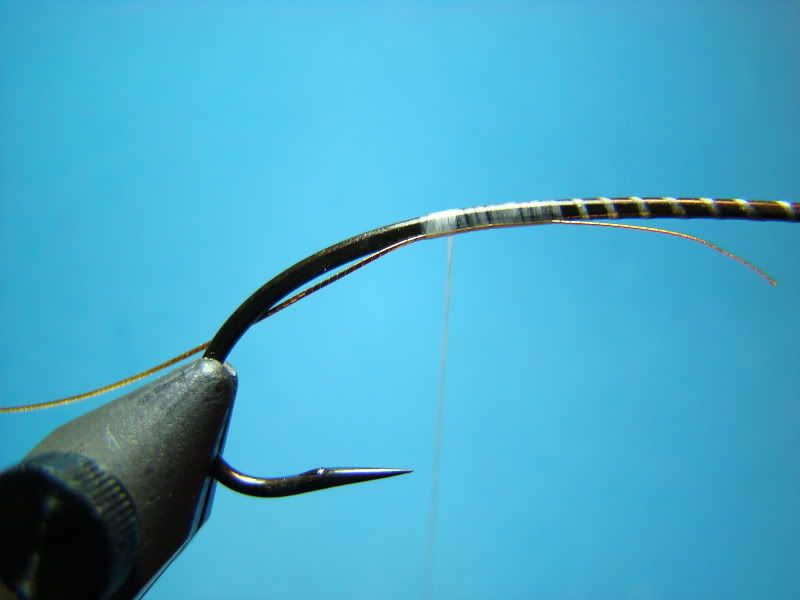
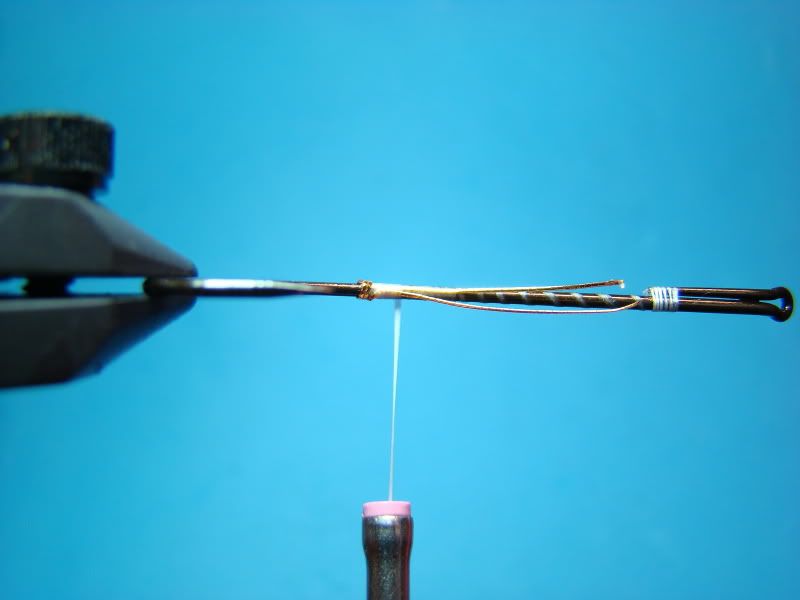
Next, take three turns of tinsel. The first wrap is over the bare hook shank. After three turns of tinsel has been taken turn hook upside down if you have a rotary vise. Keep ahold of the tinsel. (Note: you can see the original tie in of the tinsel on the hook shank. Notice that is tied in under the shank, but away from centerline on the far side with the hook inverted.)
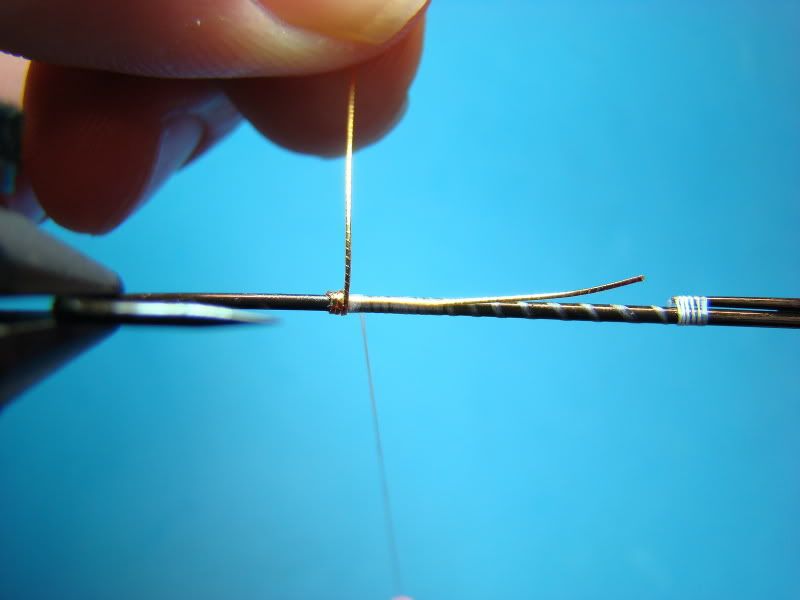
While holding the tinsel in the left hand, remove the two turns of thread with the bobbin. Secure the tinsel with two wraps of thread. Keep tension on the thread and run tinsel parallel with hook shank. Both the "tied in" and "tied off" portions are directly under the hook shank.
Tie off remaining section of tinsel. Remember to keep the thread flat. Notice how the tinsel runs parallel now?
Once you've completed covering your tinsel with flat thread wraps double check your work for any unusual lumps or humps. This area needs to be as smooth as possible for a professional looking floss butt.

The length of the butt section is a personal choice. I typically like to tie them about 1/4 or 1/3 of the total body length. In the above photo I intentionally over wrapped to nearly the halfway point. This will keep the wraps tight while I am preparing the floss.
Step 3
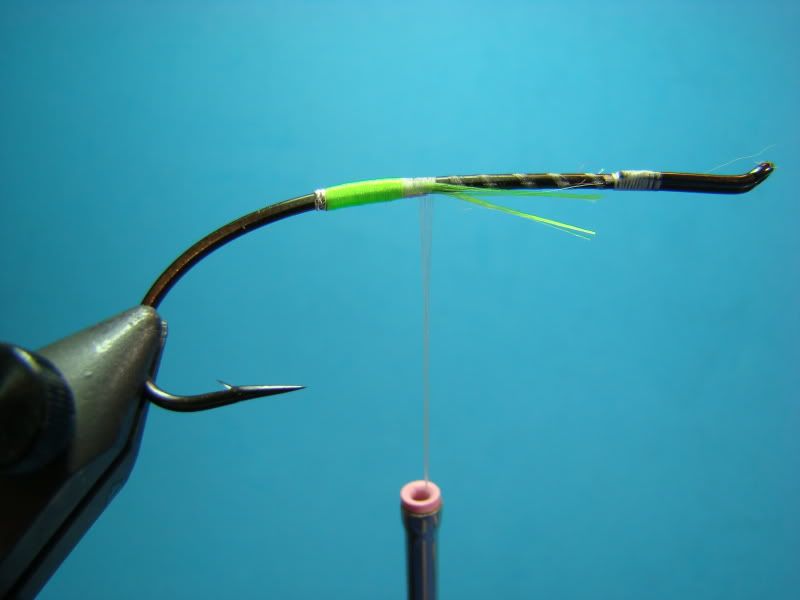
When using floss on my flies I personally like to remove the floss from the spool because I feel I have more control over the wraps utilizing my fingers. Pictured below I have removed approximately 5-inches of flourescent green floss from the spool. To keep a smooth tie in area take the floss and run it under the hook shank and between the thread, then bring the floss over the hook shank. This will trap the floss under the thread. Take a couple of thread wraps to secure.
Stroke the floss to flatten it out at the tie in point. Firmly (not too tight) wrap the floss as flat as possible to the tinsel and back to the tie in area. Unwind the original two thread wraps and then secure with a couple of thread wraps. Wrap thread towards the eye and take a couple of half hitches at the "reference point." Change over to black thread.
Step 4
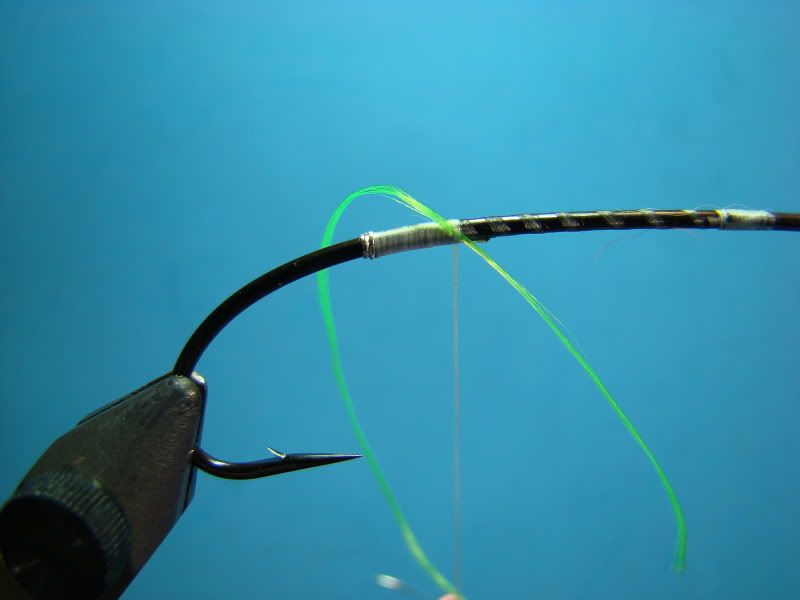
Near the eye tie is a piece of purple floss for the tail. Wrap thread back to the eye area. Cut the tail to length- slightly past the bend of the hook
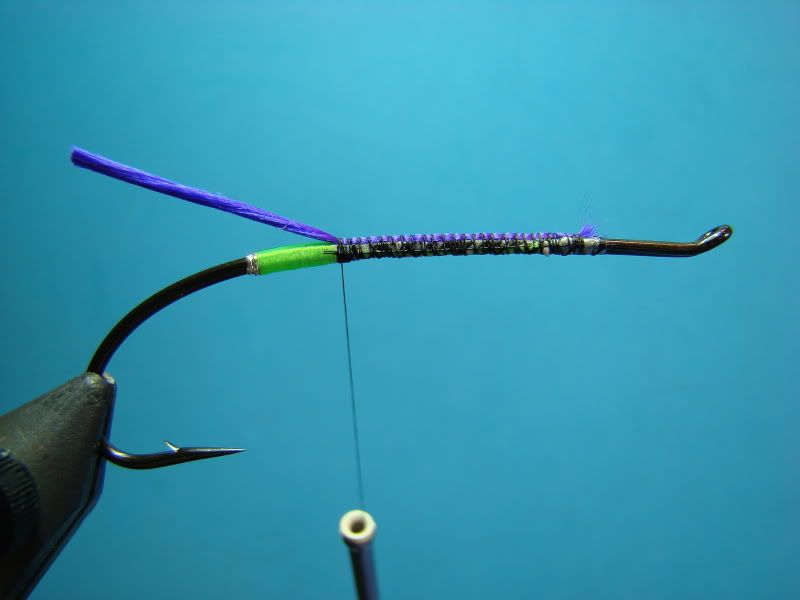
Step 5
Tie in silver medium oval tinsel at the reference point and the backside of the hook. Several thread wraps should be tight and secure tinsel not only to the backside of the hook shank but, all the way back to the butt section.
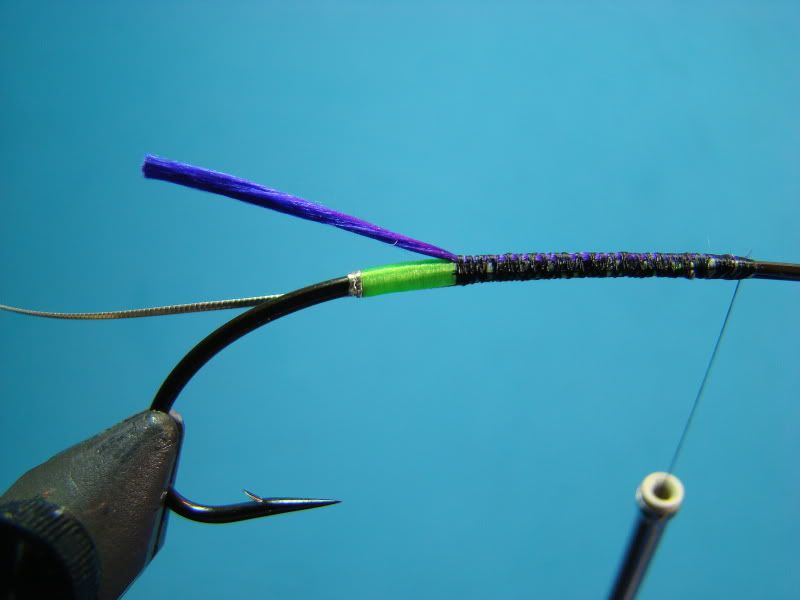
Step 6
Form a dubbing loop near the butt section and heavily wax.

Here's a neat little helpful tip for those of us that use a lot dubbing. Cut a 45-degree opening in a corner at the bottom of the package! You can remove the right amount of dubbing for each fly without a lot of waste!
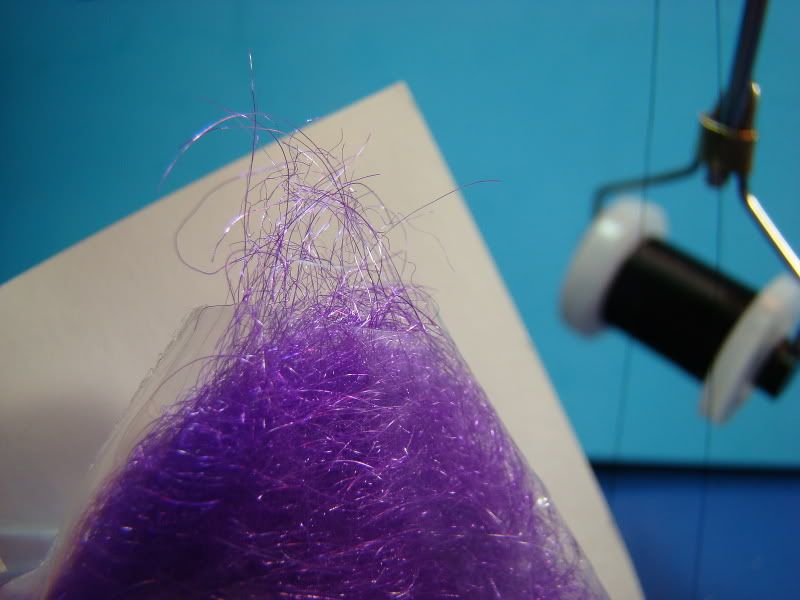
Step 7
Spin dubbing and wrap forward to the reference point. For winter flies I tied them very shaggy. Summer flies are dressed thin.
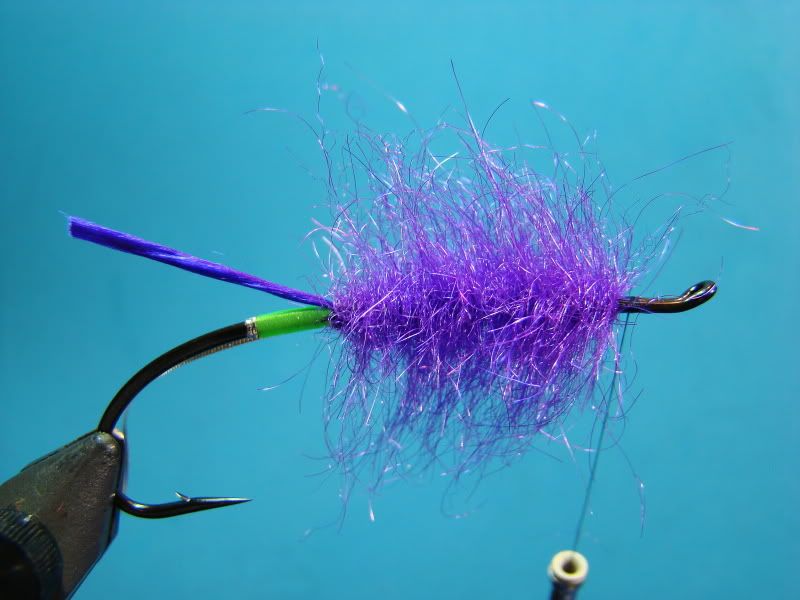
Step 8
Tightly wrap oval tinsel over the body in evenly spaced segments. How many wraps depends on the fly or your creativity, but there seems to be an unwritten rule of five even wraps over a body. (If anyone knows for sure.... please let me know.) The key in wrapping tinsel is the even segments and tight wraps. You almost want to bury the tinsel in the dubbing. This will prevent it from slipping or moving. If the wrapping is near perfect the fifth wrap will fall right on top of the reference point!
Step 9
Tie in hackle. The original hackle came from a chinese rooster cape. I have elected to use purple guinea hen with one side of the stem stripped. Three turns of hackle is plenty.

Step 10
Select a nice bunch of fiery brown arctic fox (originally natural brown bucktail) and remove the underfur. Hand stack or place tips in a hair stacker. (I hand stack. I feel it looks more professional and doesn't give the "paint brush" appearance.) To measure the wing length place the hair over the tie in point. The tips of the wing should be about even with the bend of the hook or slightly shorter. Tie in the butt end to length and tie in. Make a couple of tight wraps and keep the length. If the length is too long, cut back the butt end again. Repeat as necessary to get the length right.
Now... how do we get a small head? Using the above measuring as a guideline we are going to have a little excess butt end showing after taking a few tight securing wraps. The trick is to tie the butt end a little longer, make 2 or 3 very tight wraps, and then while keeping the thread tight, slowly pull the wing back towards bend of the hook. The excess can then be trimmed with a razor blade or very sharp scissors. Additionally, only take enough wraps to cover the butt ends and to shape the head. I normally do not whip finish. Rather I apply a small amount of super glue on the thread and take a few more wraps. Once the super glue has dried, cut the thread, and then apply a very thin penetrating head cement. My personal choice for head cement is Sally Hansen's Hard As Nails (#800) extremely thinned down with polish thinner, followed by straight Sally Hansen (#800) as a finishing coat. Most of us guys are lost in the nail polish section at the local drug store so bring the significant other. The gals at the counter always get a kick when I mention what I am using the polish for!

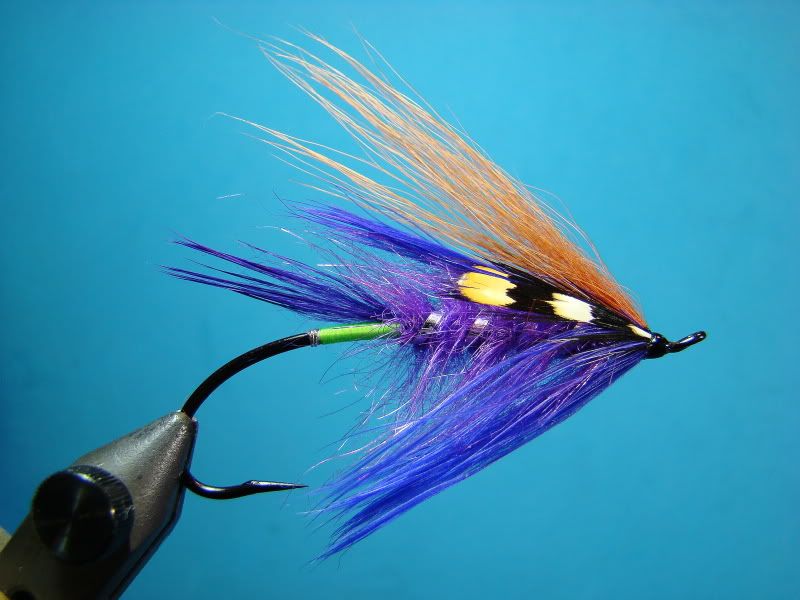
Finished

Another with different portions. This time I intentionally made the butt section a little longer, used rabbit for the tail, flat silver tinsel, burnt schlappen for the hackle, and added jungle cock. Steelhead flies just don't like right without jungle cock!
No comments:
Post a Comment