 Where do a lot of fly anglers fish when the rivers are high and dirty from the winter rains? Those of us that live in the Puget Sound region of Washington State usually head to the salt to chase sea run cutthroat and/or juvenile coho salmon.
 The South Sound Shrimp is one killer pattern. It does a pretty decent job of representing both amphipods and euphasids which are a primary food source for coho during the winter months. I typically tie this pattern on the larger side so fish can locate it amidst the millions of naturals traveling with the current, and the Gamakatsu SC15 (#6) seems to be the perfect hook and size for this approach. If the fish are not responding to the larger size it usually means the fish are being selective, and therefore, I tie on a smaller size.
The South Sound Shrimp may look like a complicated pattern to tie, but rest assured, it is not. However, let me add a couple of helpful hints. First, the monofilament eyes are not necessary for this pattern. The fish will still take it. However, if you want to skip making or buying prepackaged eyes, a black fine tip Sharpie pen can be used to mark a couple of eyes after the Liquid Fusion has dried. Secondly, if you decide to make your eyes like I have, after you have both in place, apply a drop of super glue to the thread wraps. This will secure the eyes in place and prevent them for rolling around the hook shank. Lastly, to save a lot of time at the bench, I will usually tie a few dozen before applying the Liquid Fusion over the Mirage tinsel.
Materials (in order of tying sequence)
Hook: Gamakatsu SC15 (#6)(or choice)
Thread: White UTC 70
Eyes: 10# Maxima Ultra Green, tips melted and dipped in black vinyl jig paint (or prepackaged eyes)
Tail: A small pinch of body dubbing
Antennae: Two strands of pearl/white Baitfish Emulator
Carapace: Mirage tinsel
Body: 50/50 mixture Hareline's Ice Dubbing and STS Trilobal (Pictured is 50% pink Ice Dubbing and 50% White STS Trilobal)
Rib: UNI-mono, clear/fine, size 4m
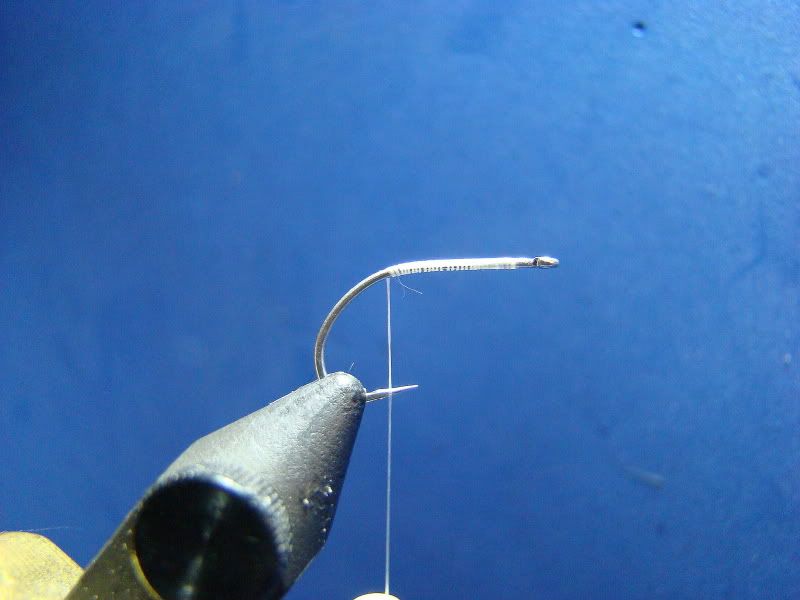
Step 1:
Start thread behind the eye and wrap to the hook bend.
Step 2:
Length - position the eyes just inside the hook bend with tight wraps of thread. Apply a drop of super glue. The waste ends or cut at approximately the middle of the hook shank. This will help create a shrimp-like hump.
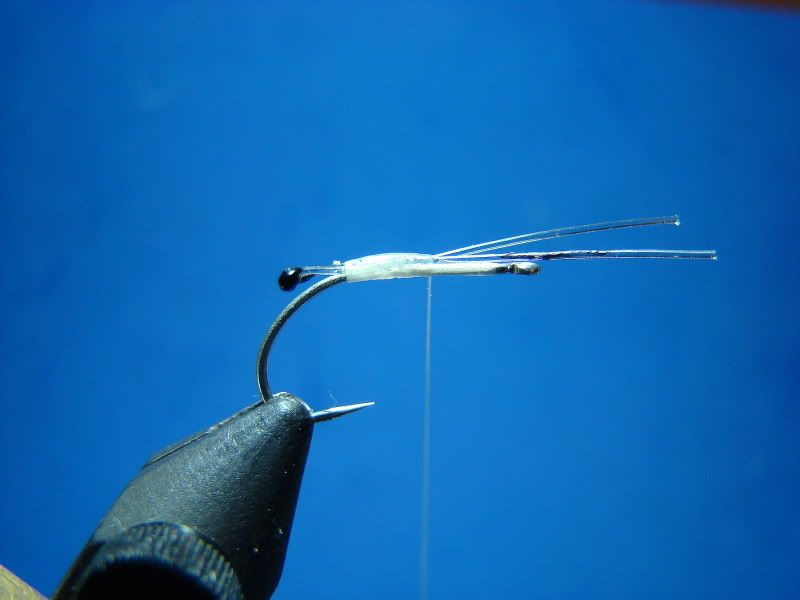
Top view
Step 3:
Collect a small tuft (or pinch) of dubbing and tie in a "tail." "Tail" is equal to one hook length.
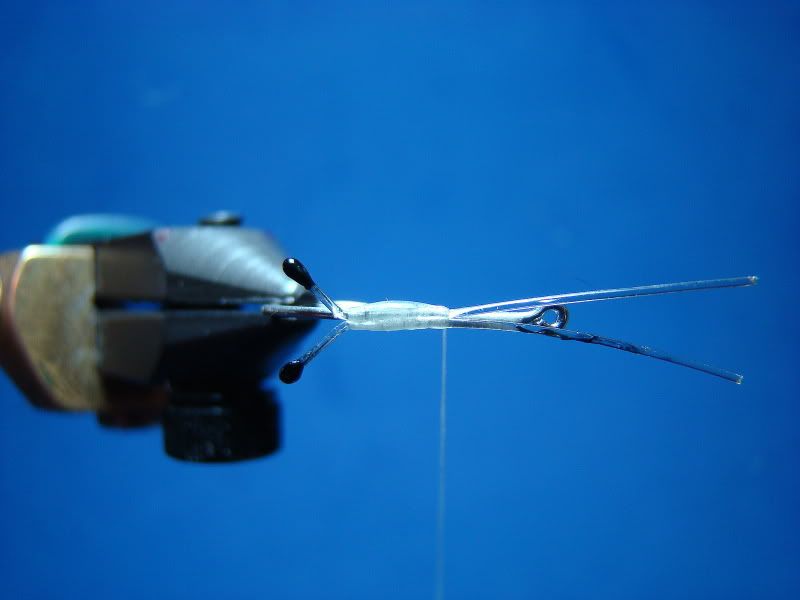
Step 4:
Select two strands of Baitfish Emulator (Krystal Flash may be subsituted) and tie in over the top of the "tail."
Step 5:
Tie Mirage tinsel forward over the hook eye. Note the tapered appearance starting to form.
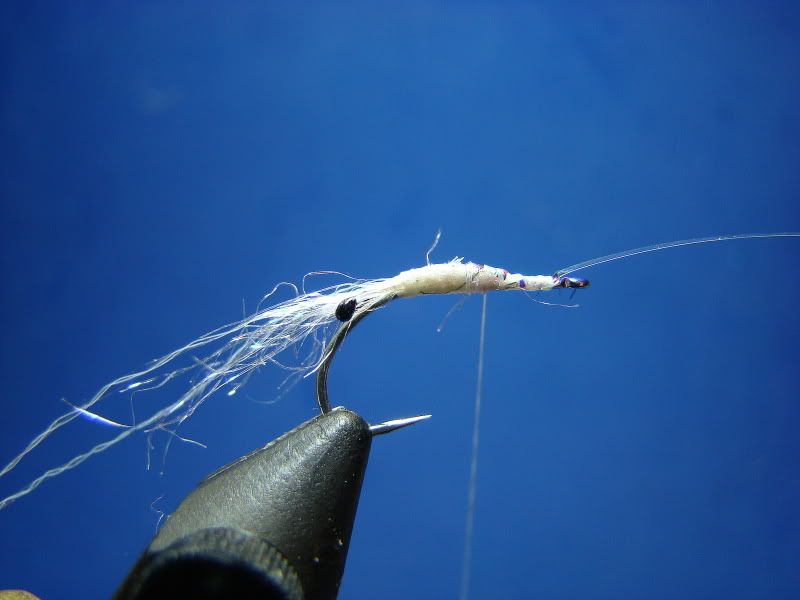
Step 6:
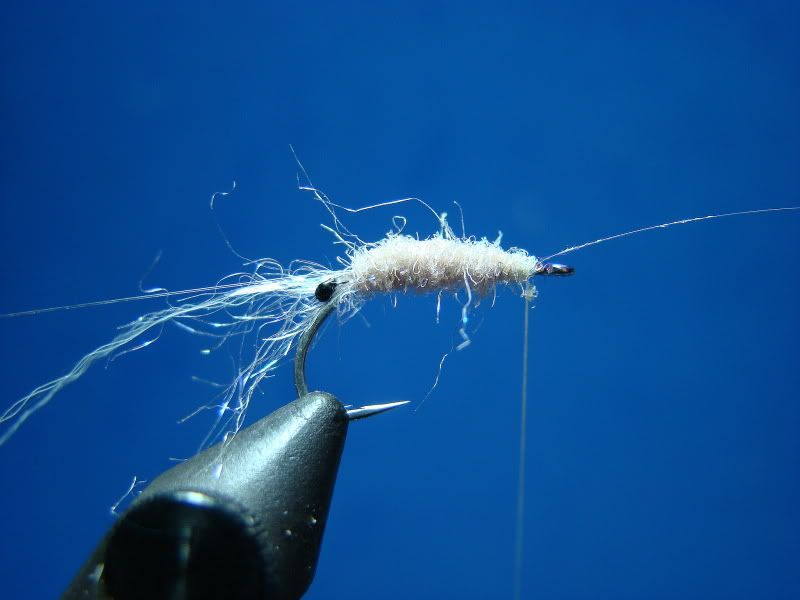
Tie in UNI-mono just behind the hookeye and wind thread to the rear of the body. This will be the thread's position for dubbing the body.
Dub body all the way to the hook eye. Taper body slightly larger at the rear and thin towards the hook eye.
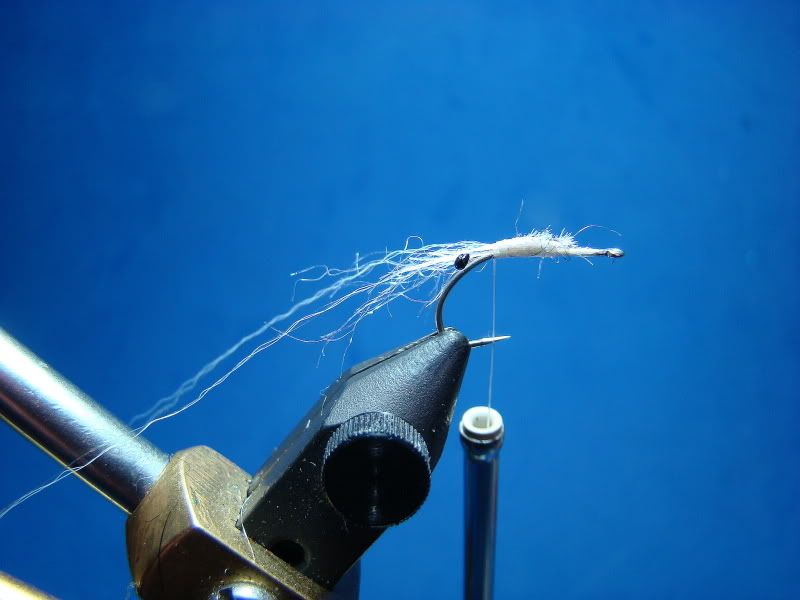
Step 7:
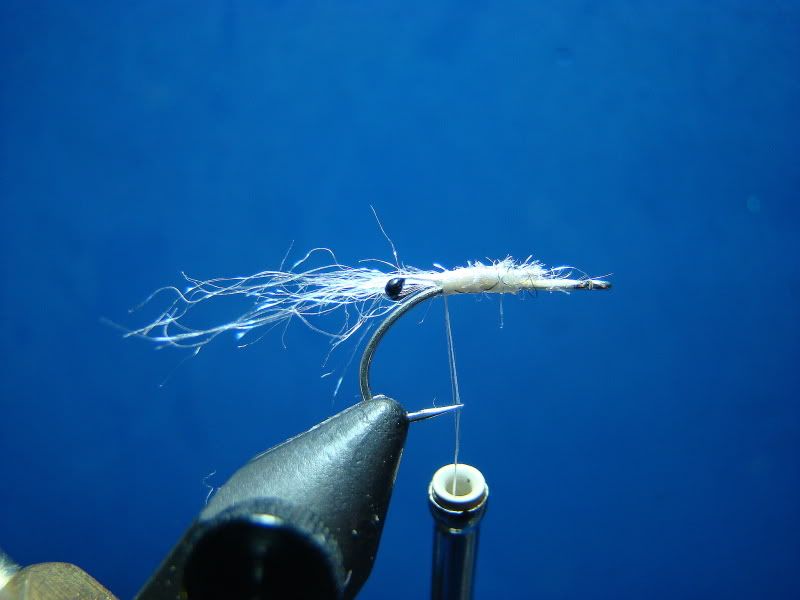
Pull Mirage tinsel over the back of the body and secure with UNI-mono ribbing. Wind ribbing with larger segments appearing towards the rear of the hook and narrow segments appearing towards the hook eye. Secure ribbing with thread and then whip finish. Cut the carapace at a length even with the hook bend.
Brush and pick out dubbing from the under body. This should give the fly it's shrimpy appearance.
Top view

Step 8:
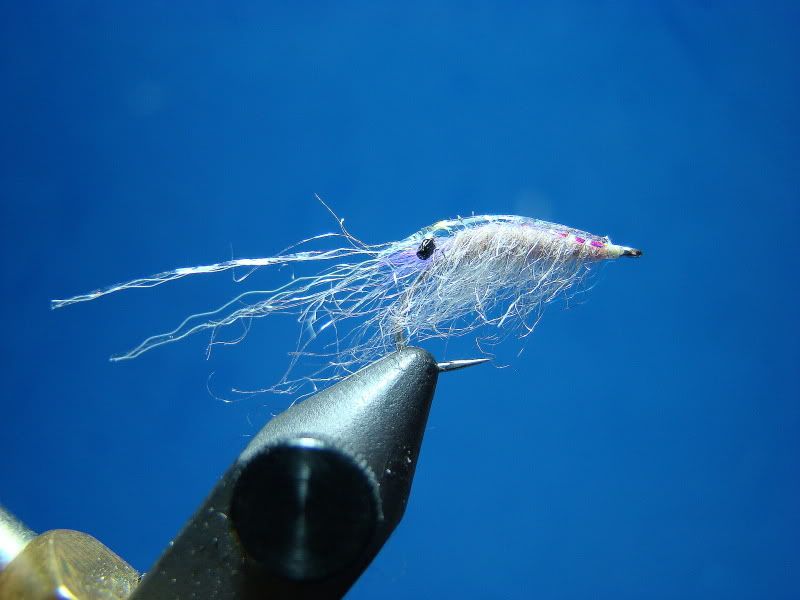
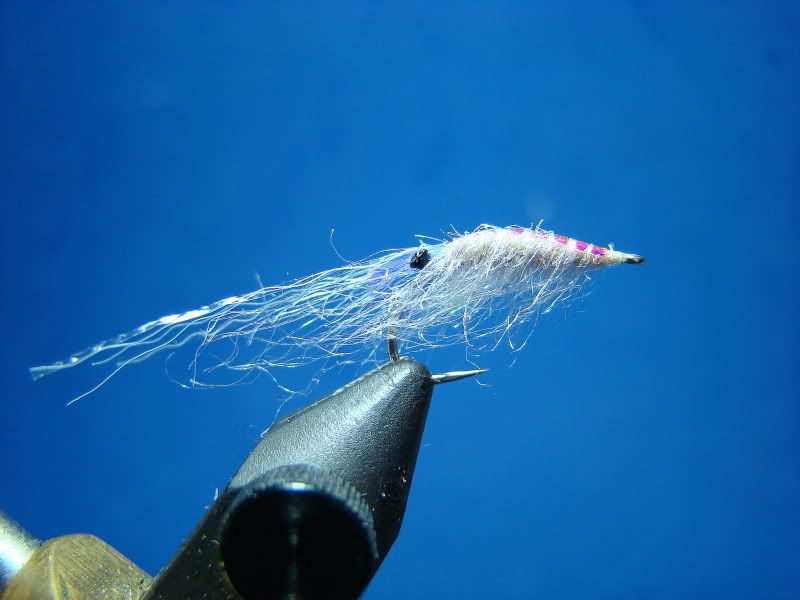
Apply a coat of Liquid Fusion or 5-minute epoxy over the carapace. Finished!
The color shades are limitless. Pinks, oranges, and olives will be the most productive. Also give all white dubbing with pale pink or orange thread a try!
No comments:
Post a Comment